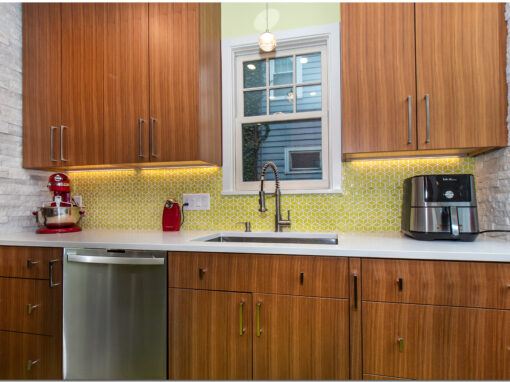
2009 Residential Kitchen

Our 2009 project has evolved over two years. My client first contacted me after reading about our 2007 project where we relocated a kitchen into a living room. This gave them the idea of expanding their small galley kitchen into the current family room. To expand the kitchen required building a new family room which we did in the Fall of 2007. Completing the family room allowed us to proceed with the kitchen expansion.

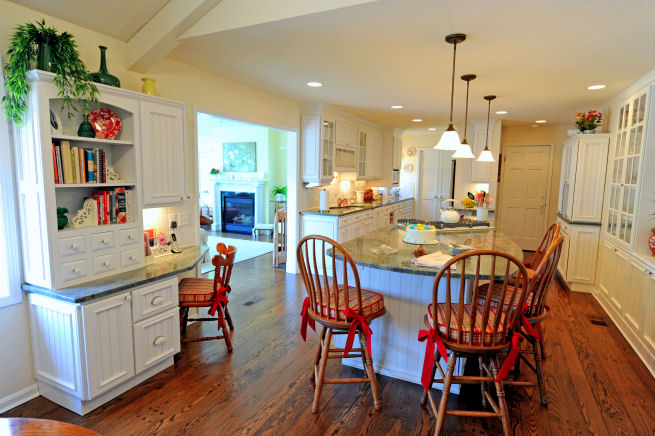
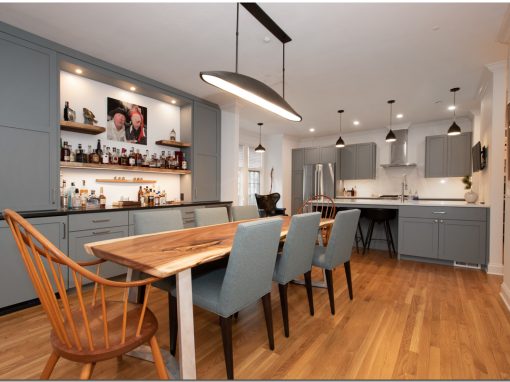
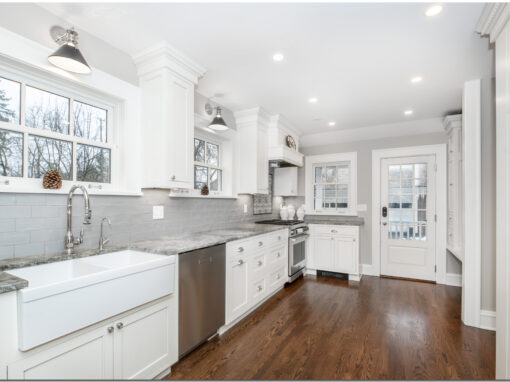
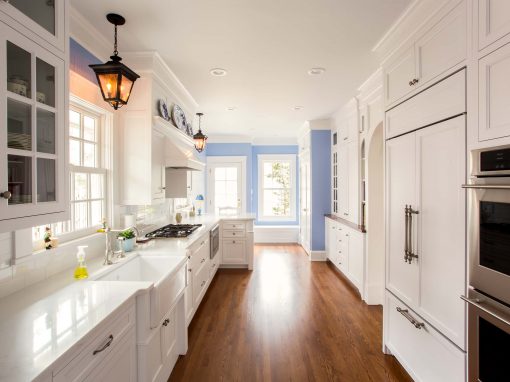
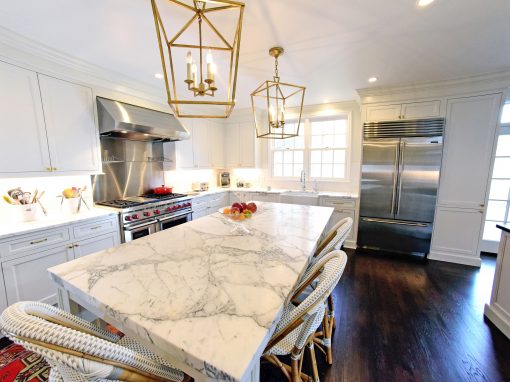
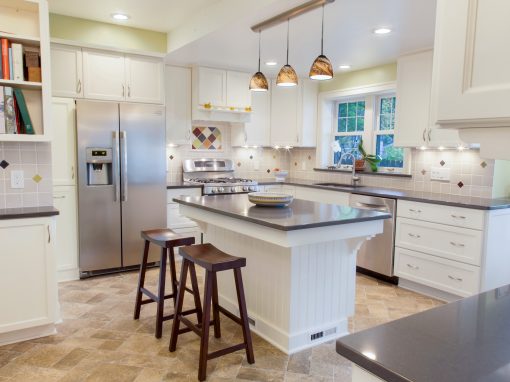
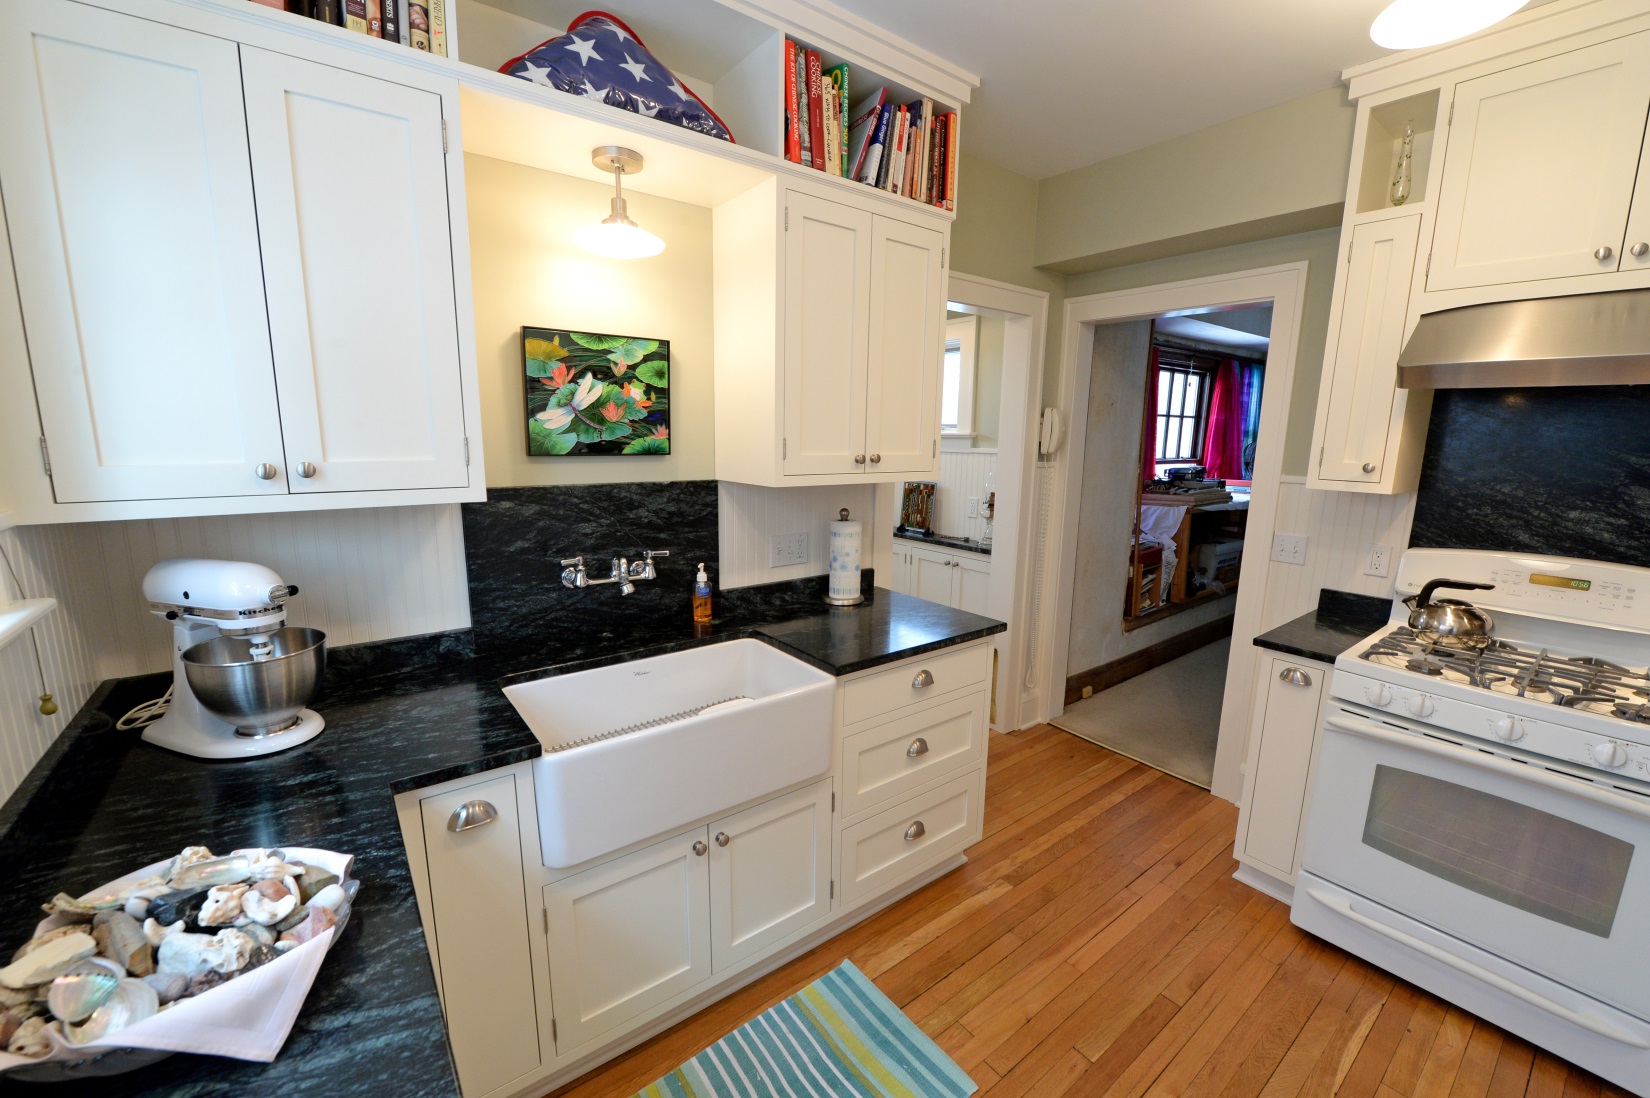
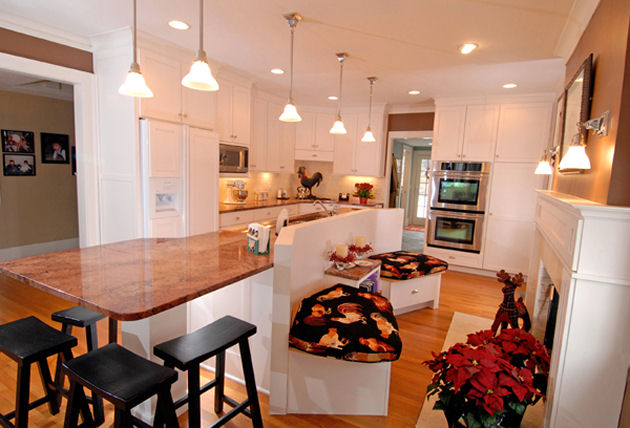
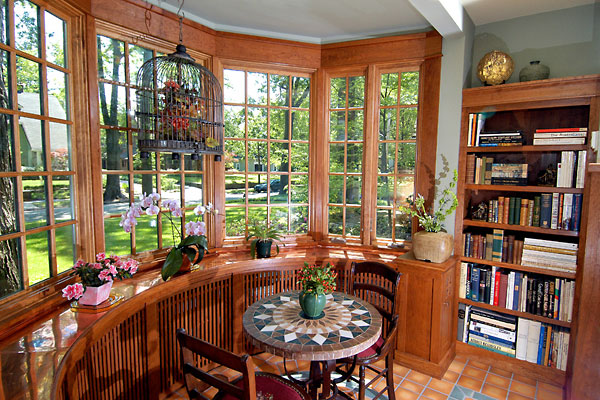
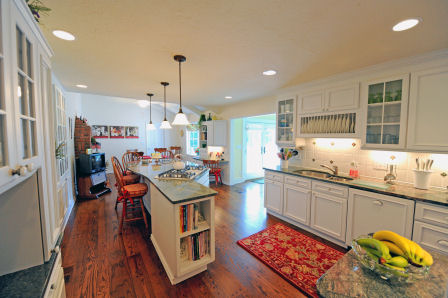
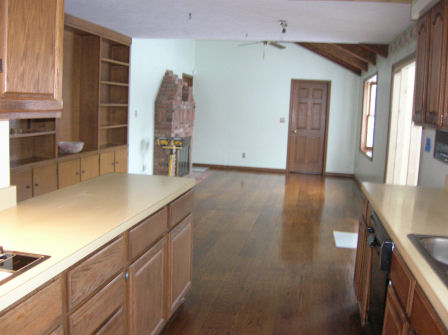
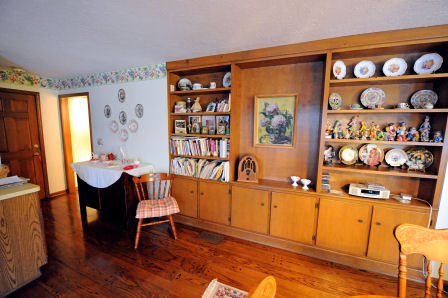
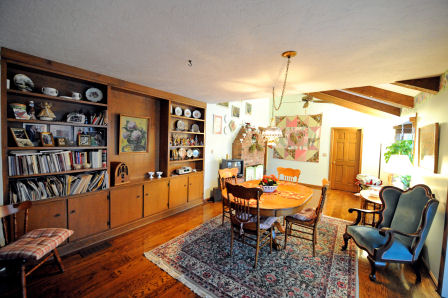
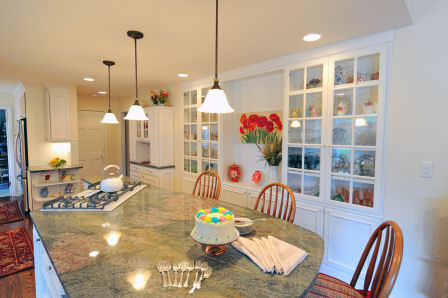
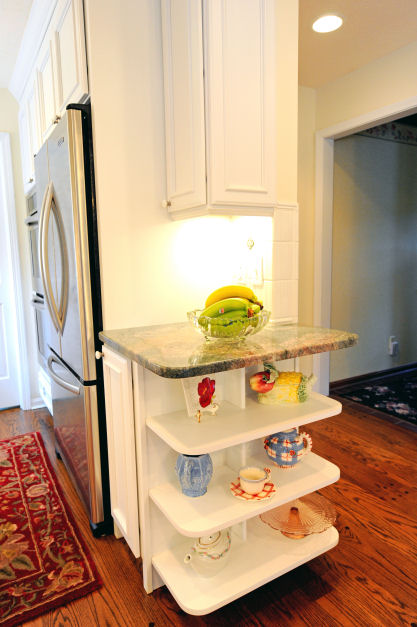
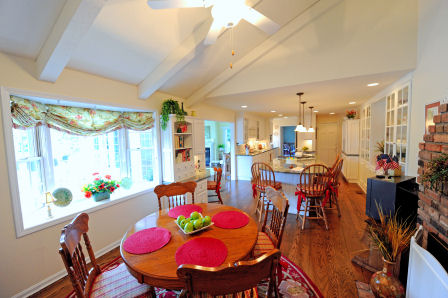
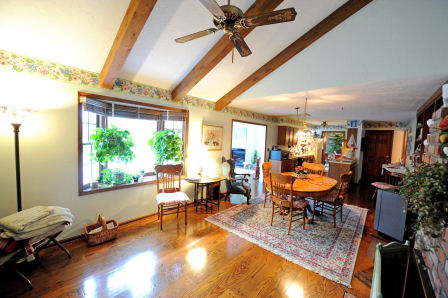
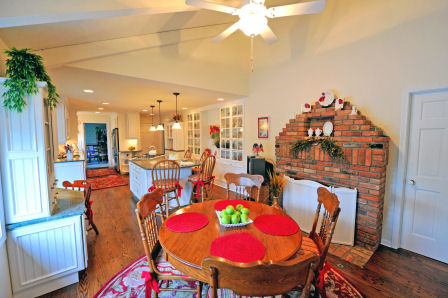
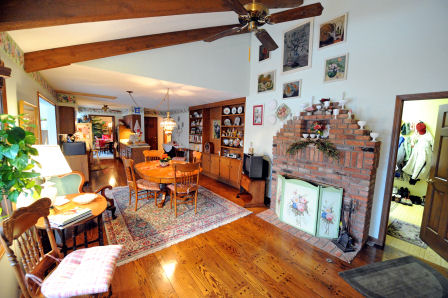
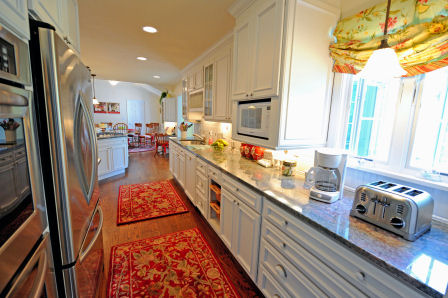
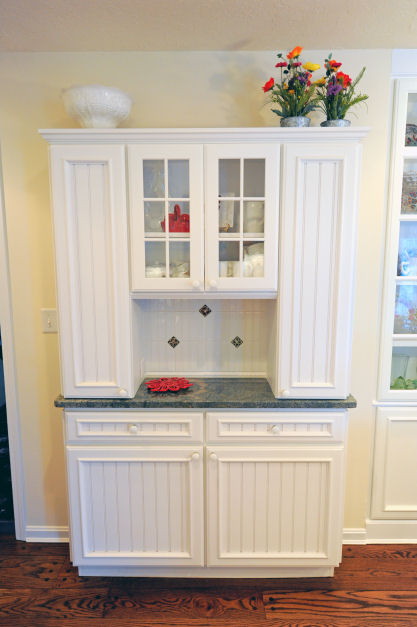
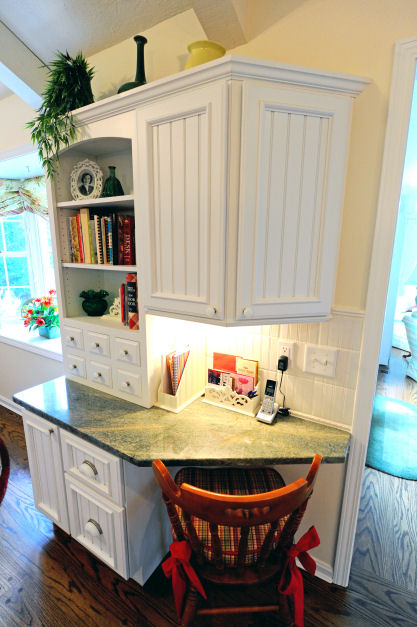
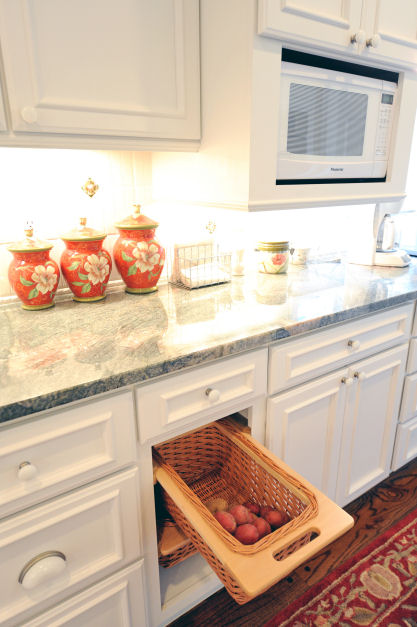
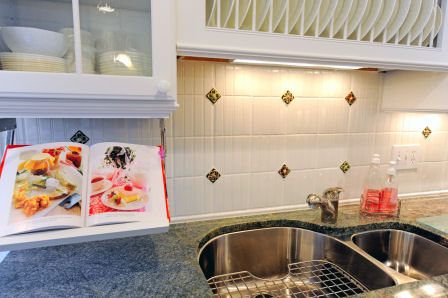
My client had always wanted a large kitchen with all the modern conveniences. The kitchen needed to be bright, have ample room for entertaining while she prepared meals and offer room for sit-down dining. My client is an avid collector of glass and needed room to show off her treasures. Other important features include a desk/work area in the kitchen as well as a desire for a built-in hutch. Keeping costs down was also important on this job.

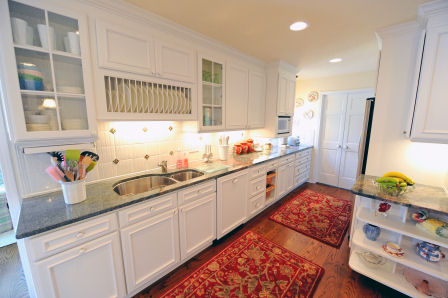
To meet my clients goals we greatly increased the lighting to include eight can lights, four pendent lights, and under cabinet lighting. We added a large island where people could congregate during meal preparation. Also included in the kitchen is a work station with file drawers. Many of the cabinets feature glass doors to show off the contents. The original woodwork was painted white to brighten up the room. We managed costs by purchasing the cabinets, plumbing, lighting fixtures, appliances, and some accessories from Direct Buy. This required me to give up some control and cut into my margins, but it made the job much more affordable.

More About The Project

After

This photo shows the new sink run. We have added several more feet of counter space. The soffits have been removed to allow for taller cabinets. Some of the features here include a plate rack, bread insert, vegetable baskets and many more drawers for storage.

Before

This photo shows the original galley kitchen. The kitchen had limited storage space and even less counter space. Small appliance storage was a real problem for my client. There was room for only one person in the kitchen work area. In this photo we have removed the refrigerator.

After

This photo shows an overview of the new expanded kitchen looking west. Note the book shelf at the end of the island to store cookbooks. There is also ample space behind the island for people to pass through.

Before

This photo shows the view from the old galley kitchen out into the old family room. My client wanted to expand their kitchen into this space. It was important that the new kitchen be compatible with the recently completed family room addition.

After

This photo shows the new island. We have relocated the cook top to the island and included a downdraft vent. The island also includes a warming drawer and a mixer popup station. The island can seat 4 people comfortably while meals are being prepared.

Before

This photo shows the old built-in book shelves made of birch plywood and simple flat panel doors on the bottom cabinets. The woodwork was dark and the shelves were cluttered with paperwork. We needed to find a way to integrate these shelves into the new kitchen. Note the dresser in the left corner. This was replaced by a built-in hutch.

After

This photo shows the reworked bookshelves. Glass doors were added to the upper cabinets. The doors on the lower cabinets now match the doors on the island. We used antique style glass in the doors to add character. The center section of the shelves was lined with bead board to tie the shelves into the new room. Note the pendent lights and can lights in the ceiling making the room bright even on the coldest of winter days.

Before

This photo shows the old book shelves and family room table. The table was relocated to accommodate a large island. Note the lack of lighting in the ceiling. The green chair was replaced with a beautiful bead board desk/work station.

After

This photo shows another view of the new island looking east and the new bookshelves. The kitchen features Brookwood Designer and Park Avenue Series cabinets throughout.

Before

This photo shows the original bookshelves. They were dark and lacked the character of the new kitchen and family room addition.

After

To tie the fireplace into the new kitchen, we used some bead board paneling to construct this beautiful bead fireplace screen. My client loves it.

Before

This photo shows the original family room fireplace. My clients were thrilled with the idea of having a fireplace in the kitchen.

After

This photo above shows the beautiful open shelf cabinet with granite counter top and Xenon lighting. Directly behind the open shelf sits a full extension spice cabinet.

Before

This photo shows the original, very unattractive peninsula end.

After

This photo shows the extended eat-in portion of the kitchen.

Before

This photo shows the original family room.

After

This photo shows another view of the extended eat-in portion of the kitchen.

Before

This photo shows another view of the original family room.

Features

This photo is a view of the new sink run from the dining room. Note the relocated refrigerator on the left.

Features

This photo shows the built-in bead board hutch. This unit features antique glass in the doors, granite counter, wide crown molding, and under-cabinet lighting. Note the bead board tile back splash.

Features

This photo shows the desk area featuring bead board with matching tile. There are open shelves with card file drawers and a granite counter top. The lower cabinet has full extension file drawers. The hardware throughout the kitchen includes milk glass bin pulls and knobs. The work area is lit by Xenon under cabinet lighting. The existing wide-plank floor was repaired and refinished.

Features

The kitchen has many features including vegetable baskets like the one shown in this photo.

Features

My clients favorite feature is this pull down cookbook holder which is used daily. The kitchen features a Franke sink and faucet. My personal favorite is the bead board tile.

Features

This photo shows the General Electric warming drawer. The cabinet to the right contains a pop-up mixer station.

During

Dust control was very important to my client. This is one of the cleanest homes I have worked in. The above picture shows the zipper walls installed over all doorways. We also used clean mats at all pints of entry. At the end of each day we washed the hardwood floor and woodwork with oil soap. We also laid out fresh drop clothes nightly. This added an extra hour or more of labor to the job daily but it kept my clients very happy. Note the single light bulb in the ceiling.

During

This photo shows the original galley kitchen with soffits removed. There was a great deal of wiring and plumbing witch needed to be moved. This added to the cost of the job but we needed the extra height for larger cabinets.

During

I tried to keep demolition to a minimum. We needed to pull the drywall off on the sink wall to reroute the plumbing and the many wires running through the soffit.

During

This photo shows some of the piping that needed to be relocated.
To whom it may concern:

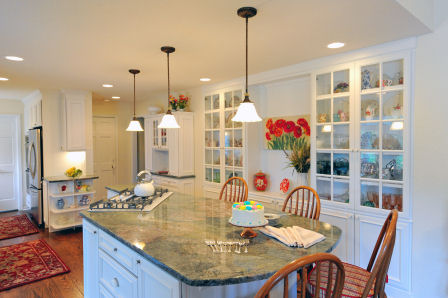
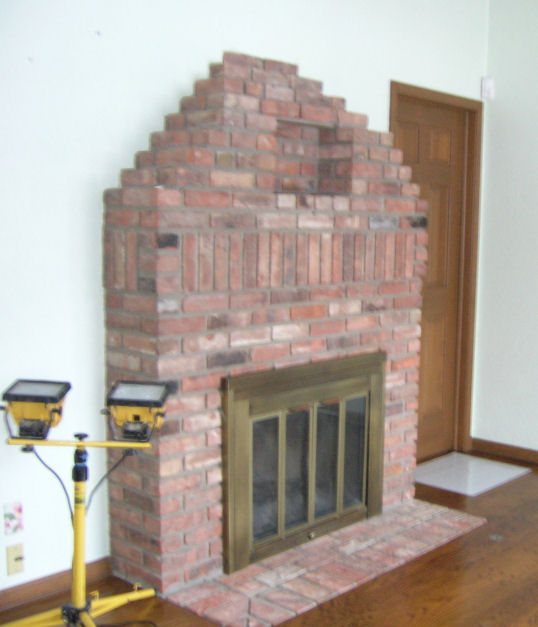
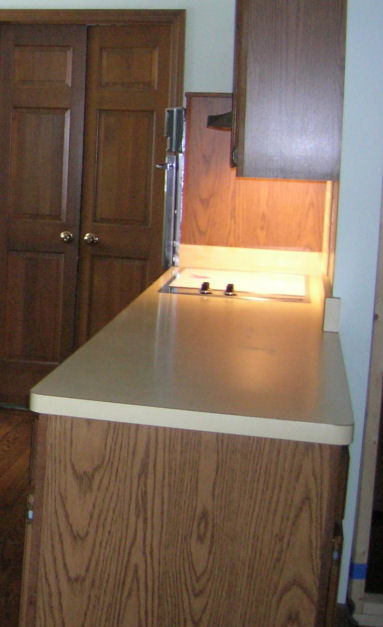
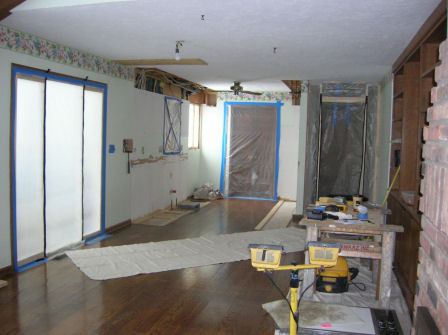
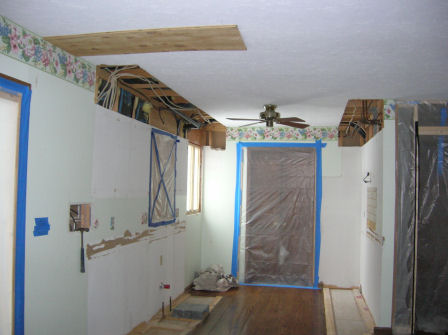
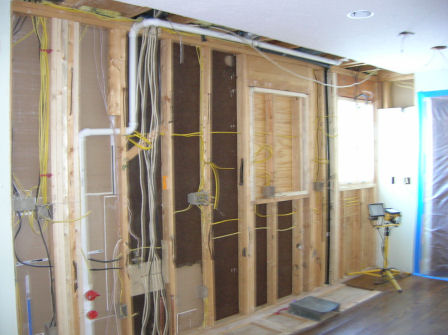
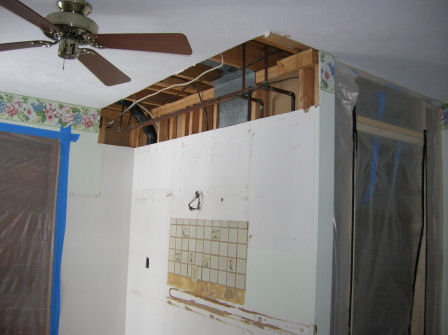
When my husband first suggested that we do a re-model of our kitchen, I was hesitant and really did not look forward to the destruction and construction mess. With completion I cannot express how happy we are with the outcome of this project. It has made such a difference. It is no longer – work – to be in the kitchen and the quality of the meals produced has greatly improved. The kitchen is truly the heart of the home.

Robert and his team of craftsmen have done a more than excellent job with this project. Getting paid for their work each day is important, but they were always more concerned with the quality of the workmanship, and making certain I was pleased. In this age of – hurry and get the job done – how fortunate were we to have R. B. Schwarz, Inc. do this beautiful kitchen for us.

Kathy Curits