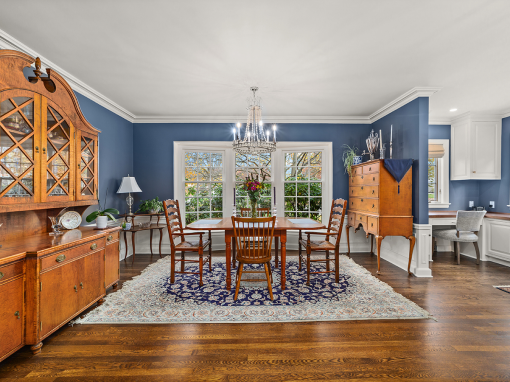
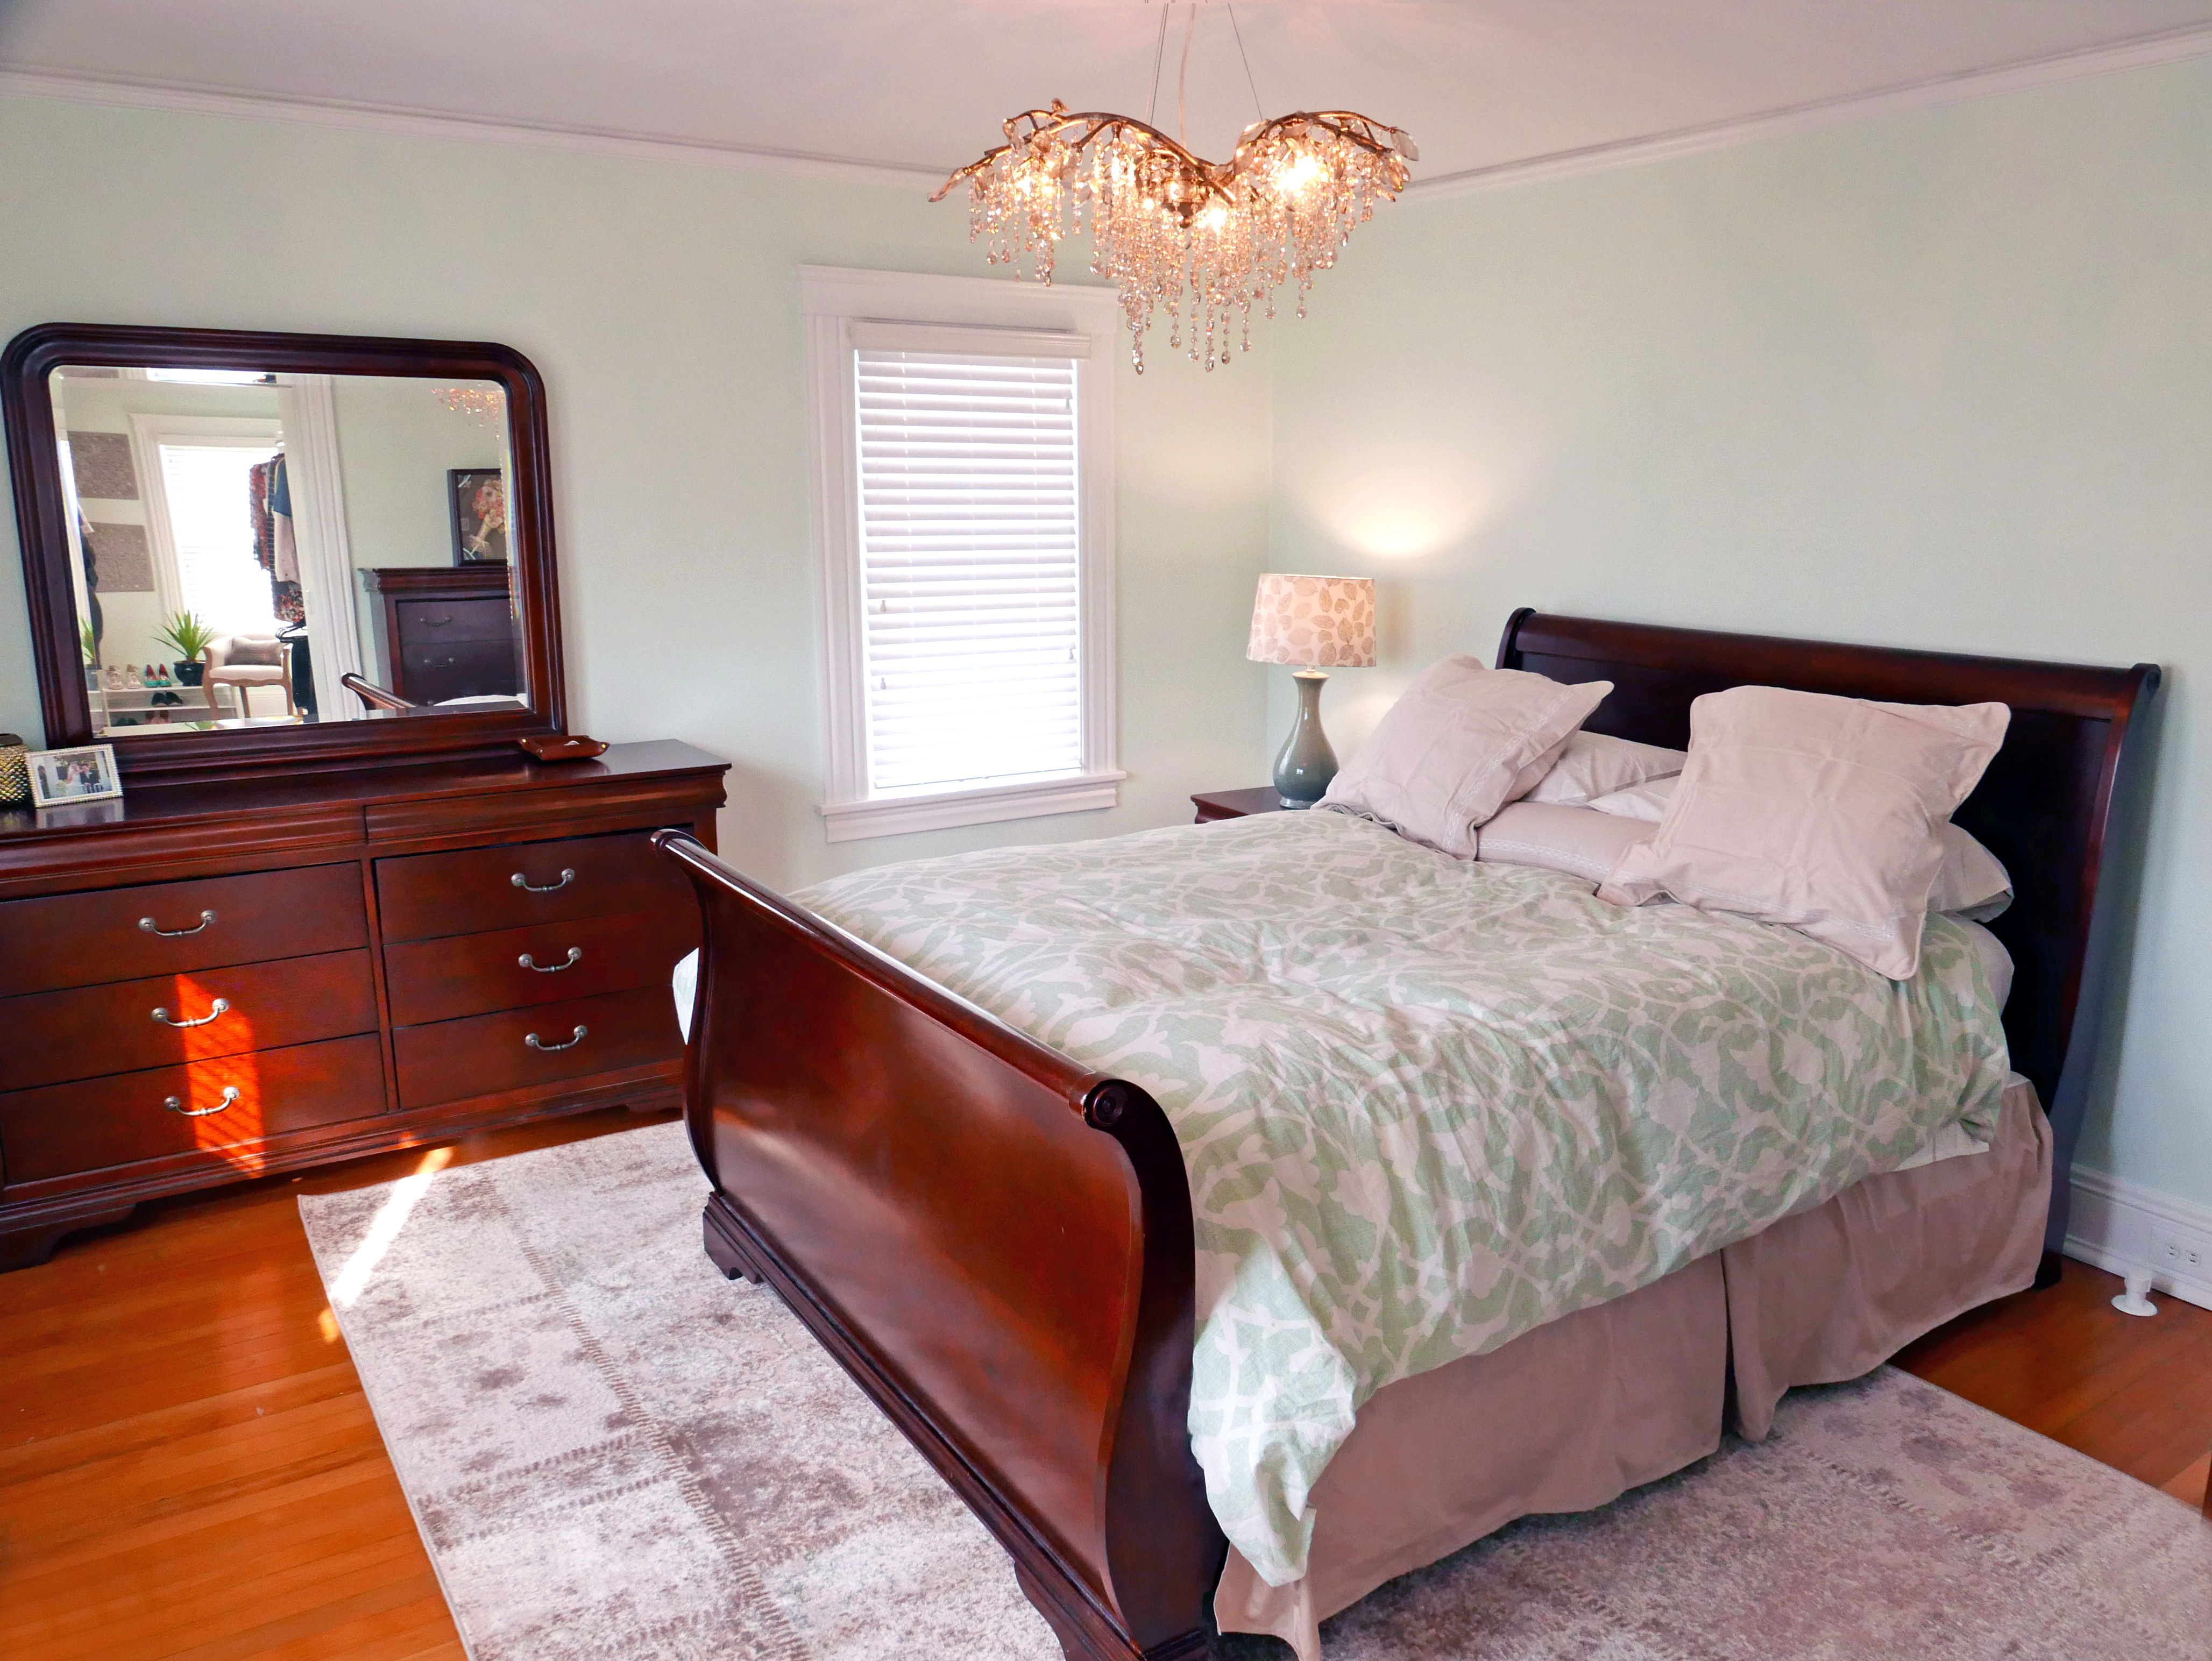
2016 Master Suite

2017 CotY Award

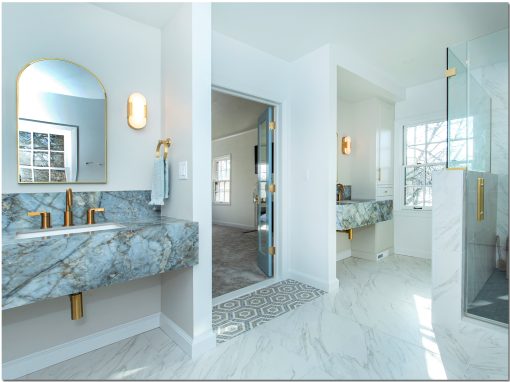
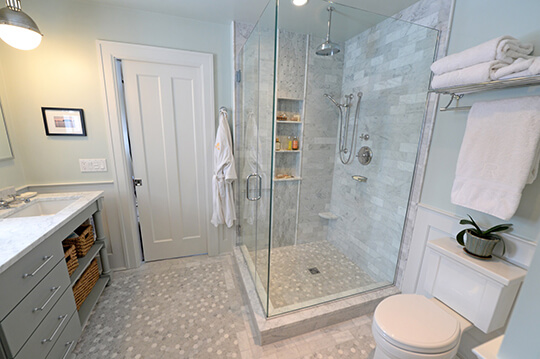
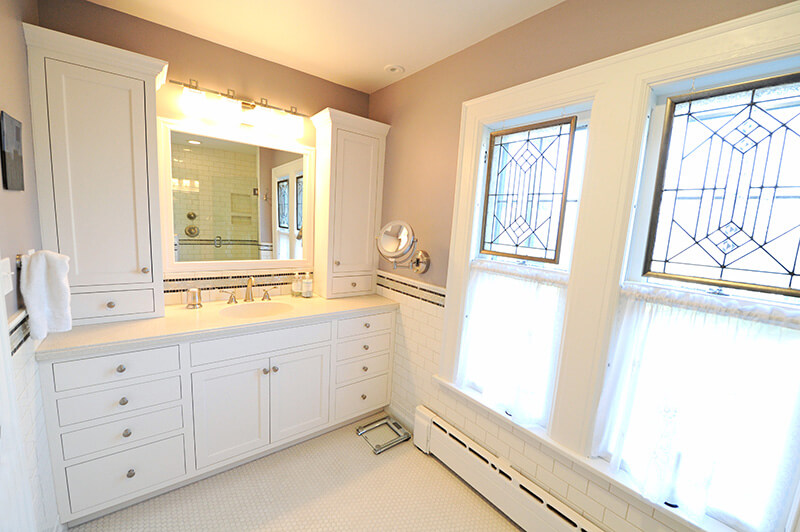
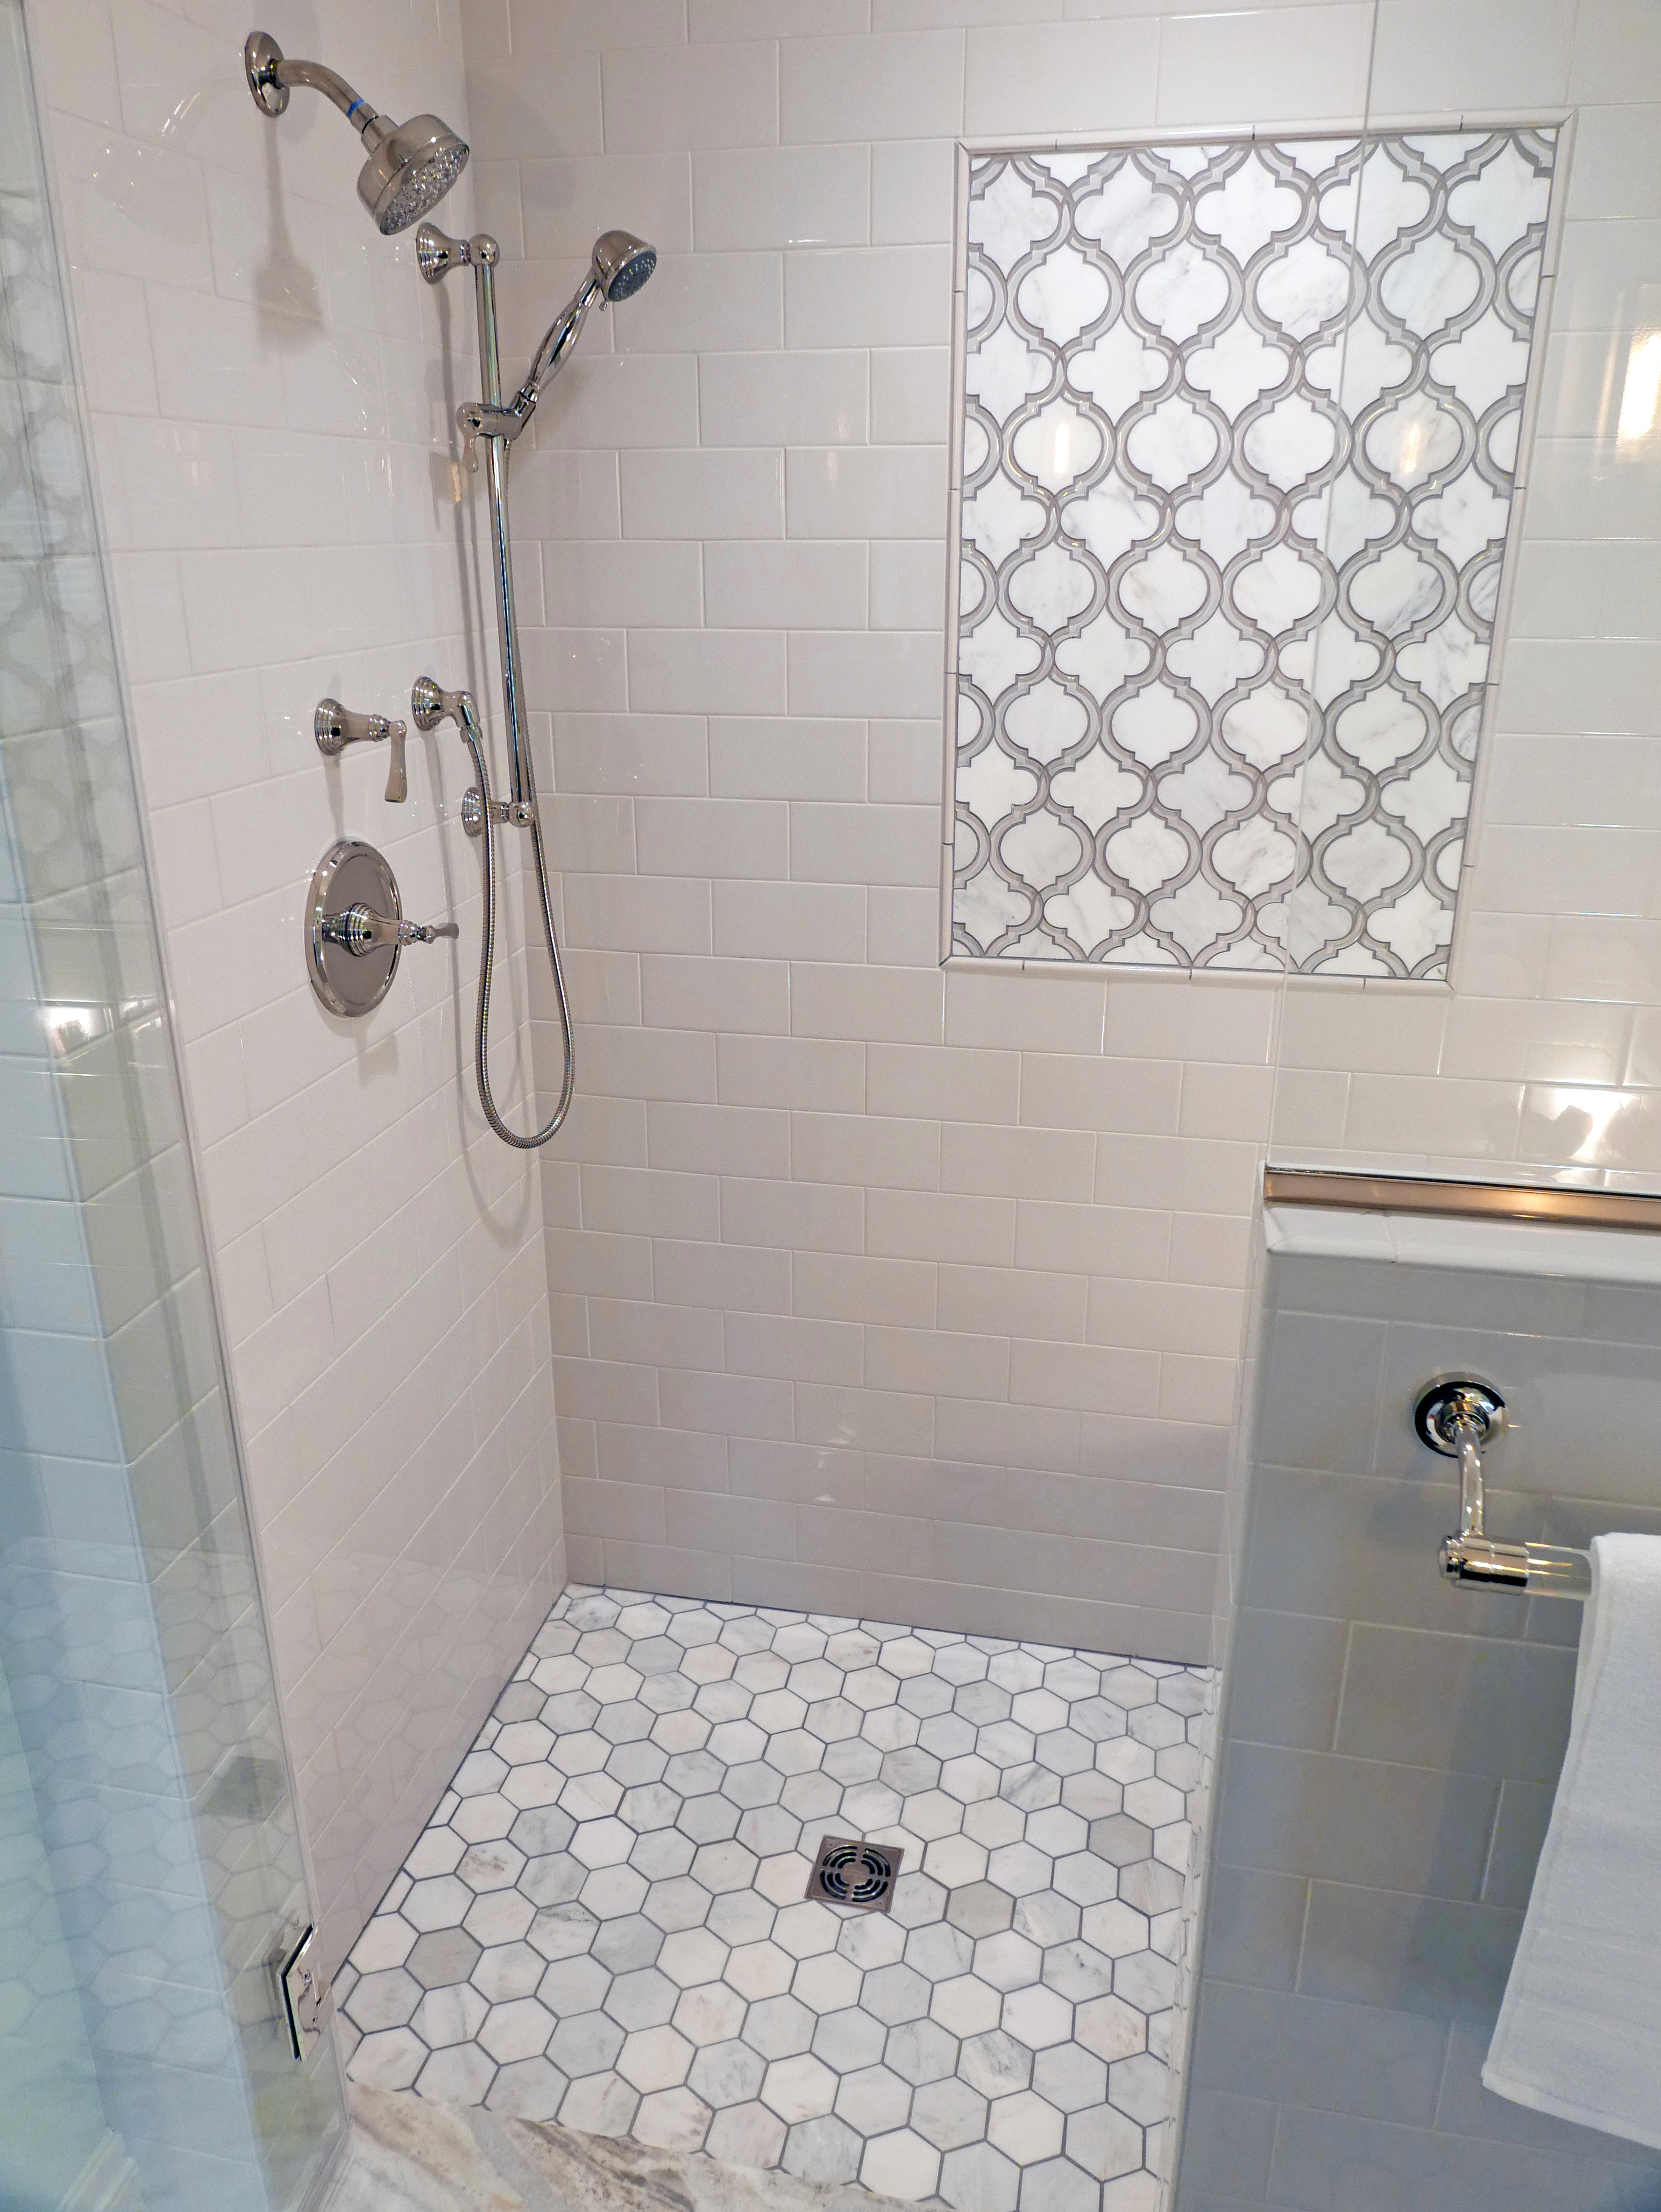
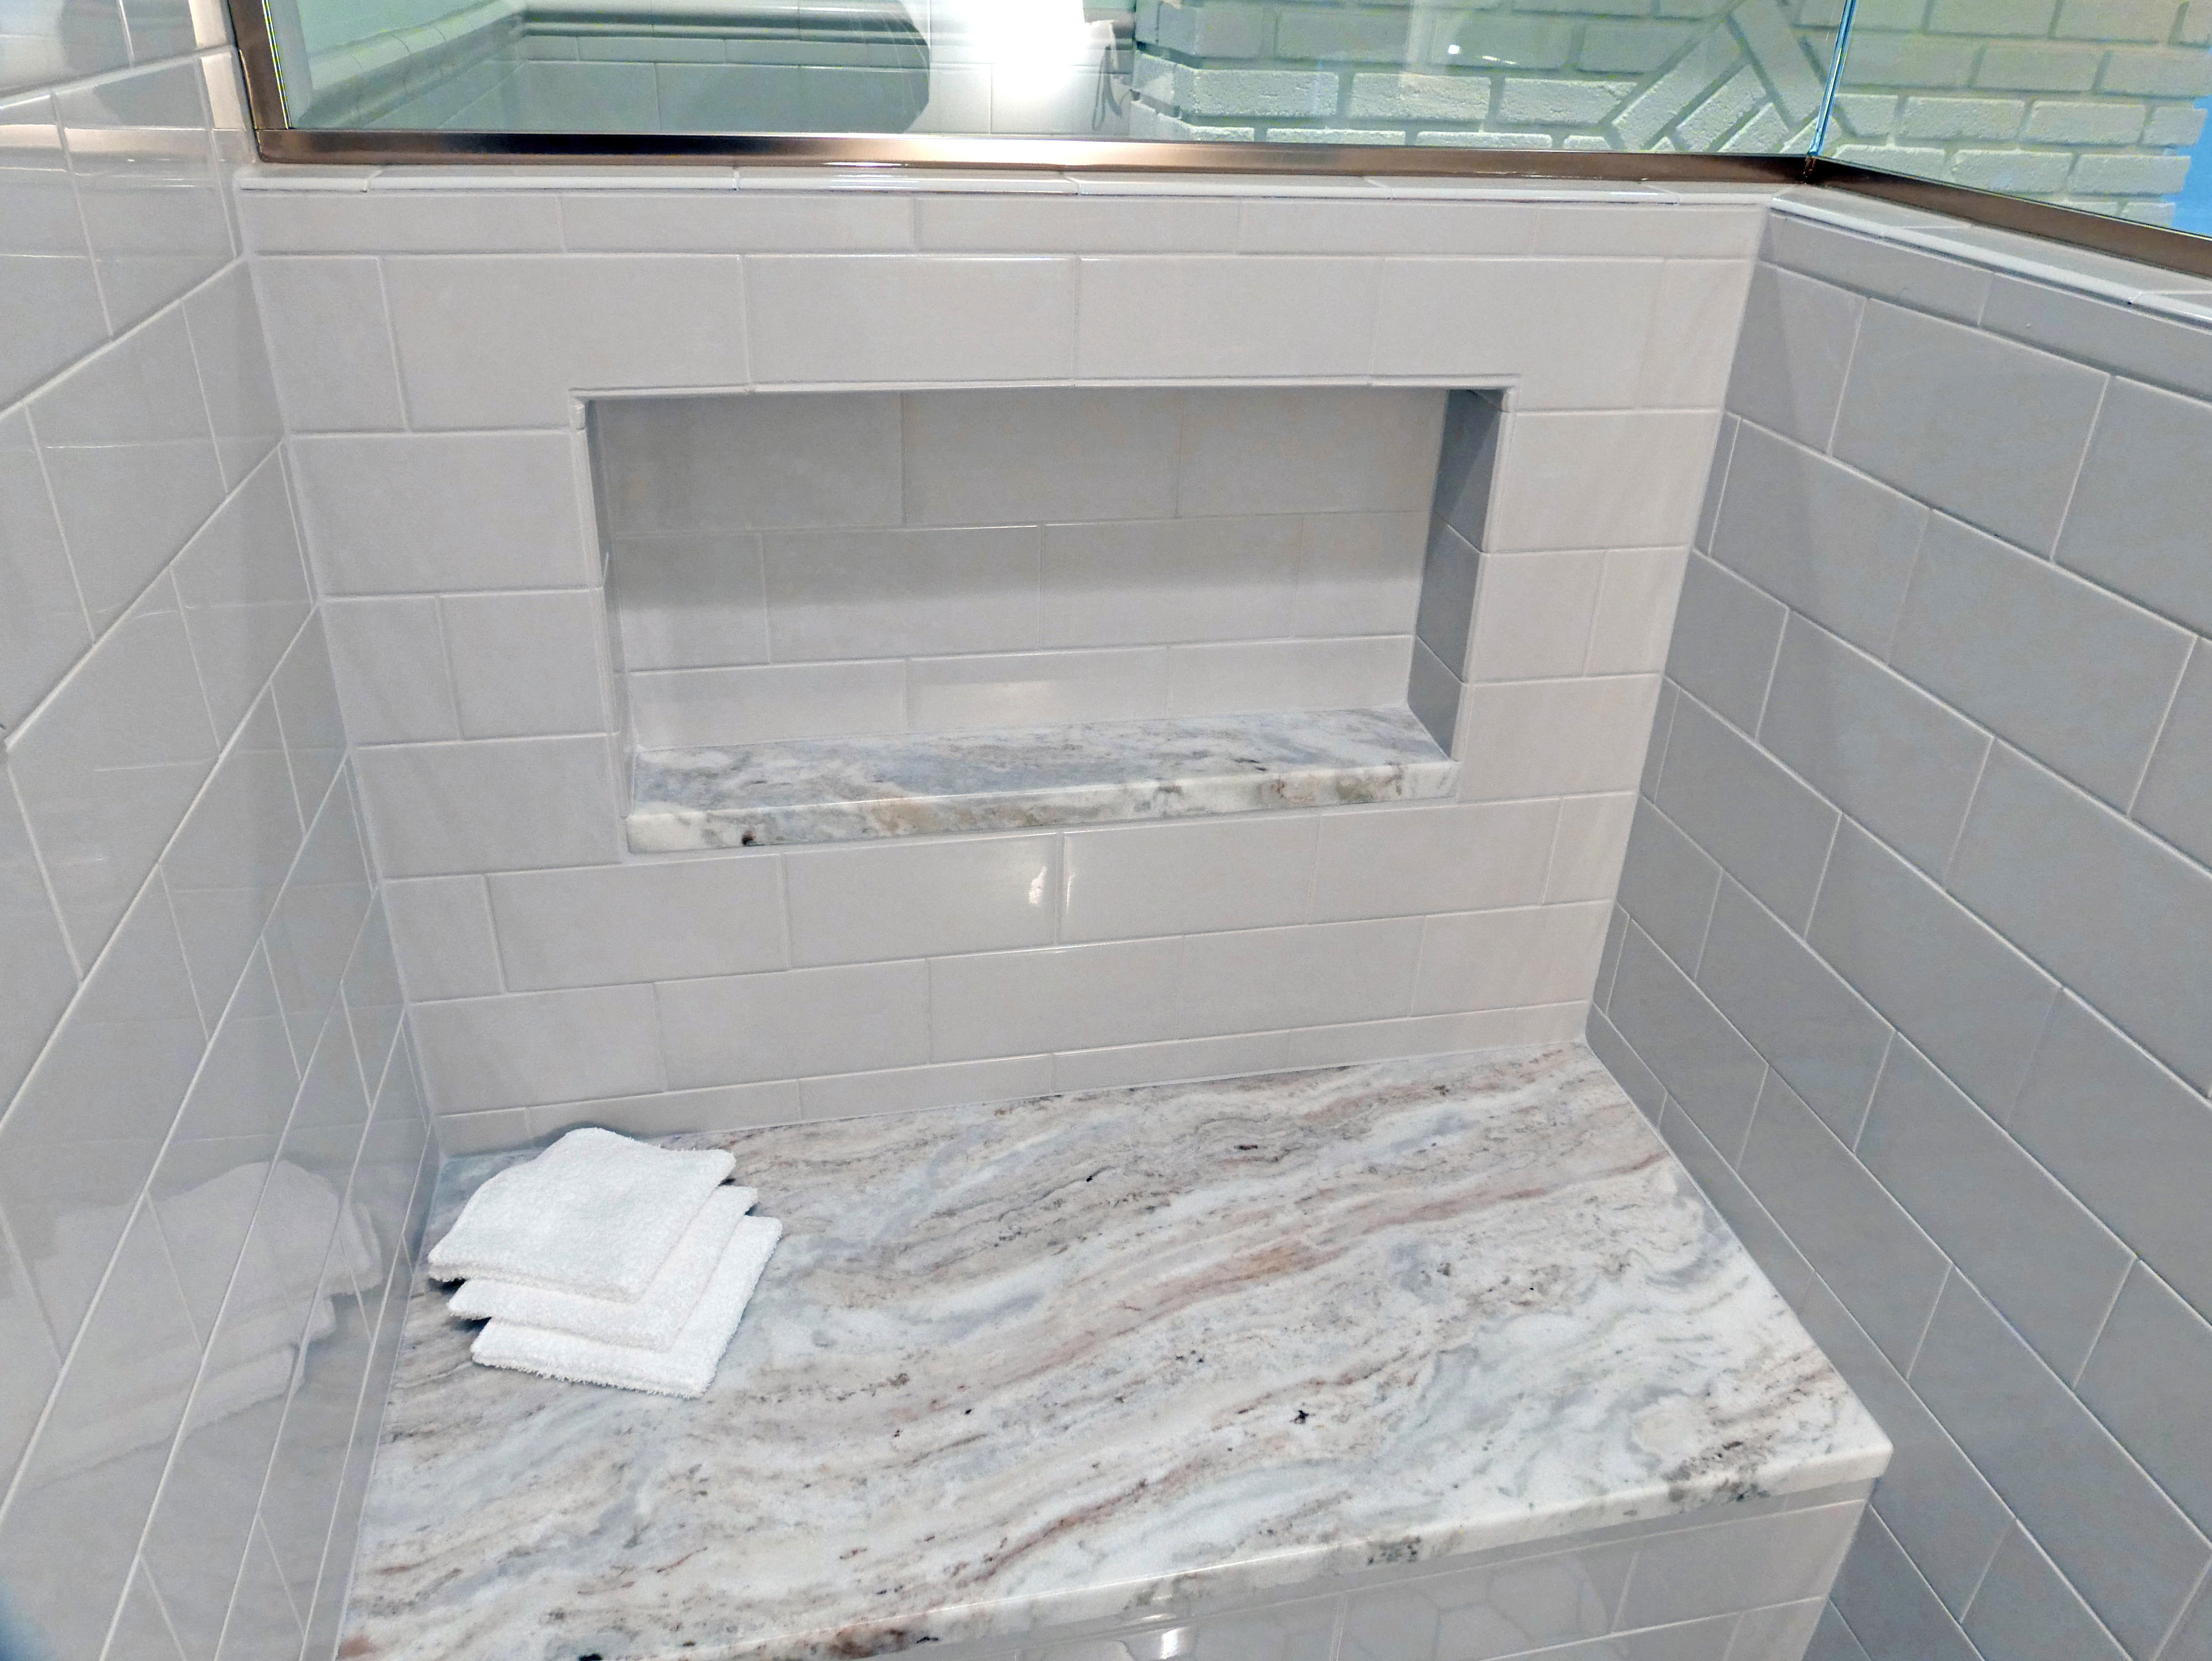
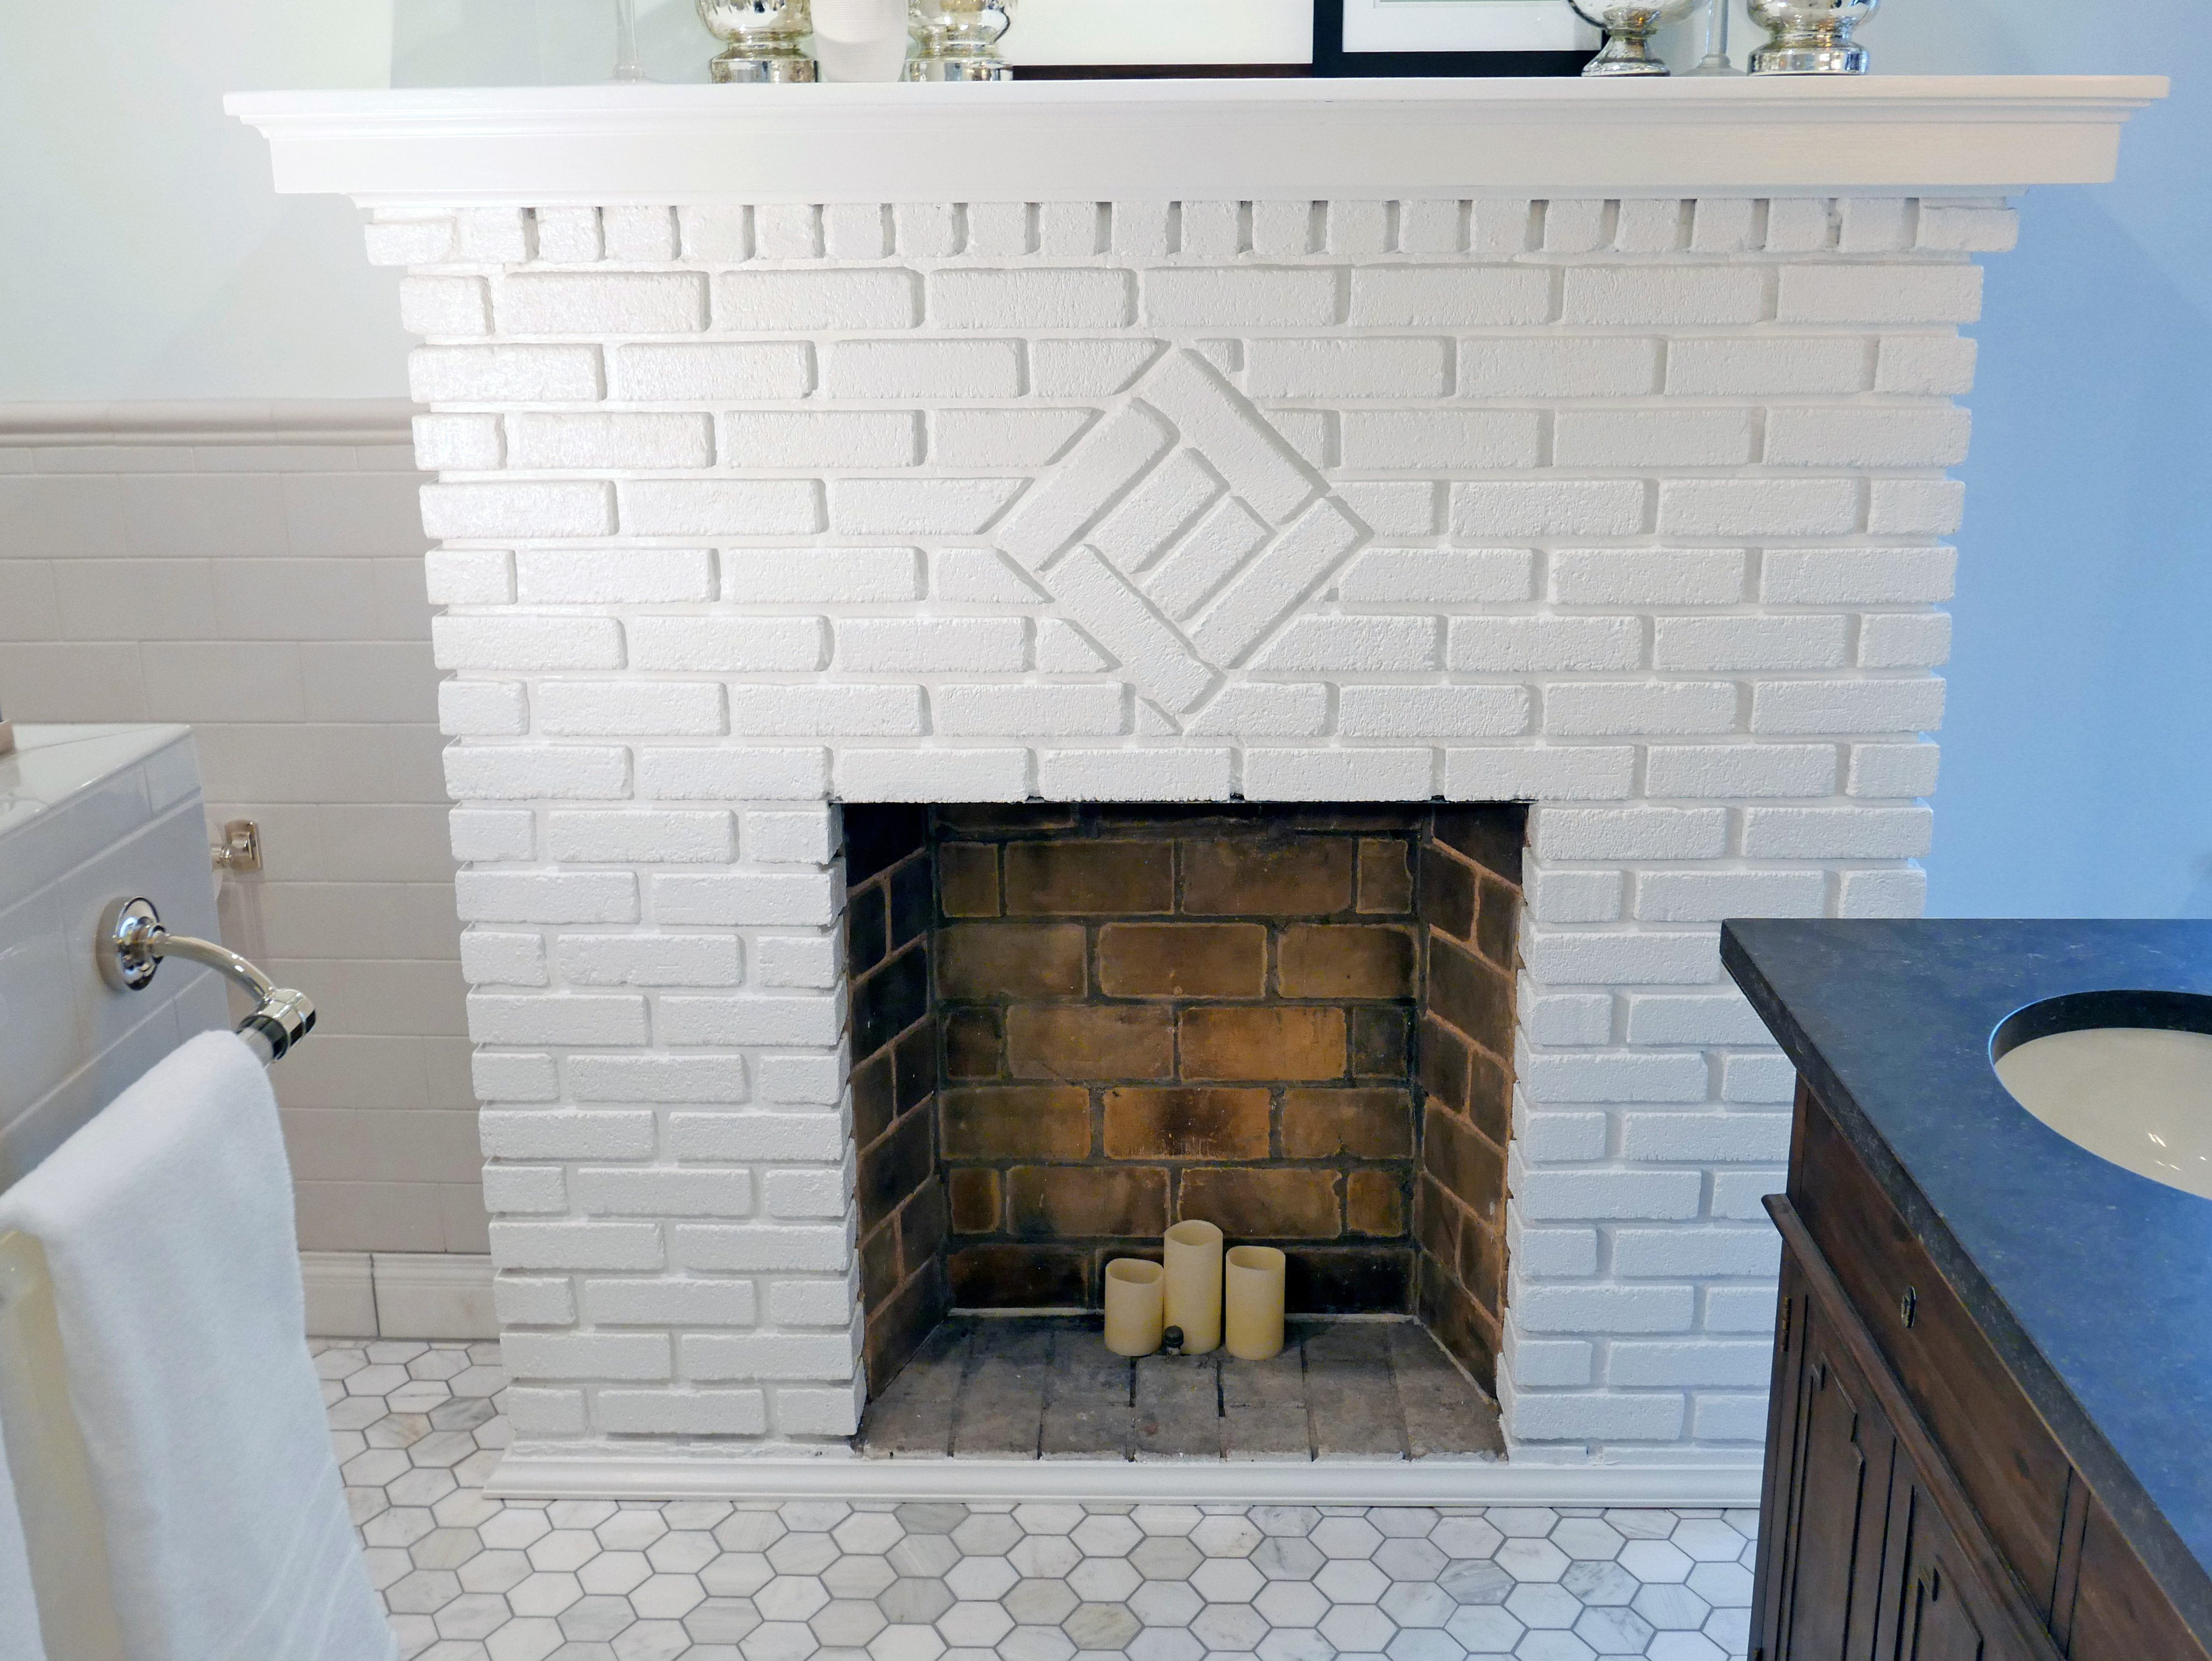
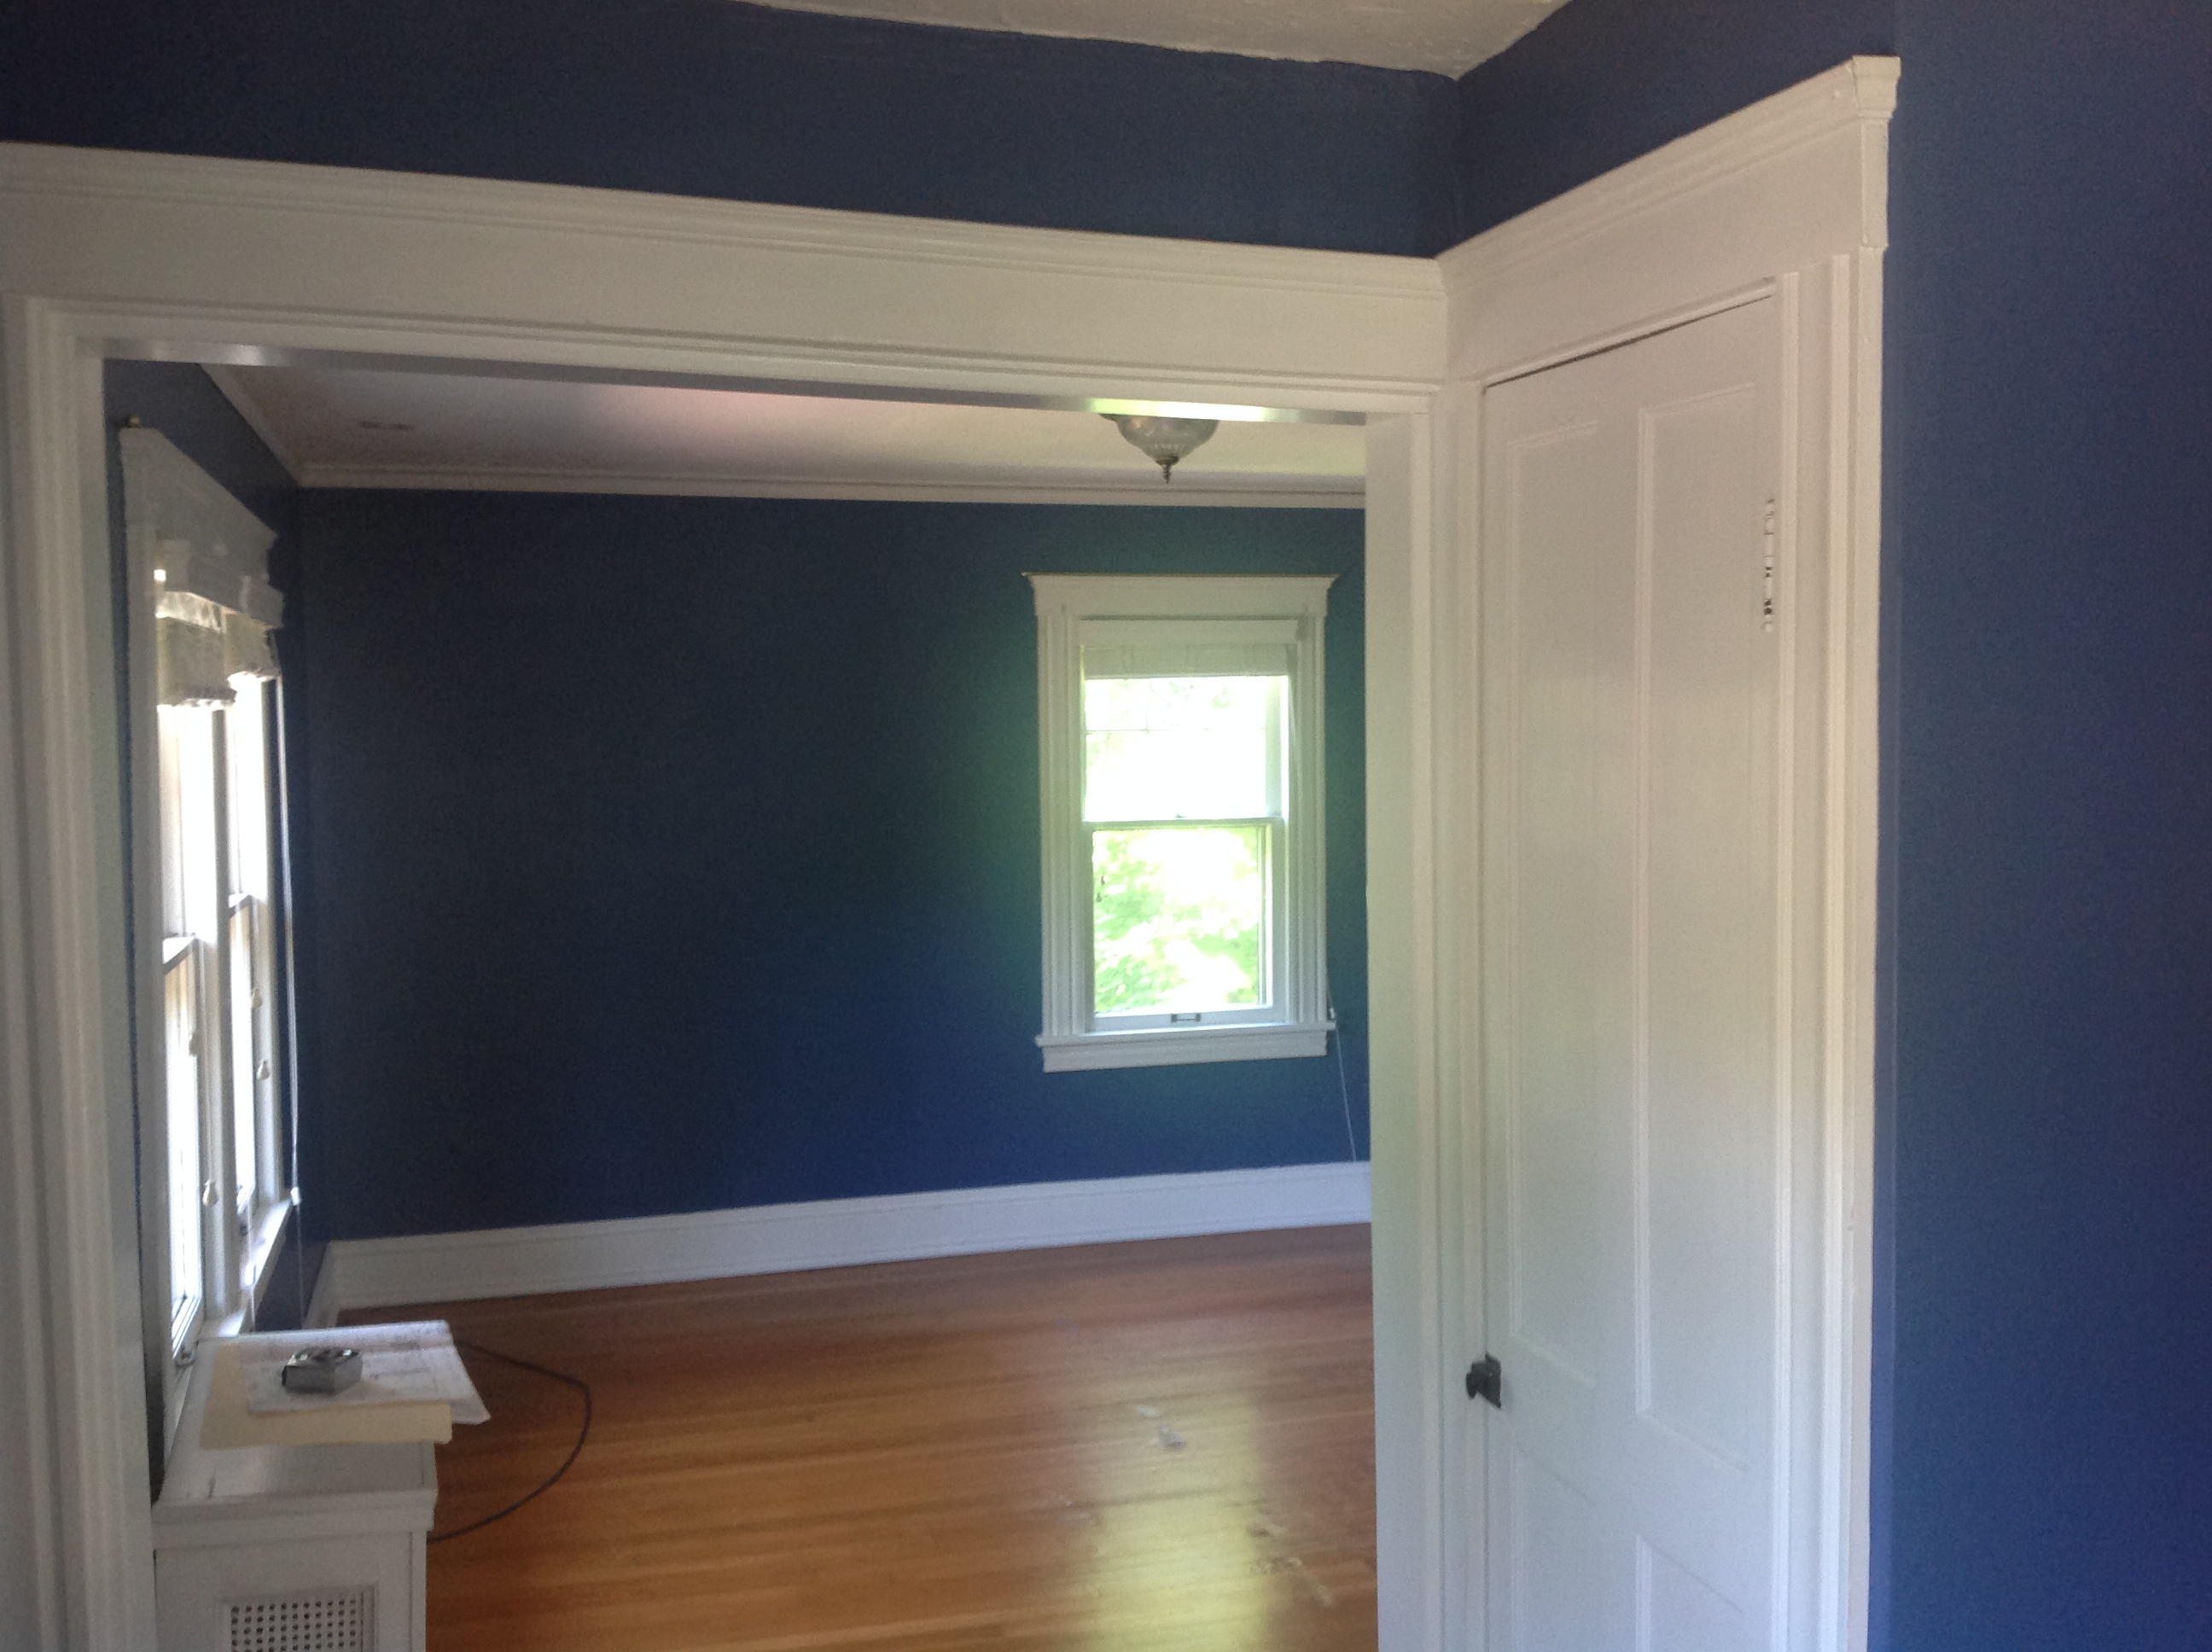
Historic Residential Bathroom

My client owns a brick colonial in historic Cleveland Heights, Ohio. The house is more than one hundred years old. The home lacked a master bathroom and adequate closet space for a modern couple. My client asked me to transform a sitting room off the master bedroom into a master bathroom suite. The sitting room had many obstacles to overcome, including several windows which had to remain, and more than one entry into the room. The floors and ceiling were far from level. Before our construction project, there was only one full bathroom on the second floor of this house and no master bathroom.

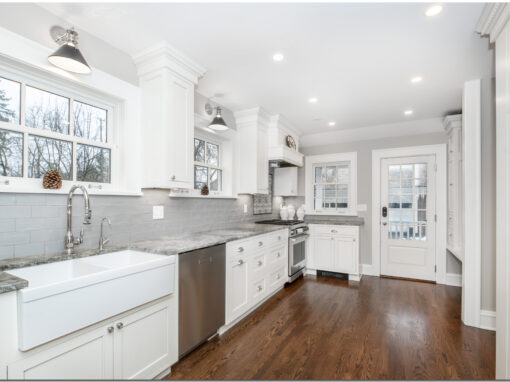
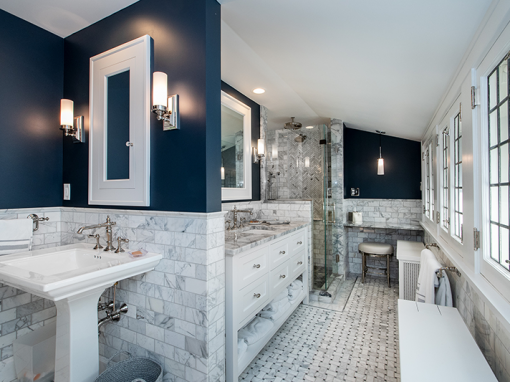
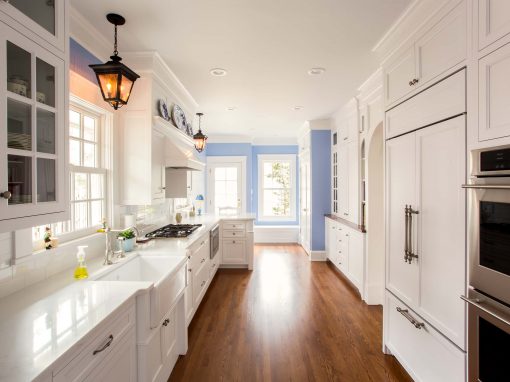
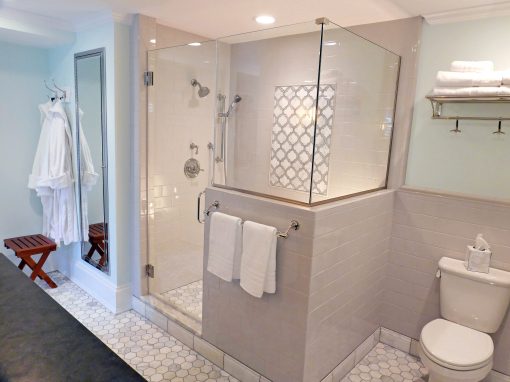
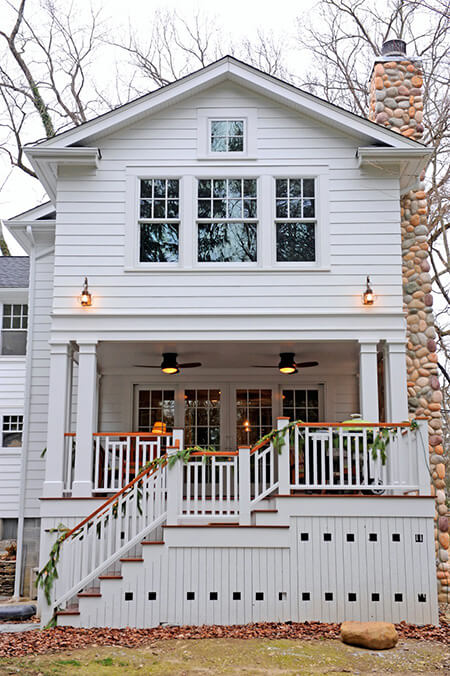
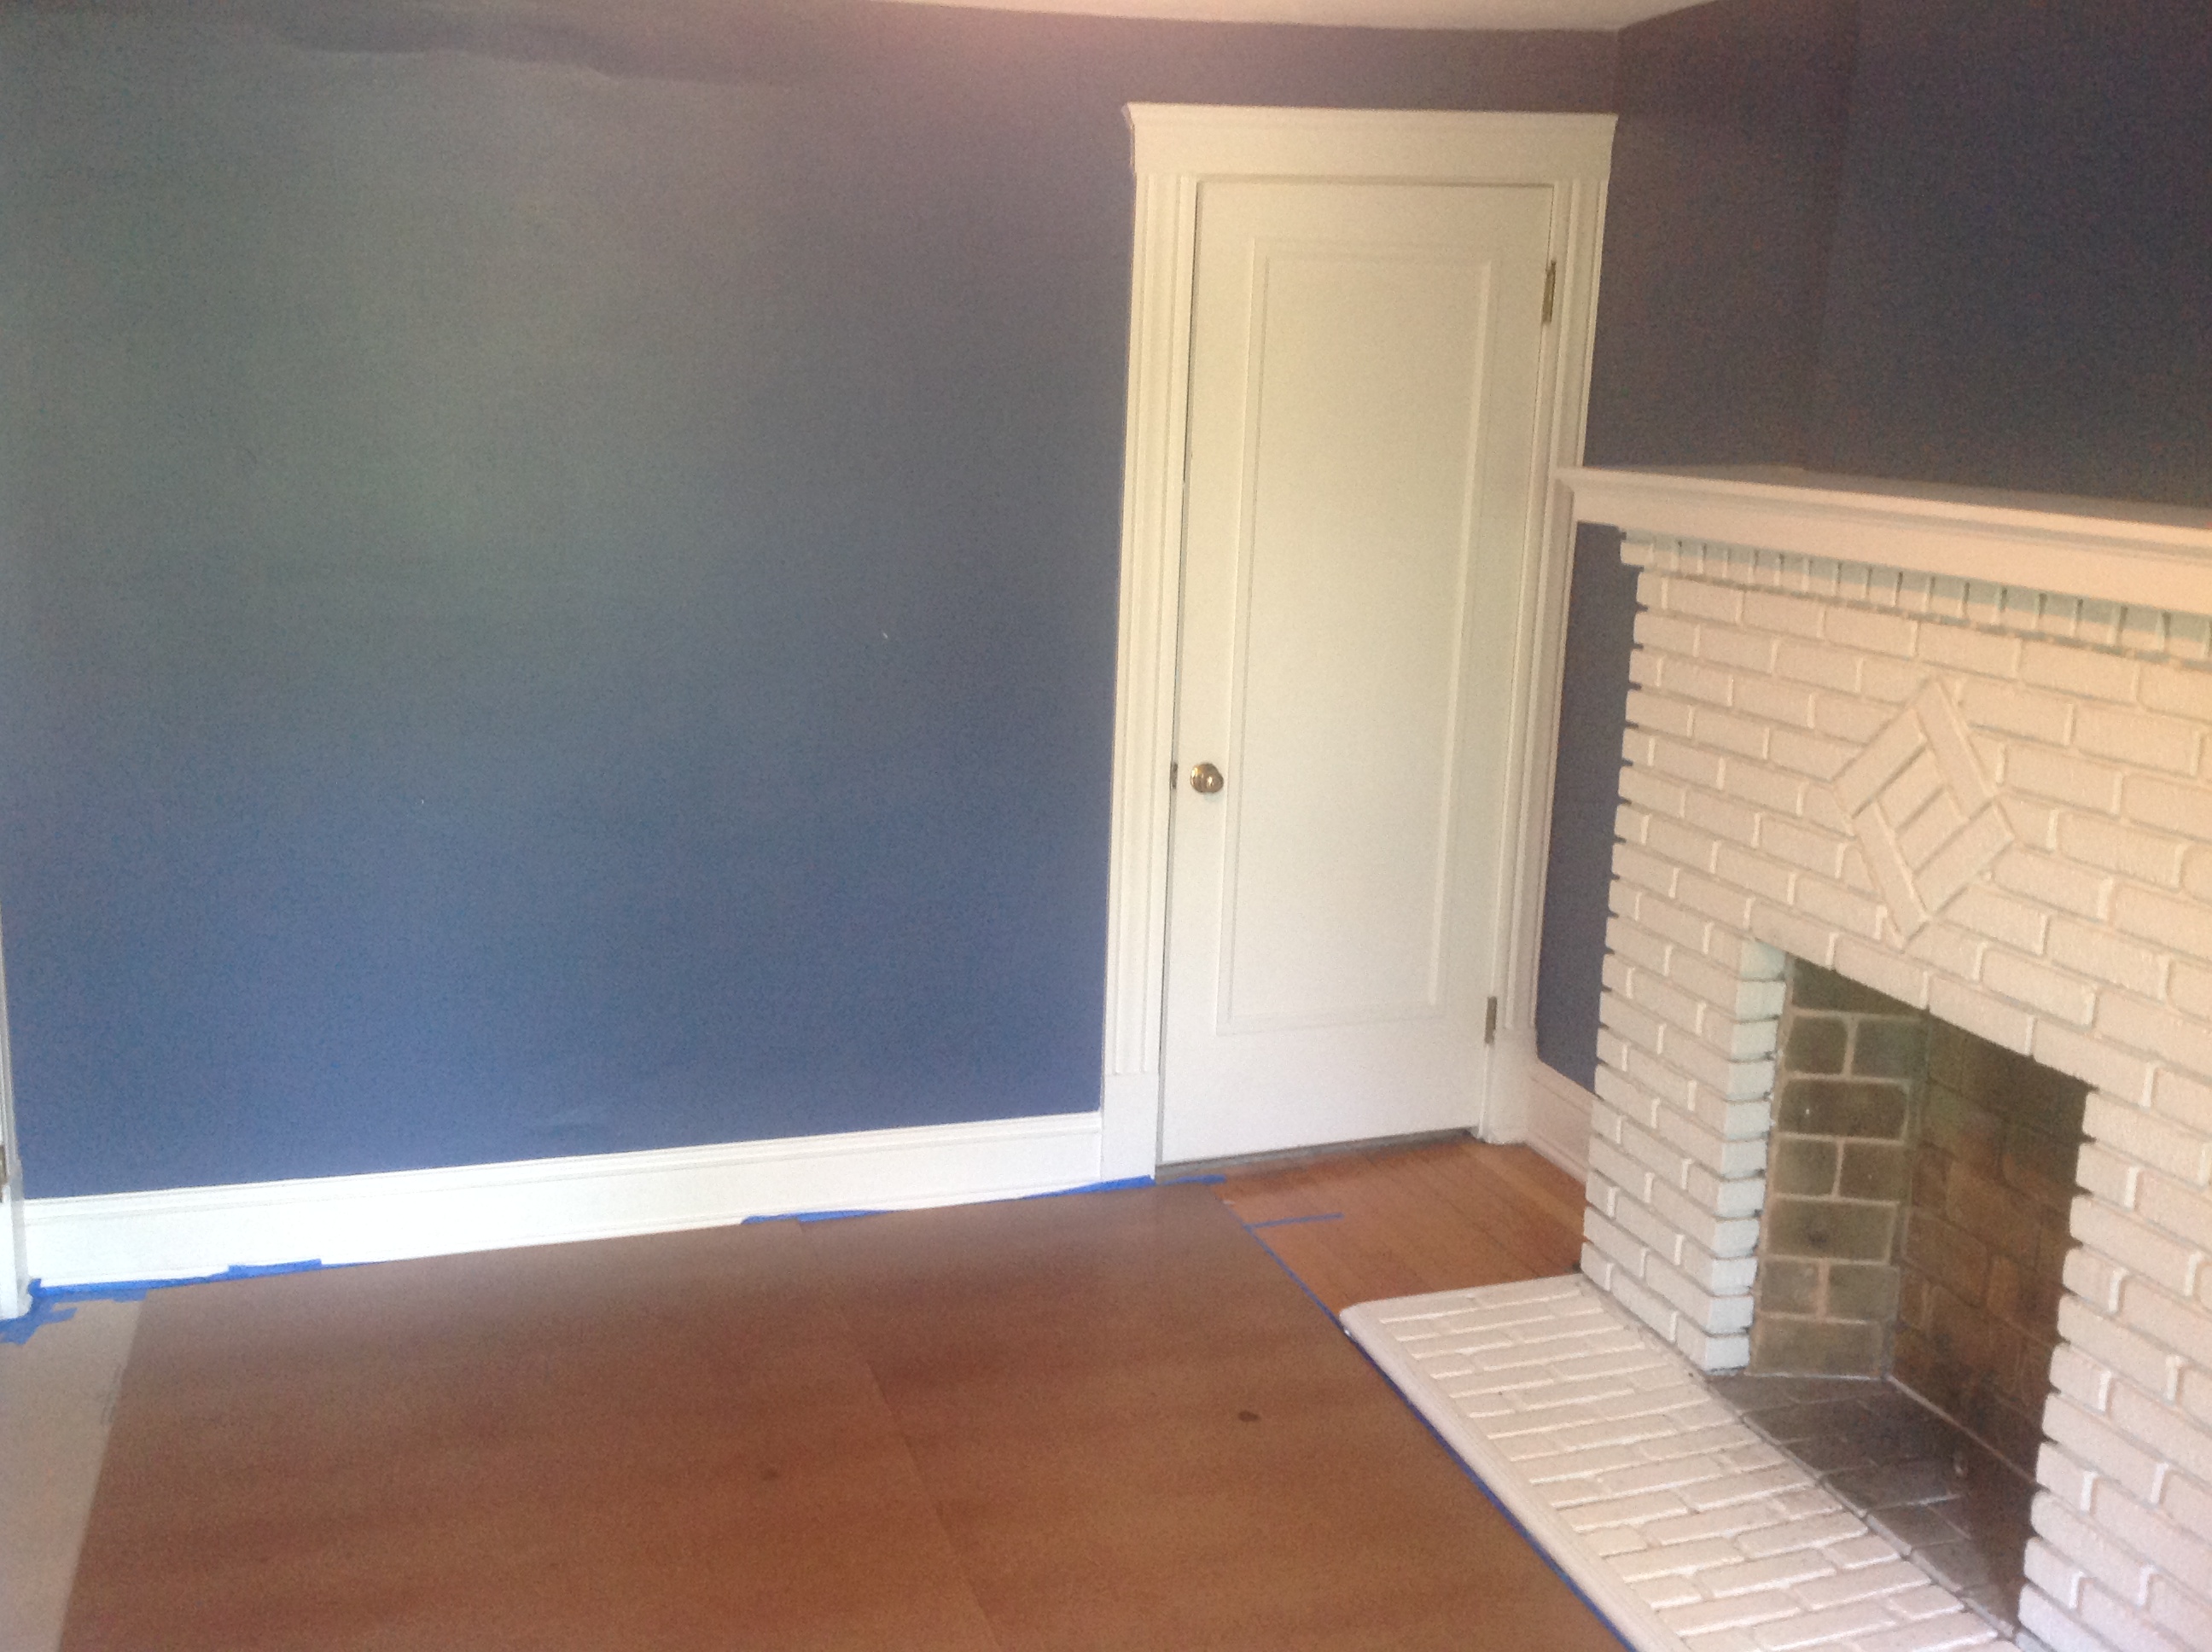
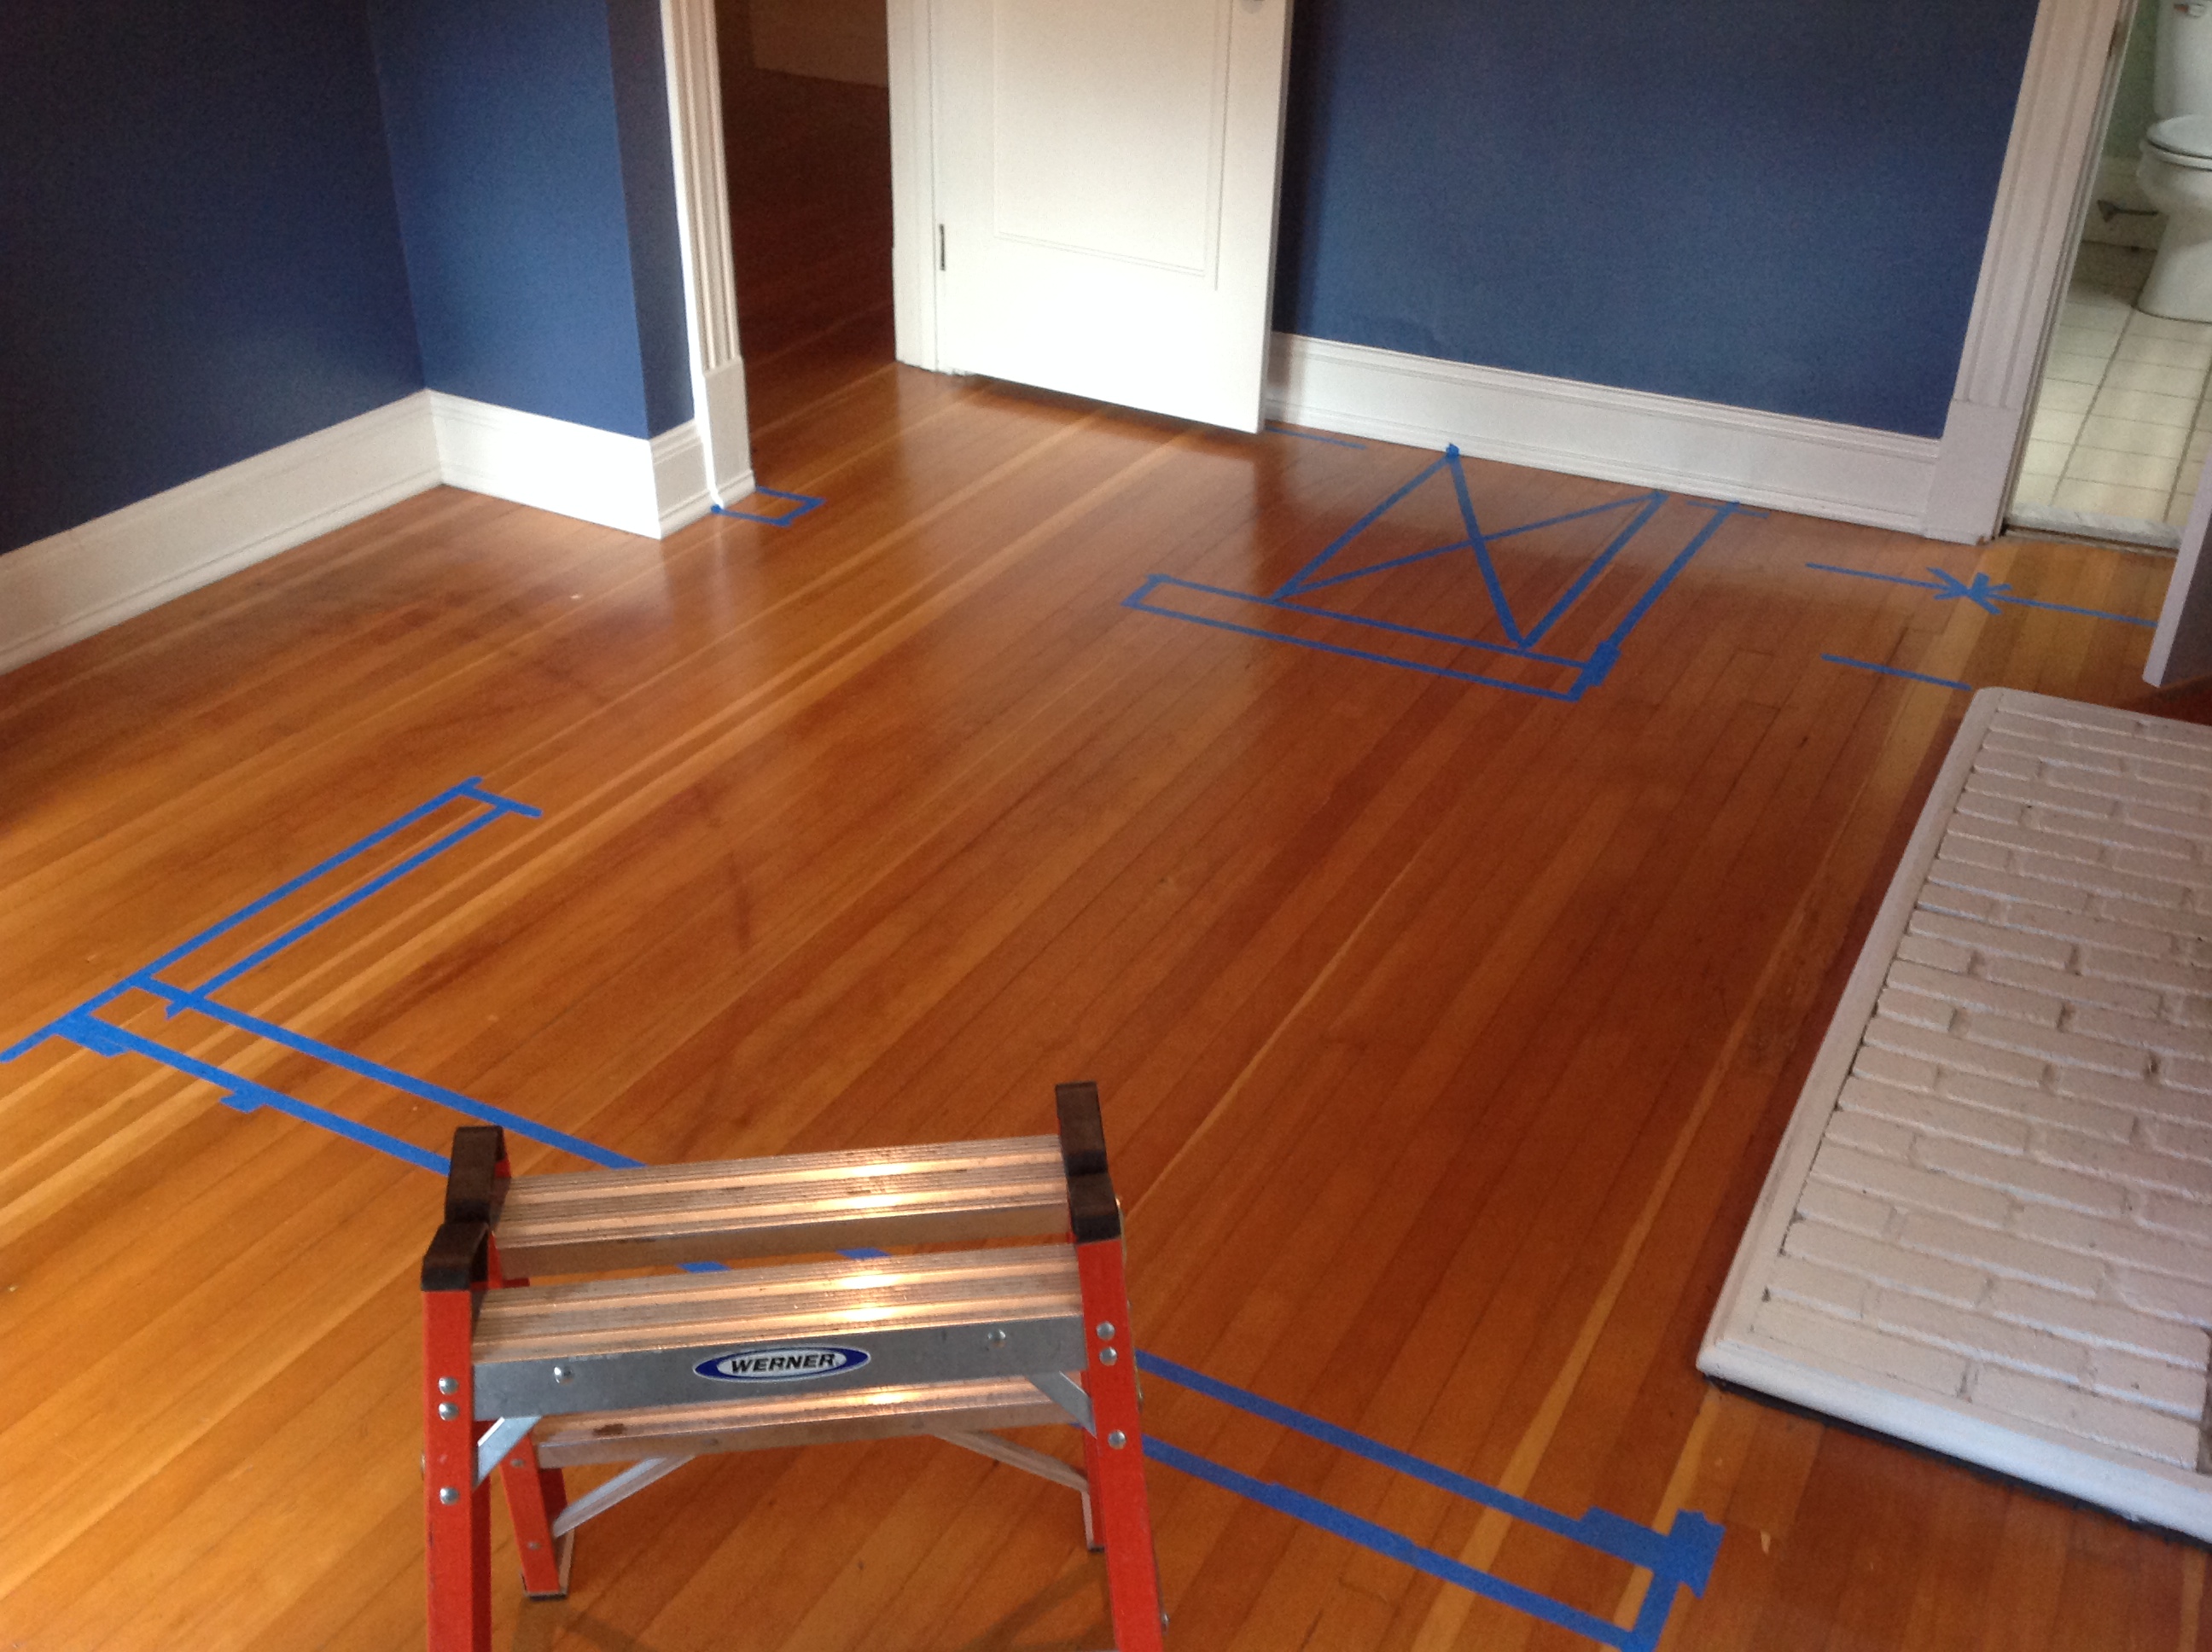
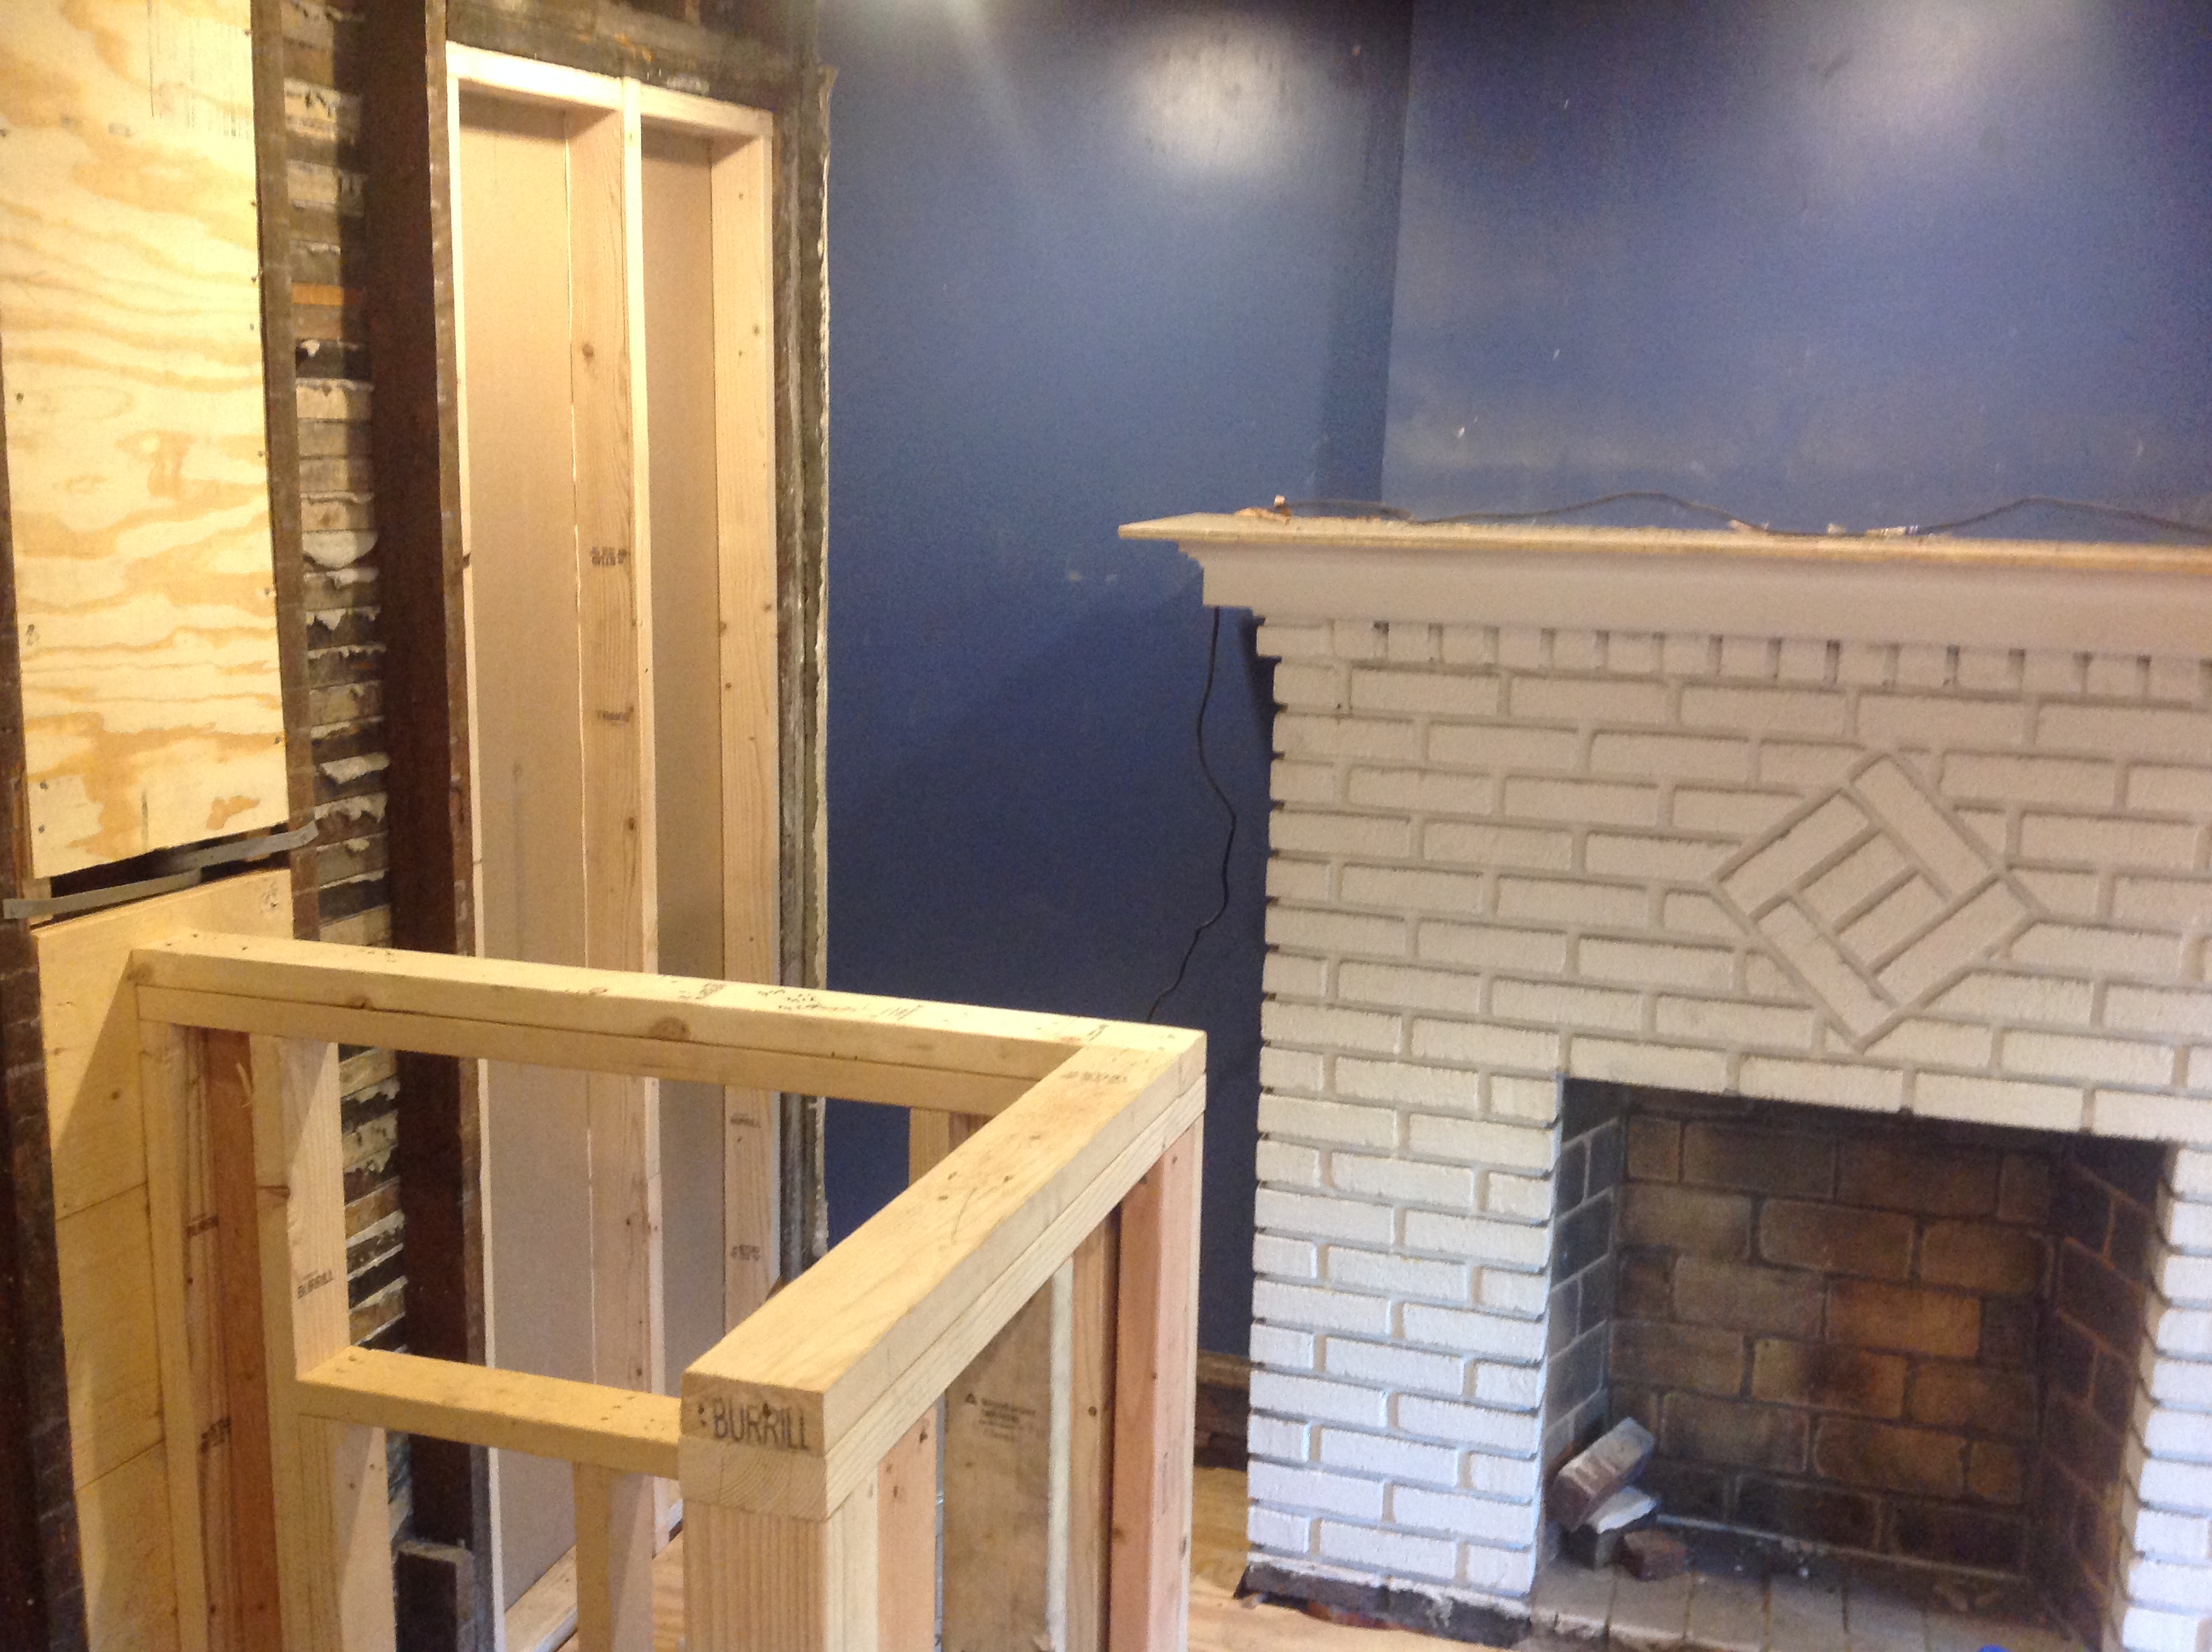
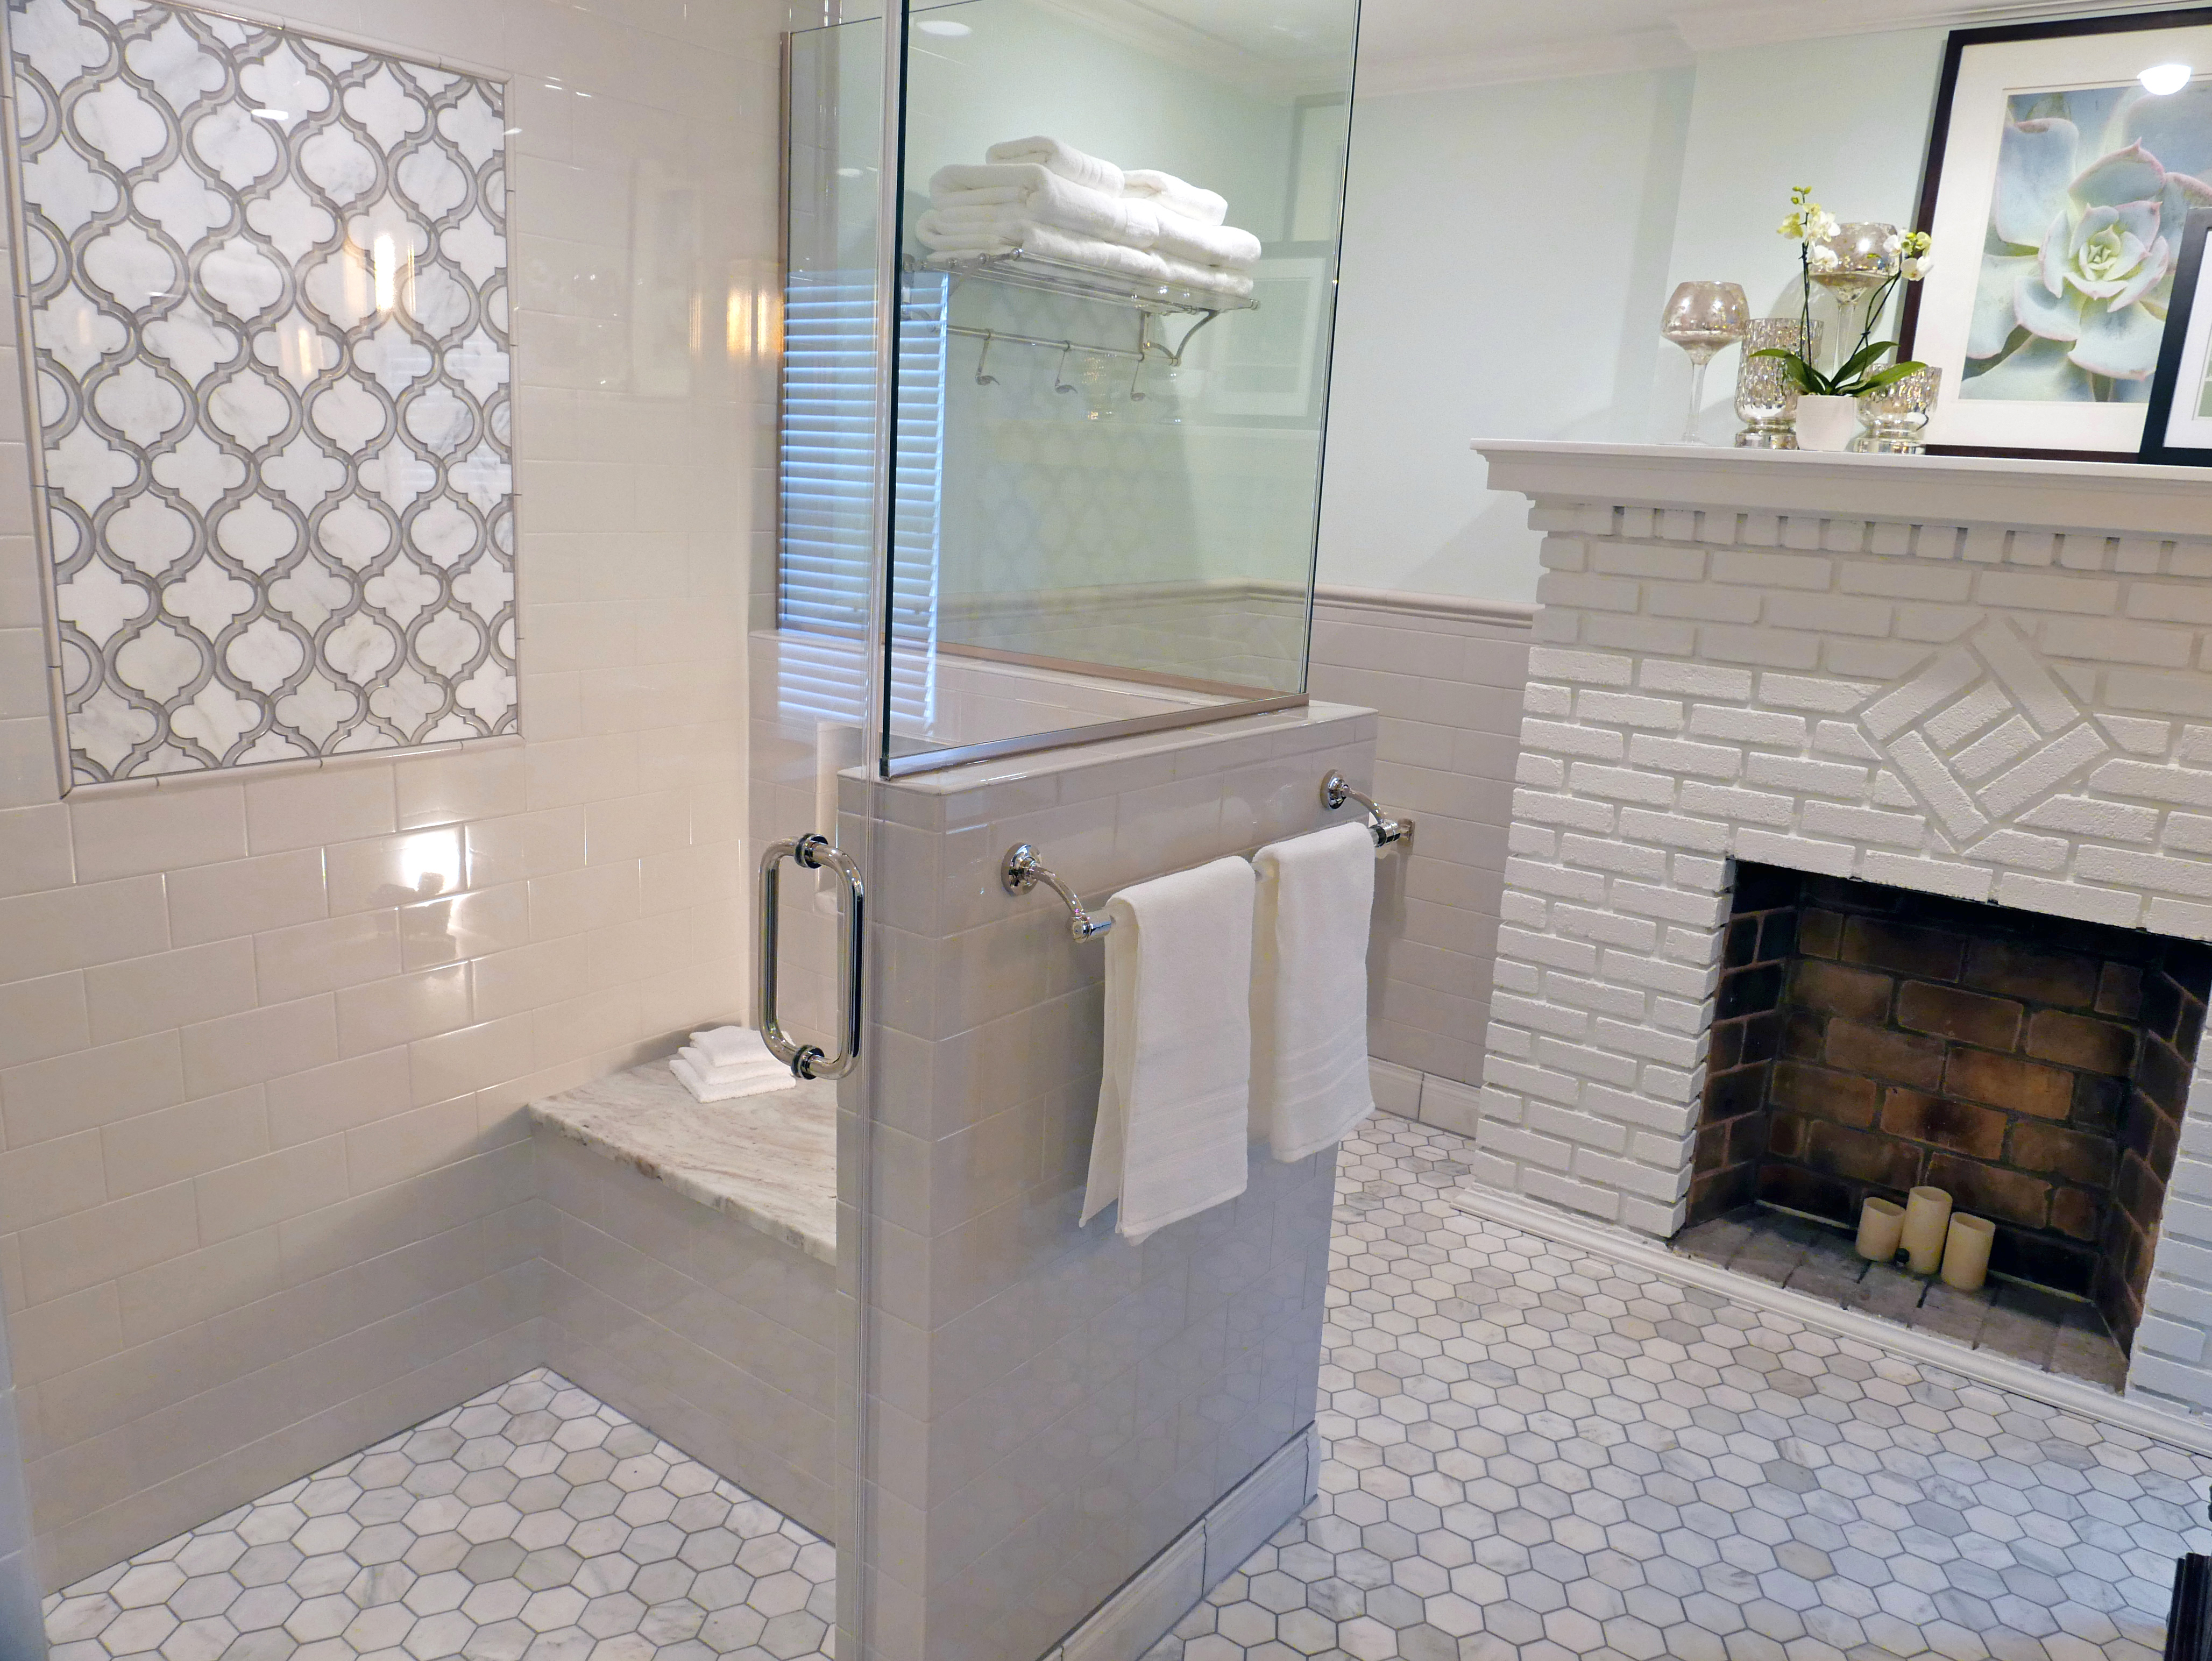
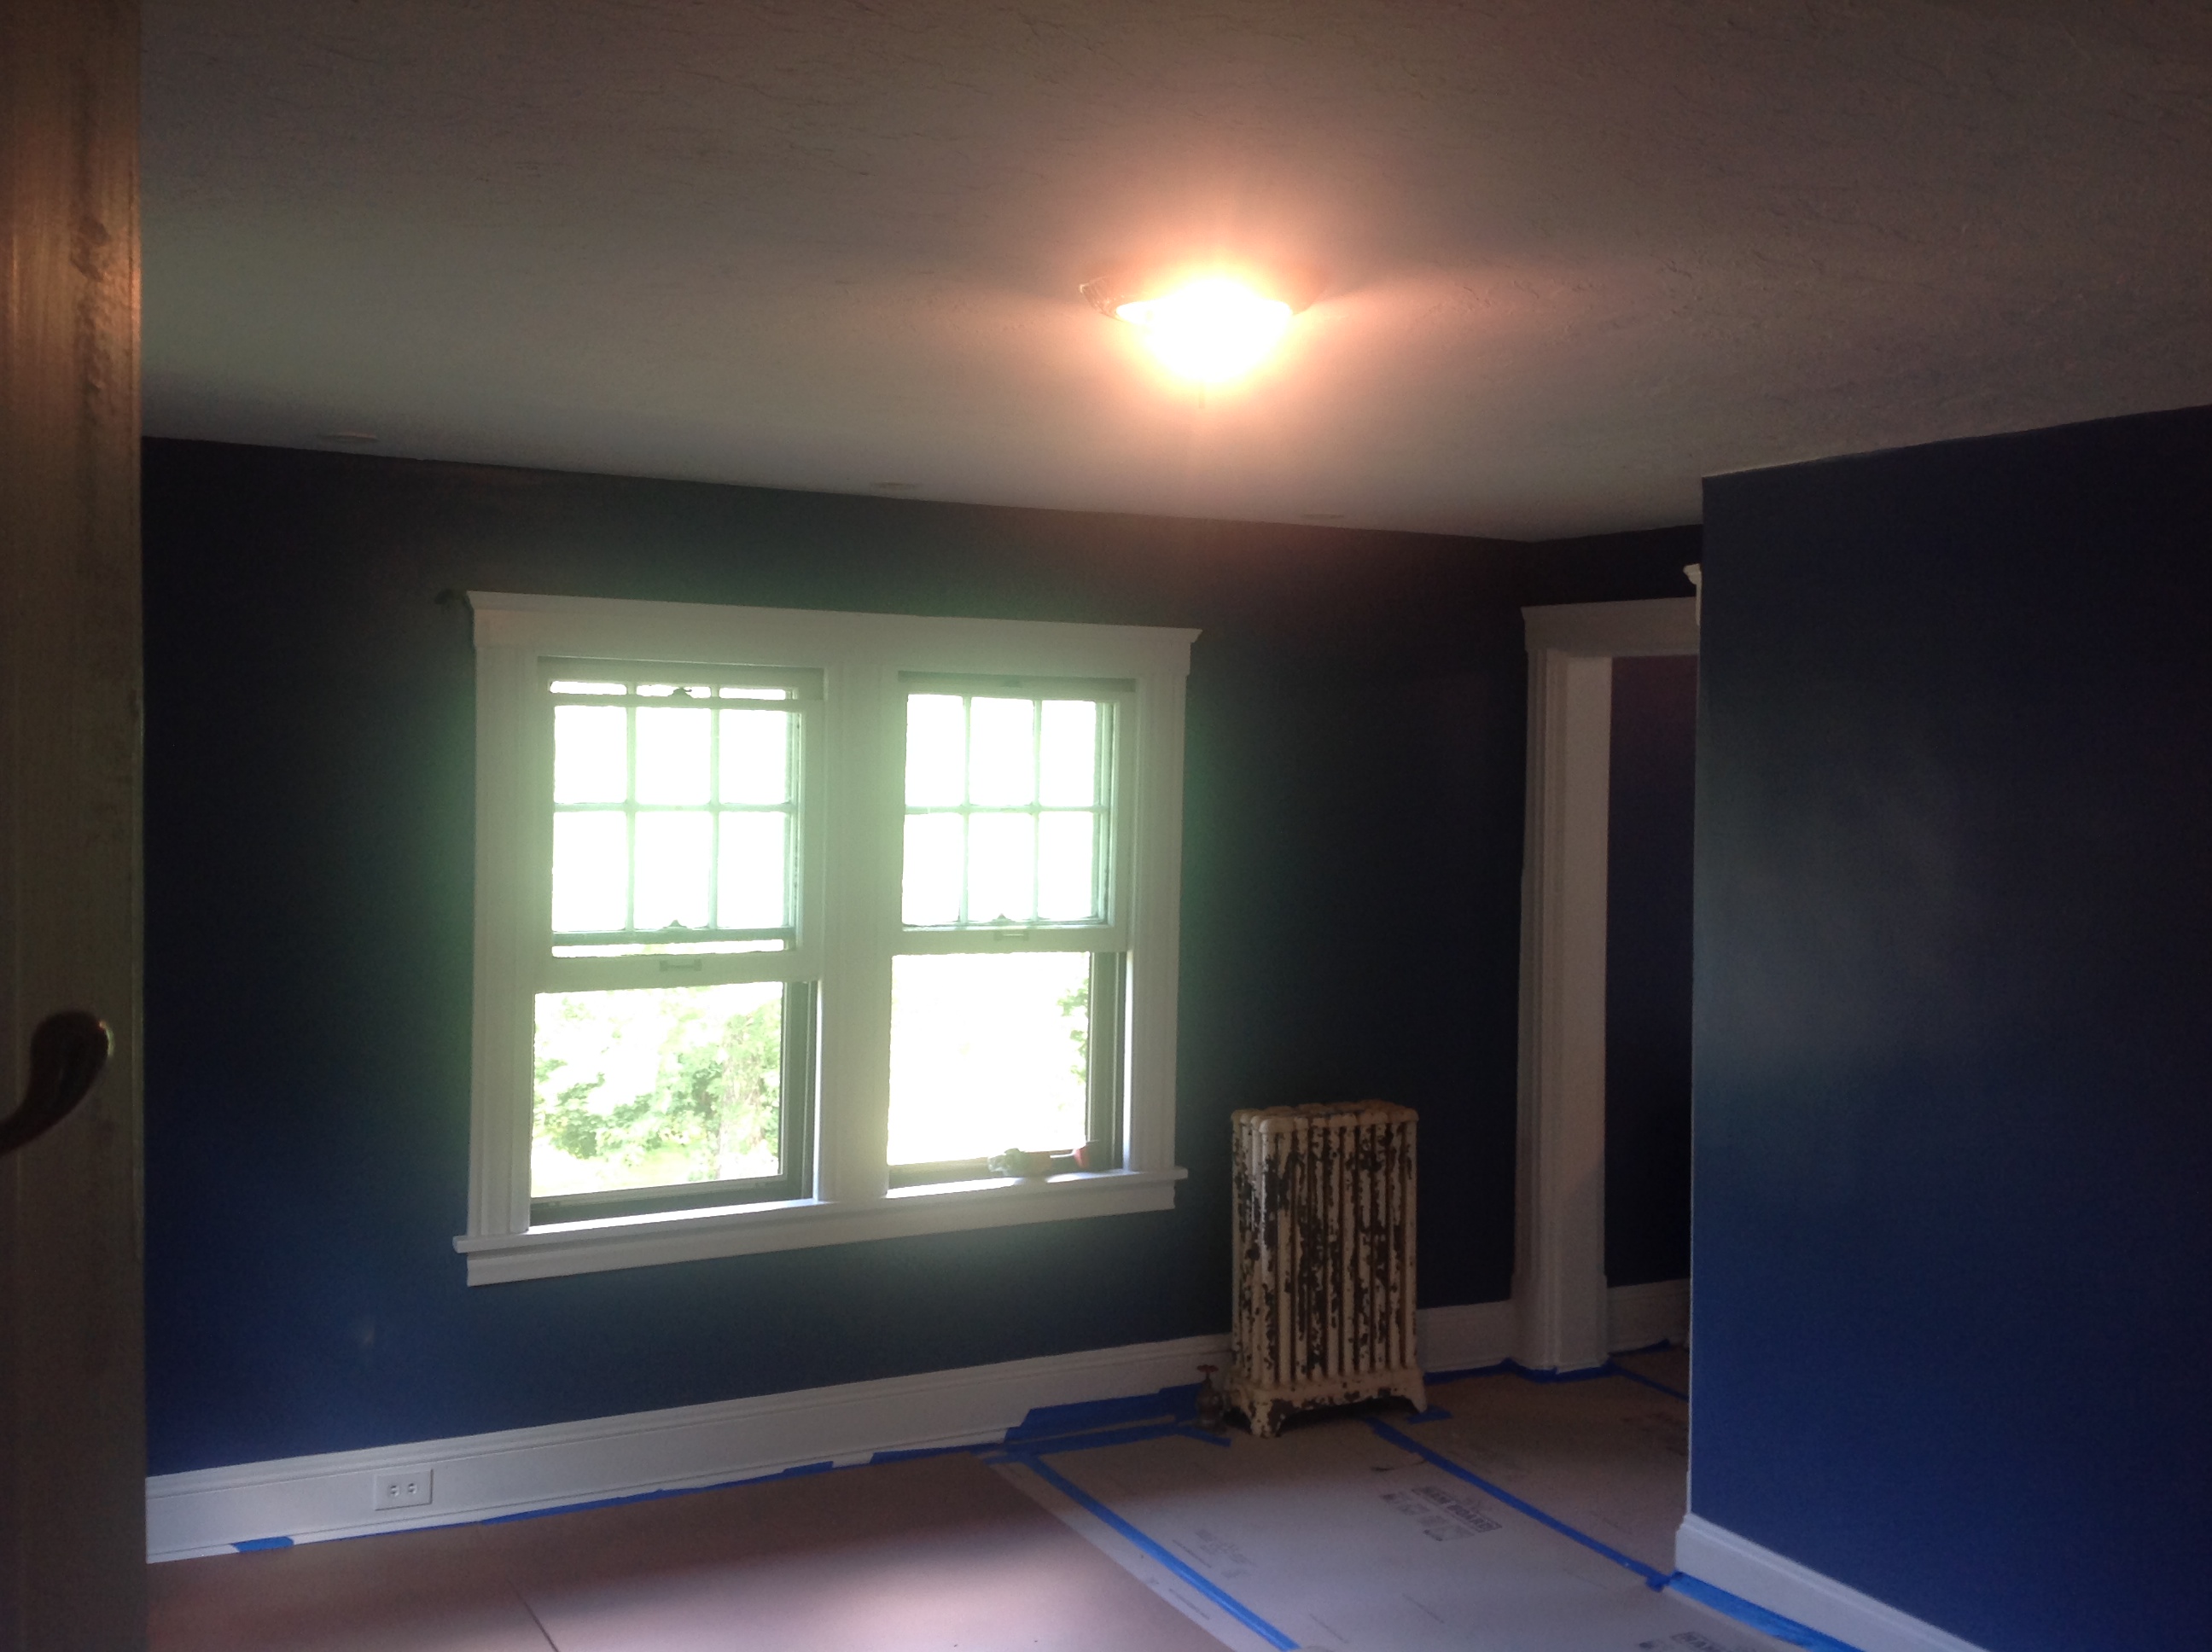
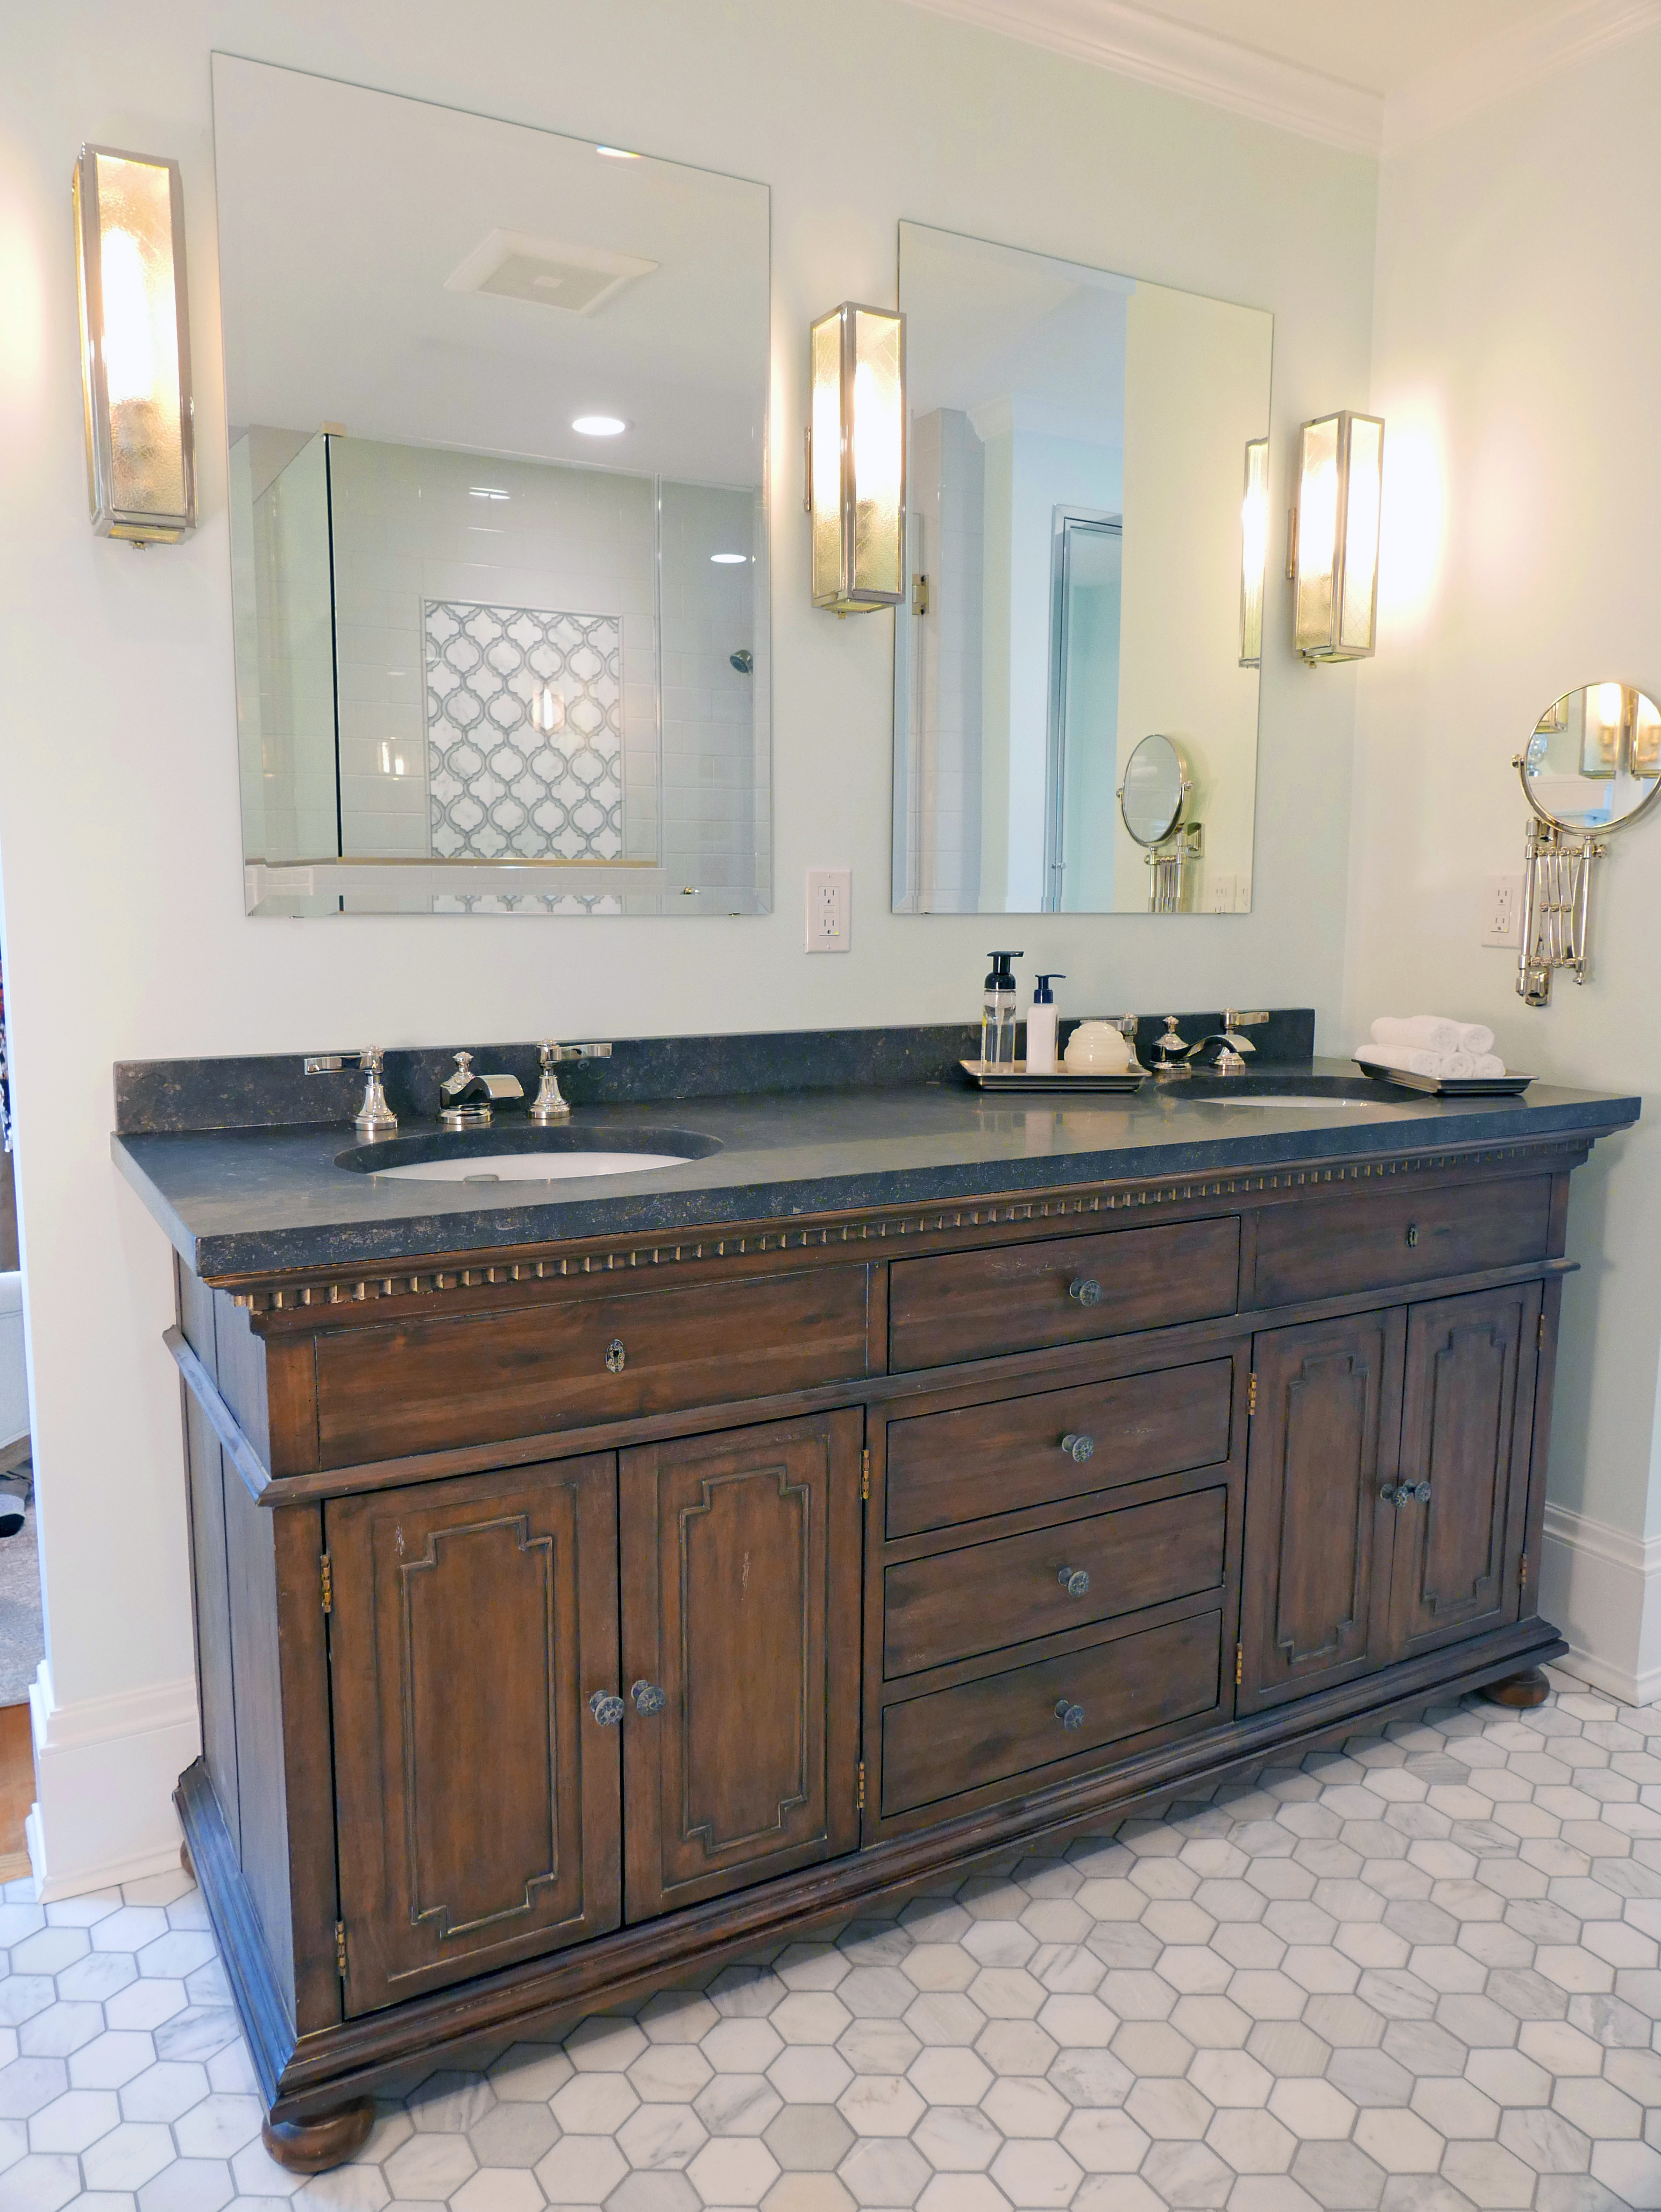
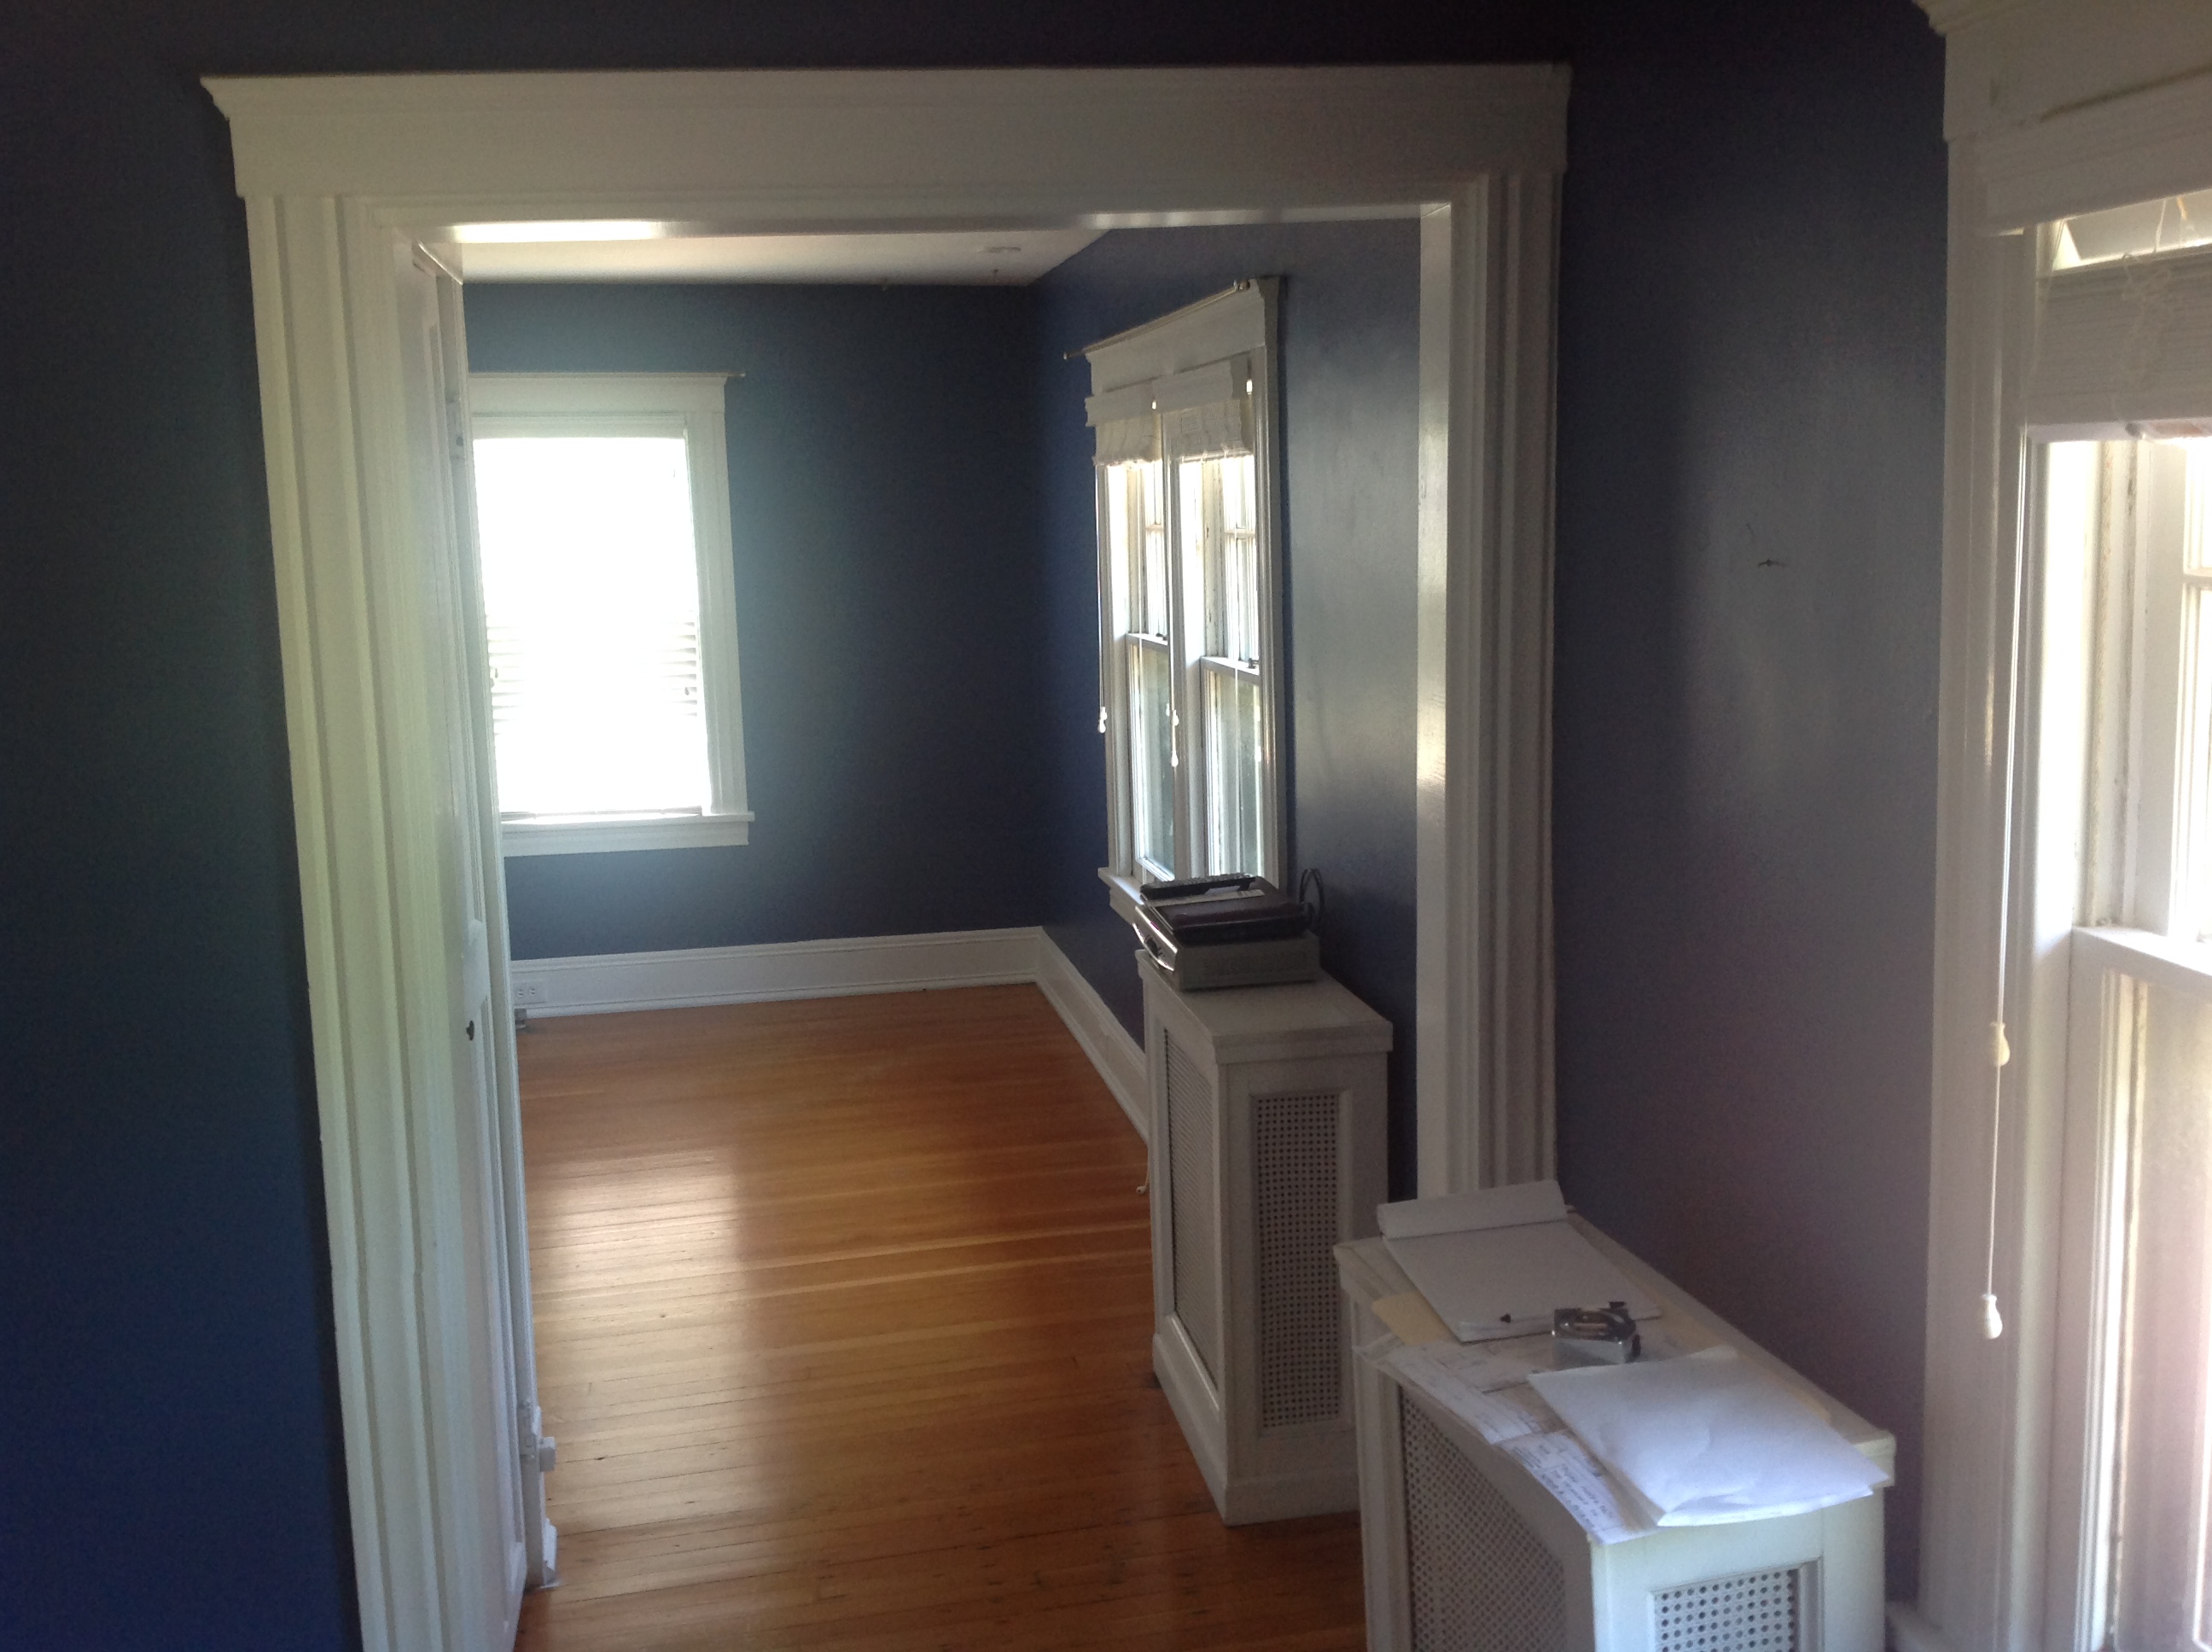
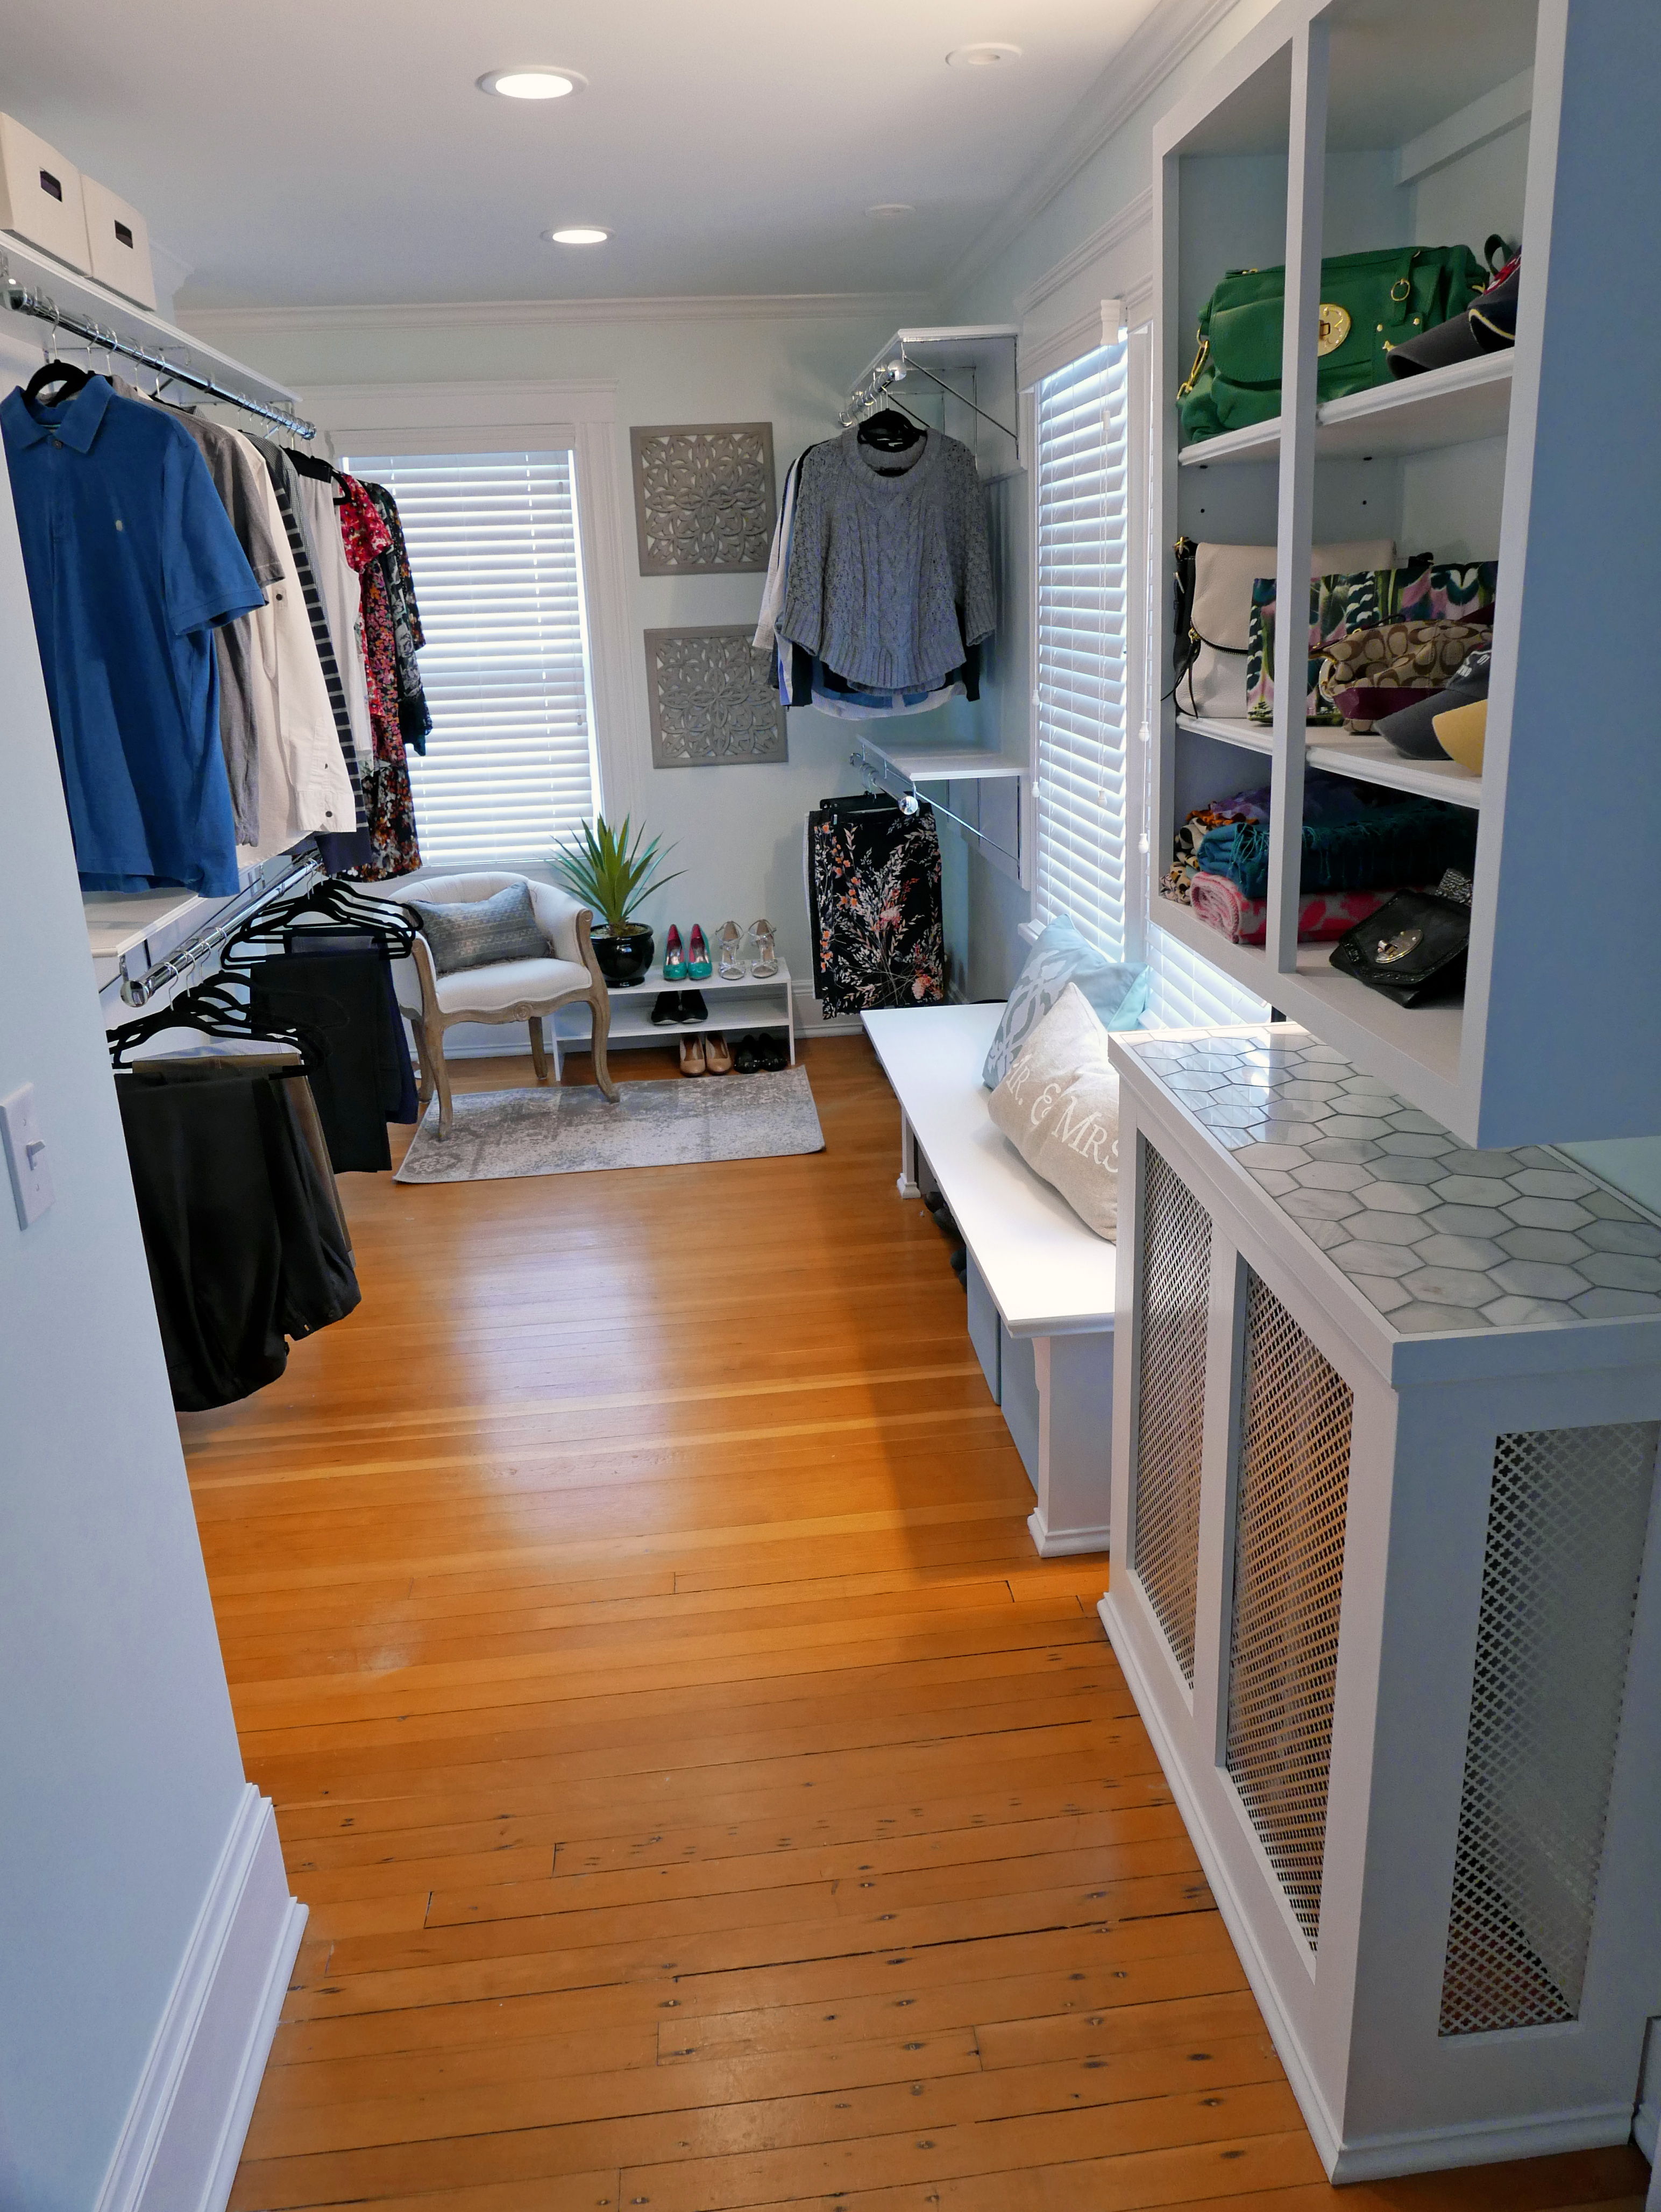
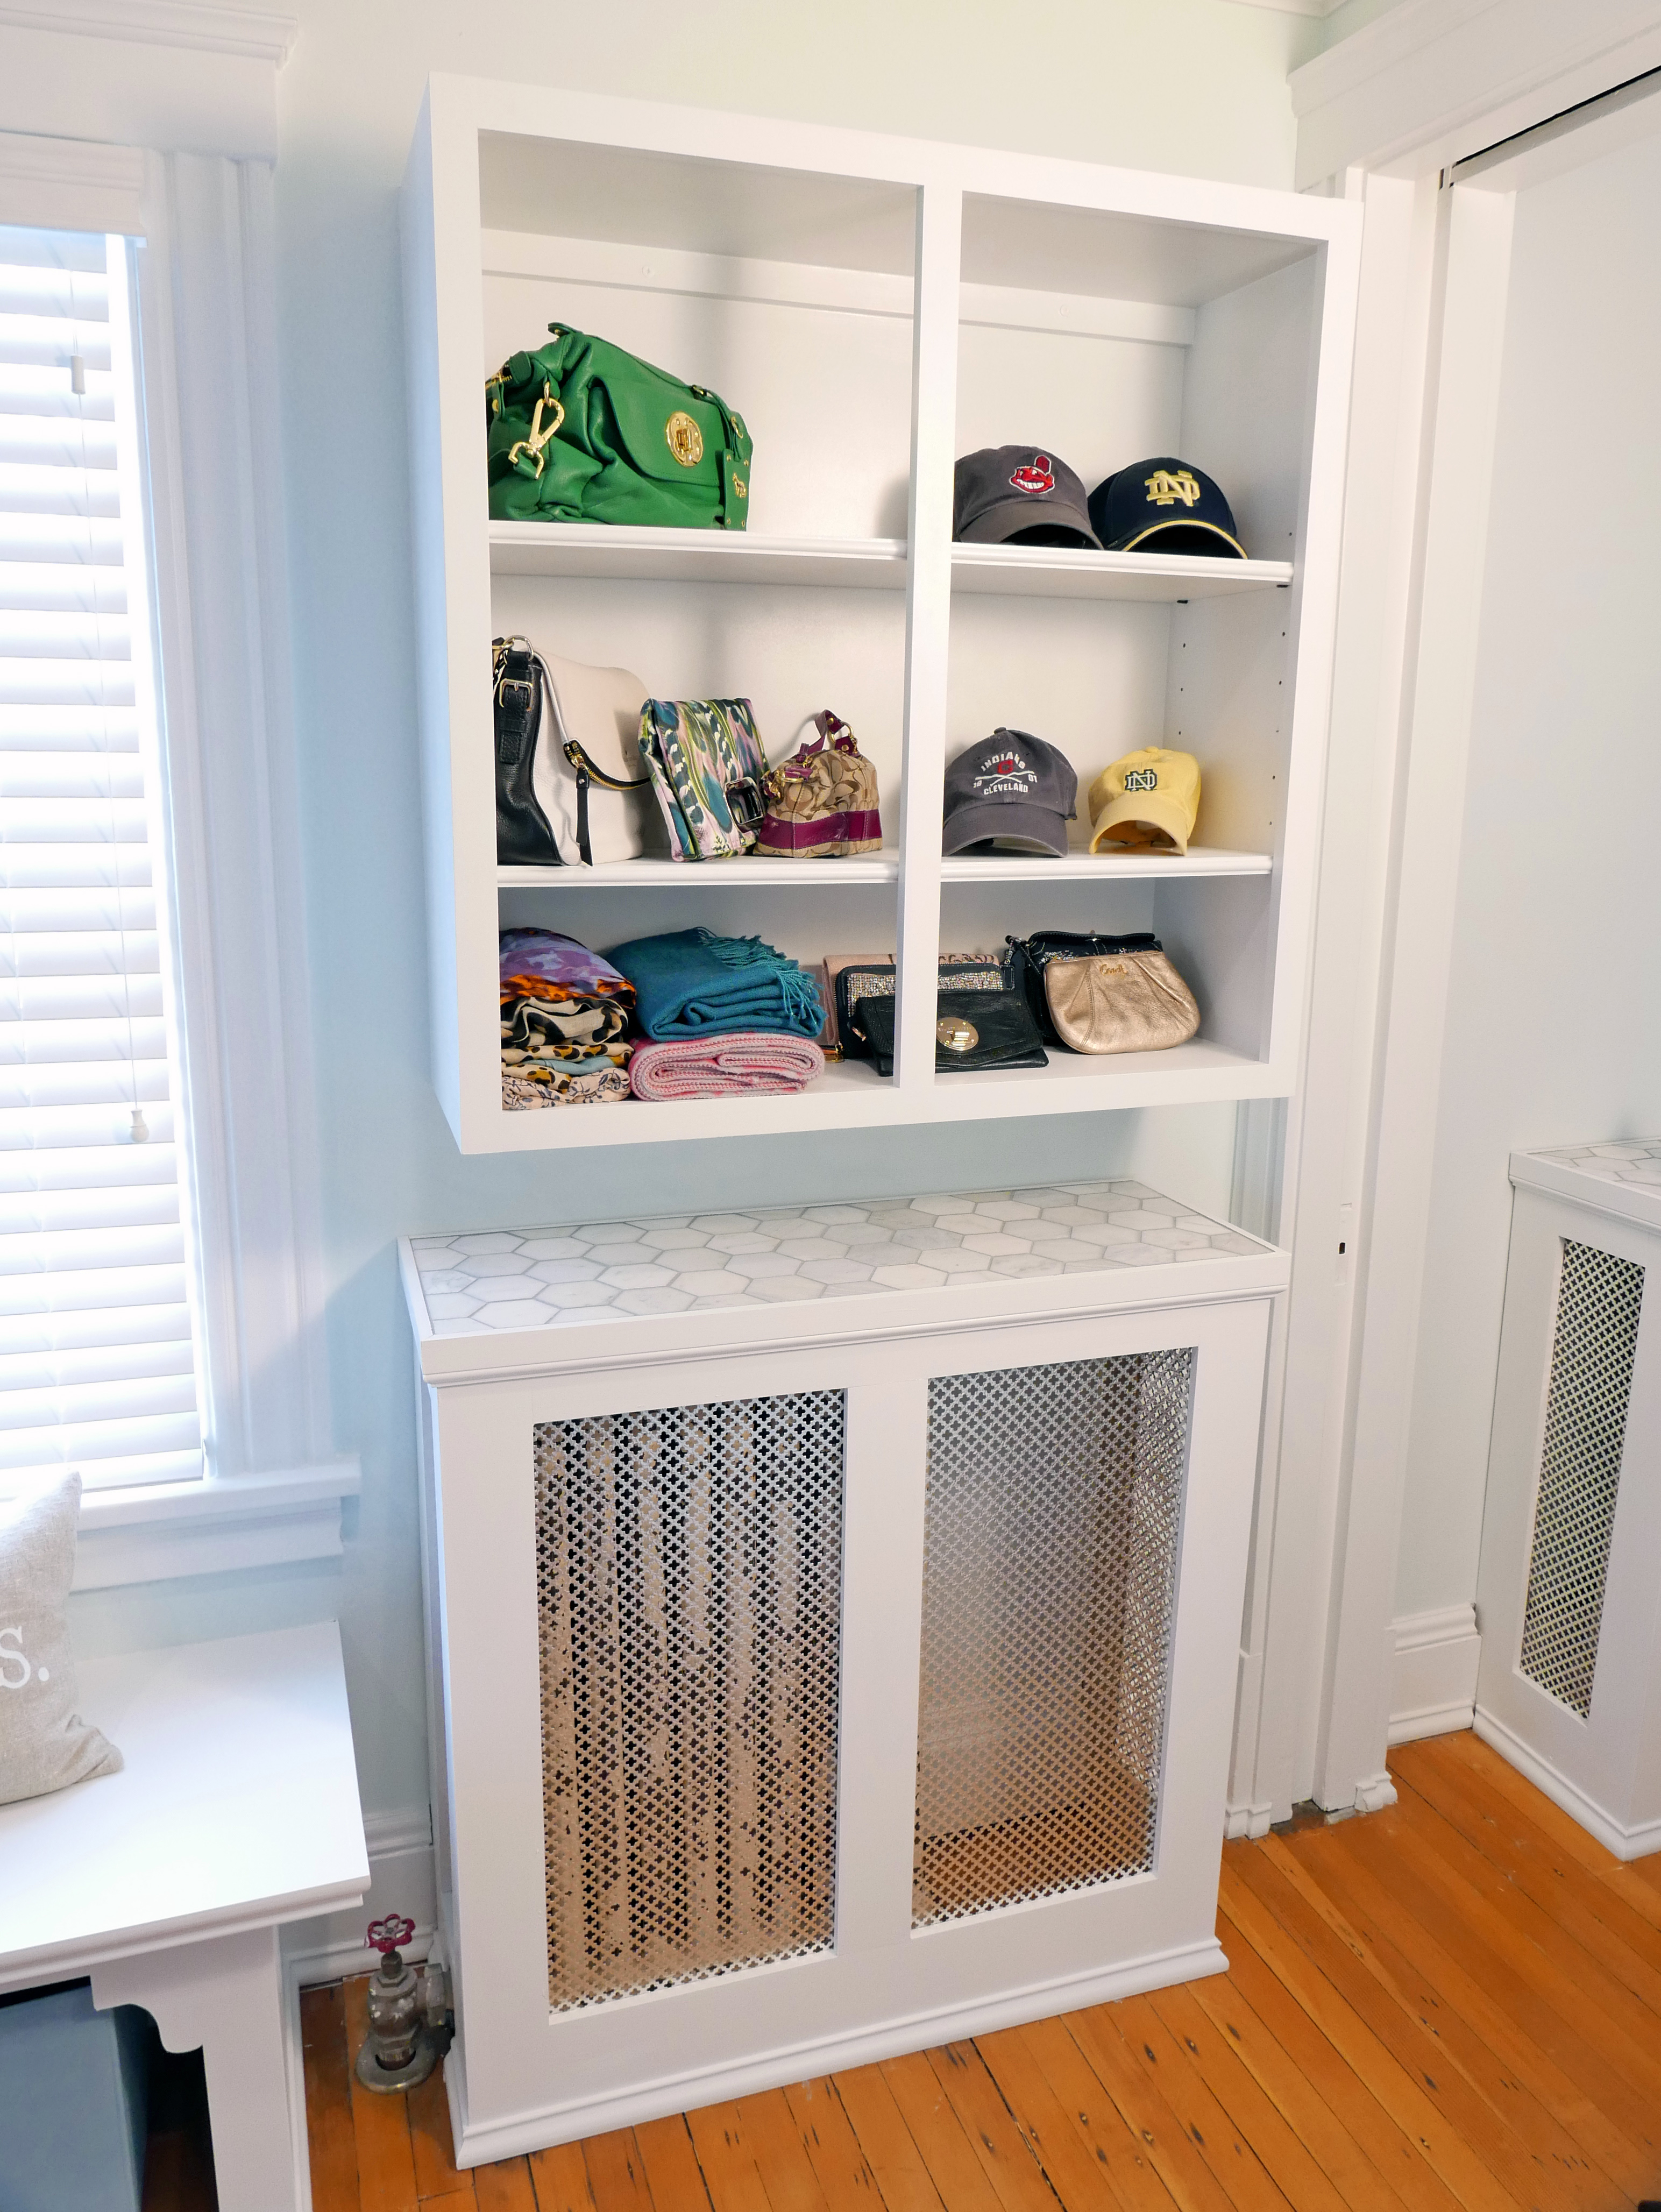
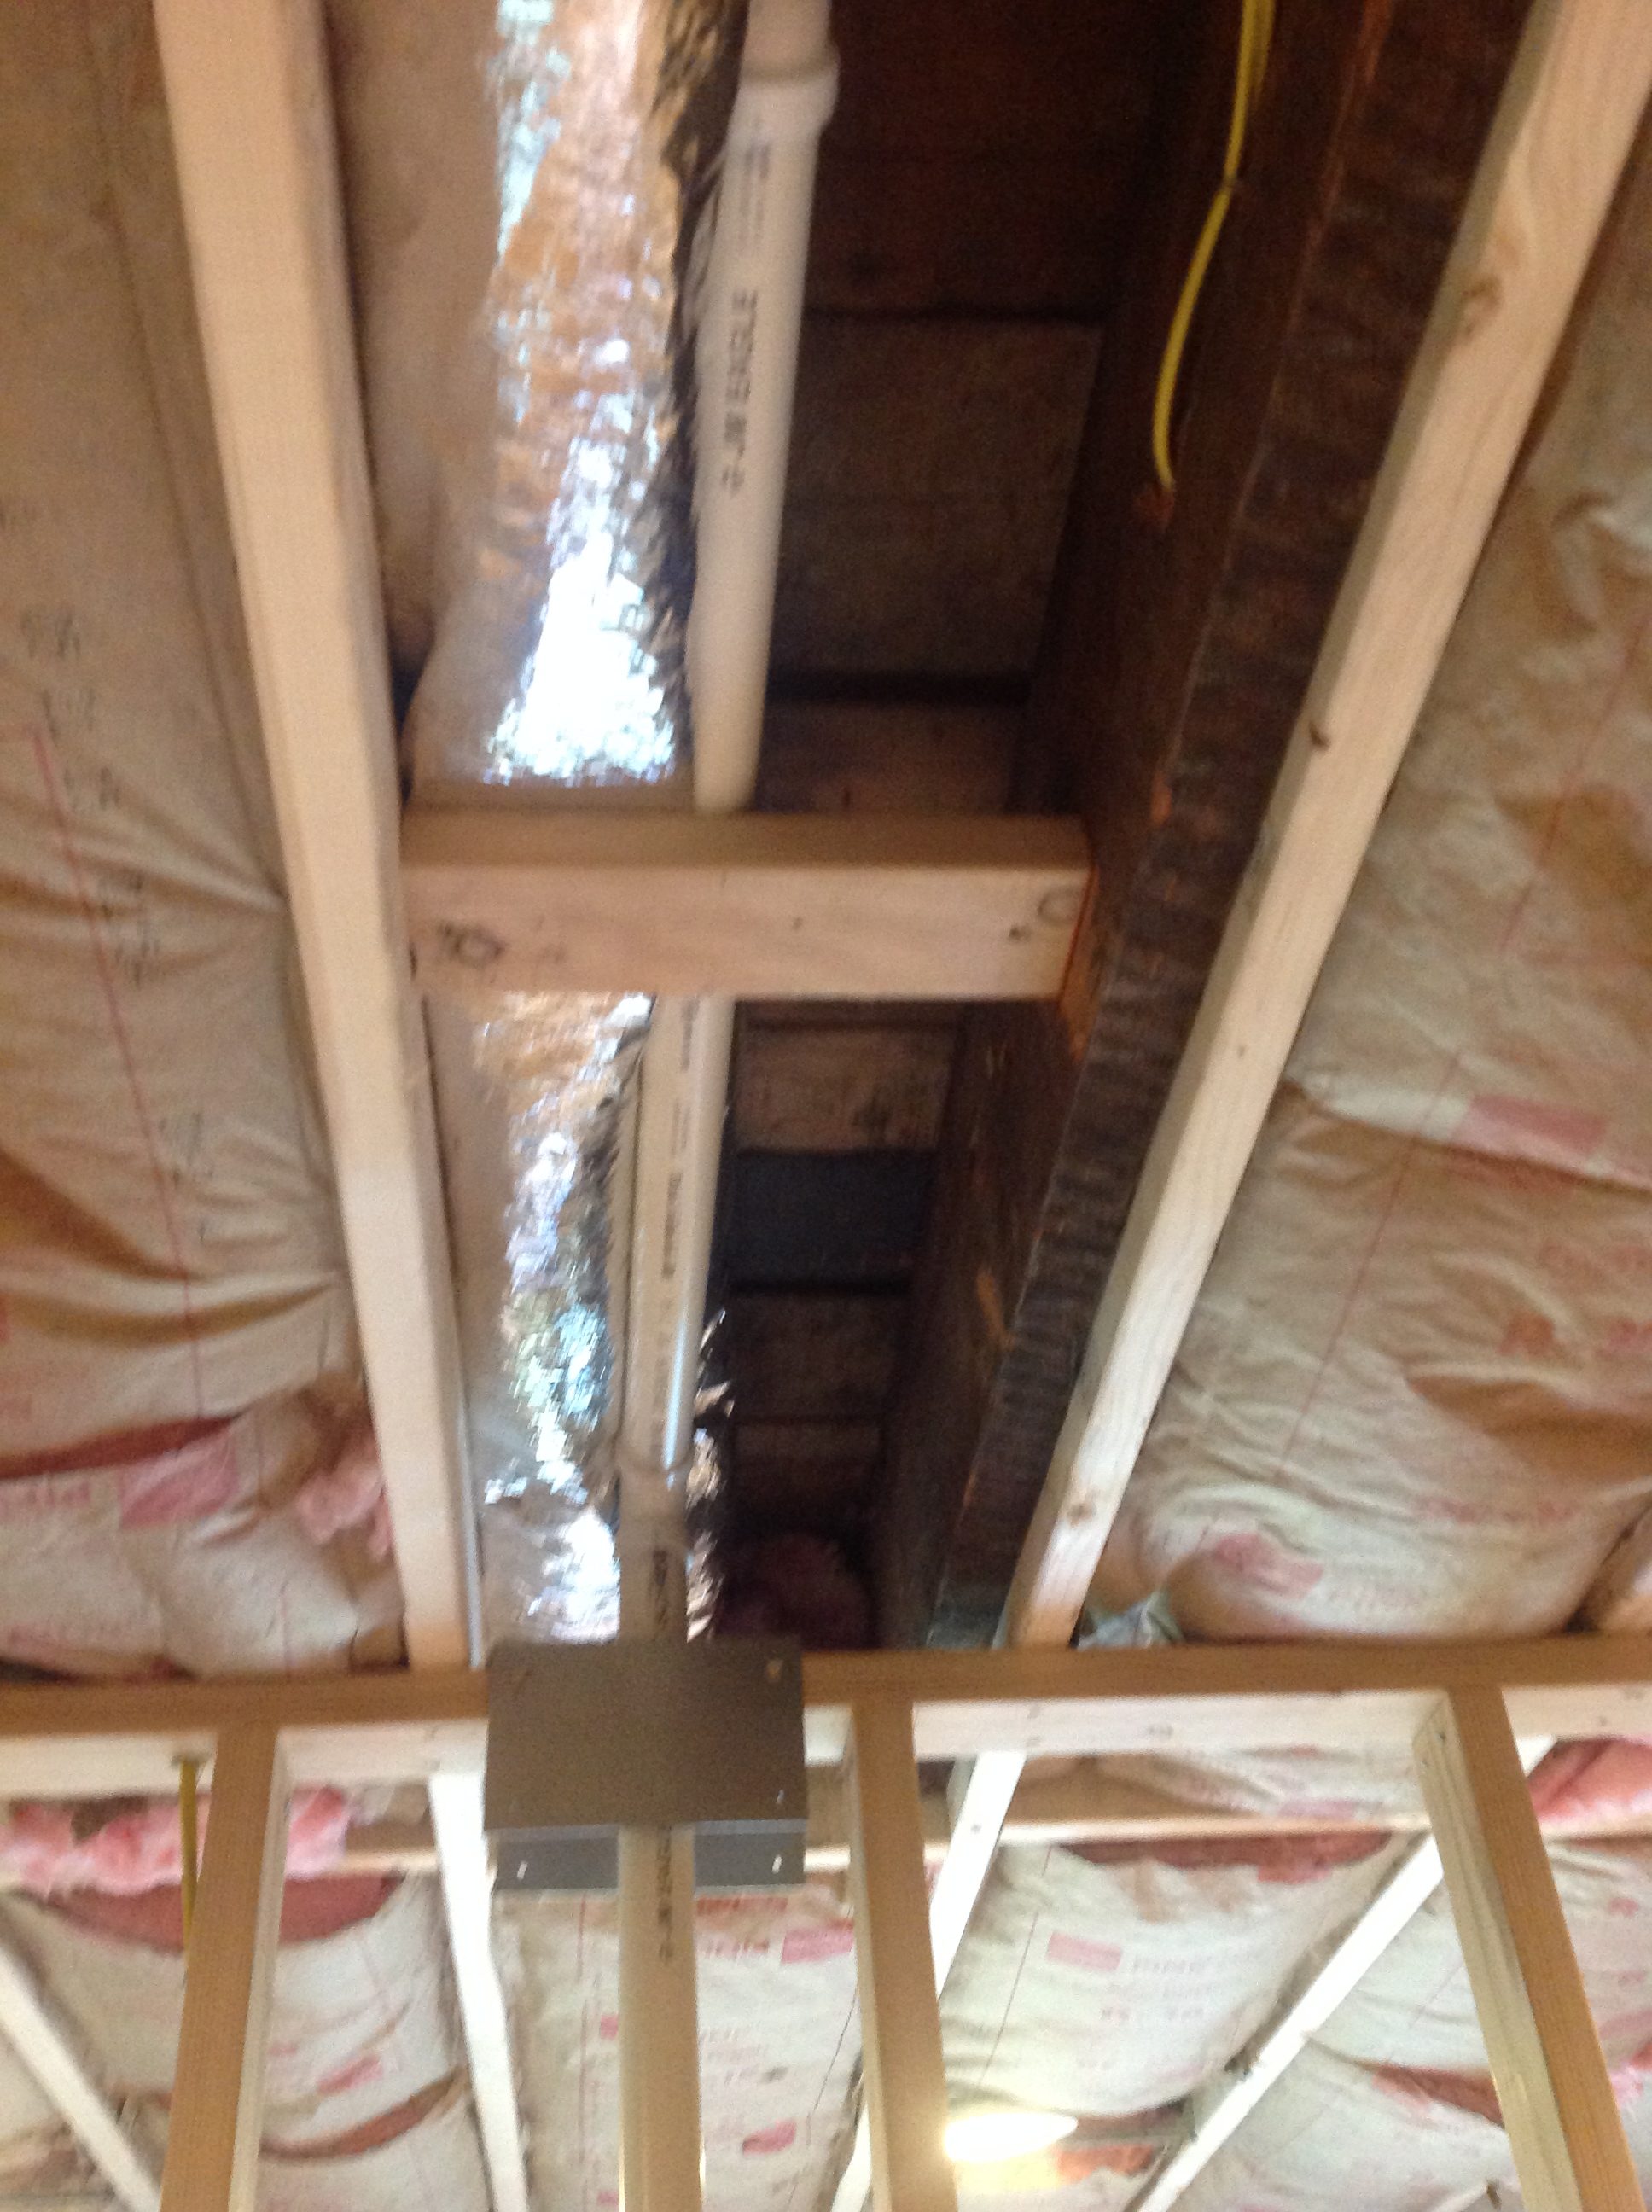
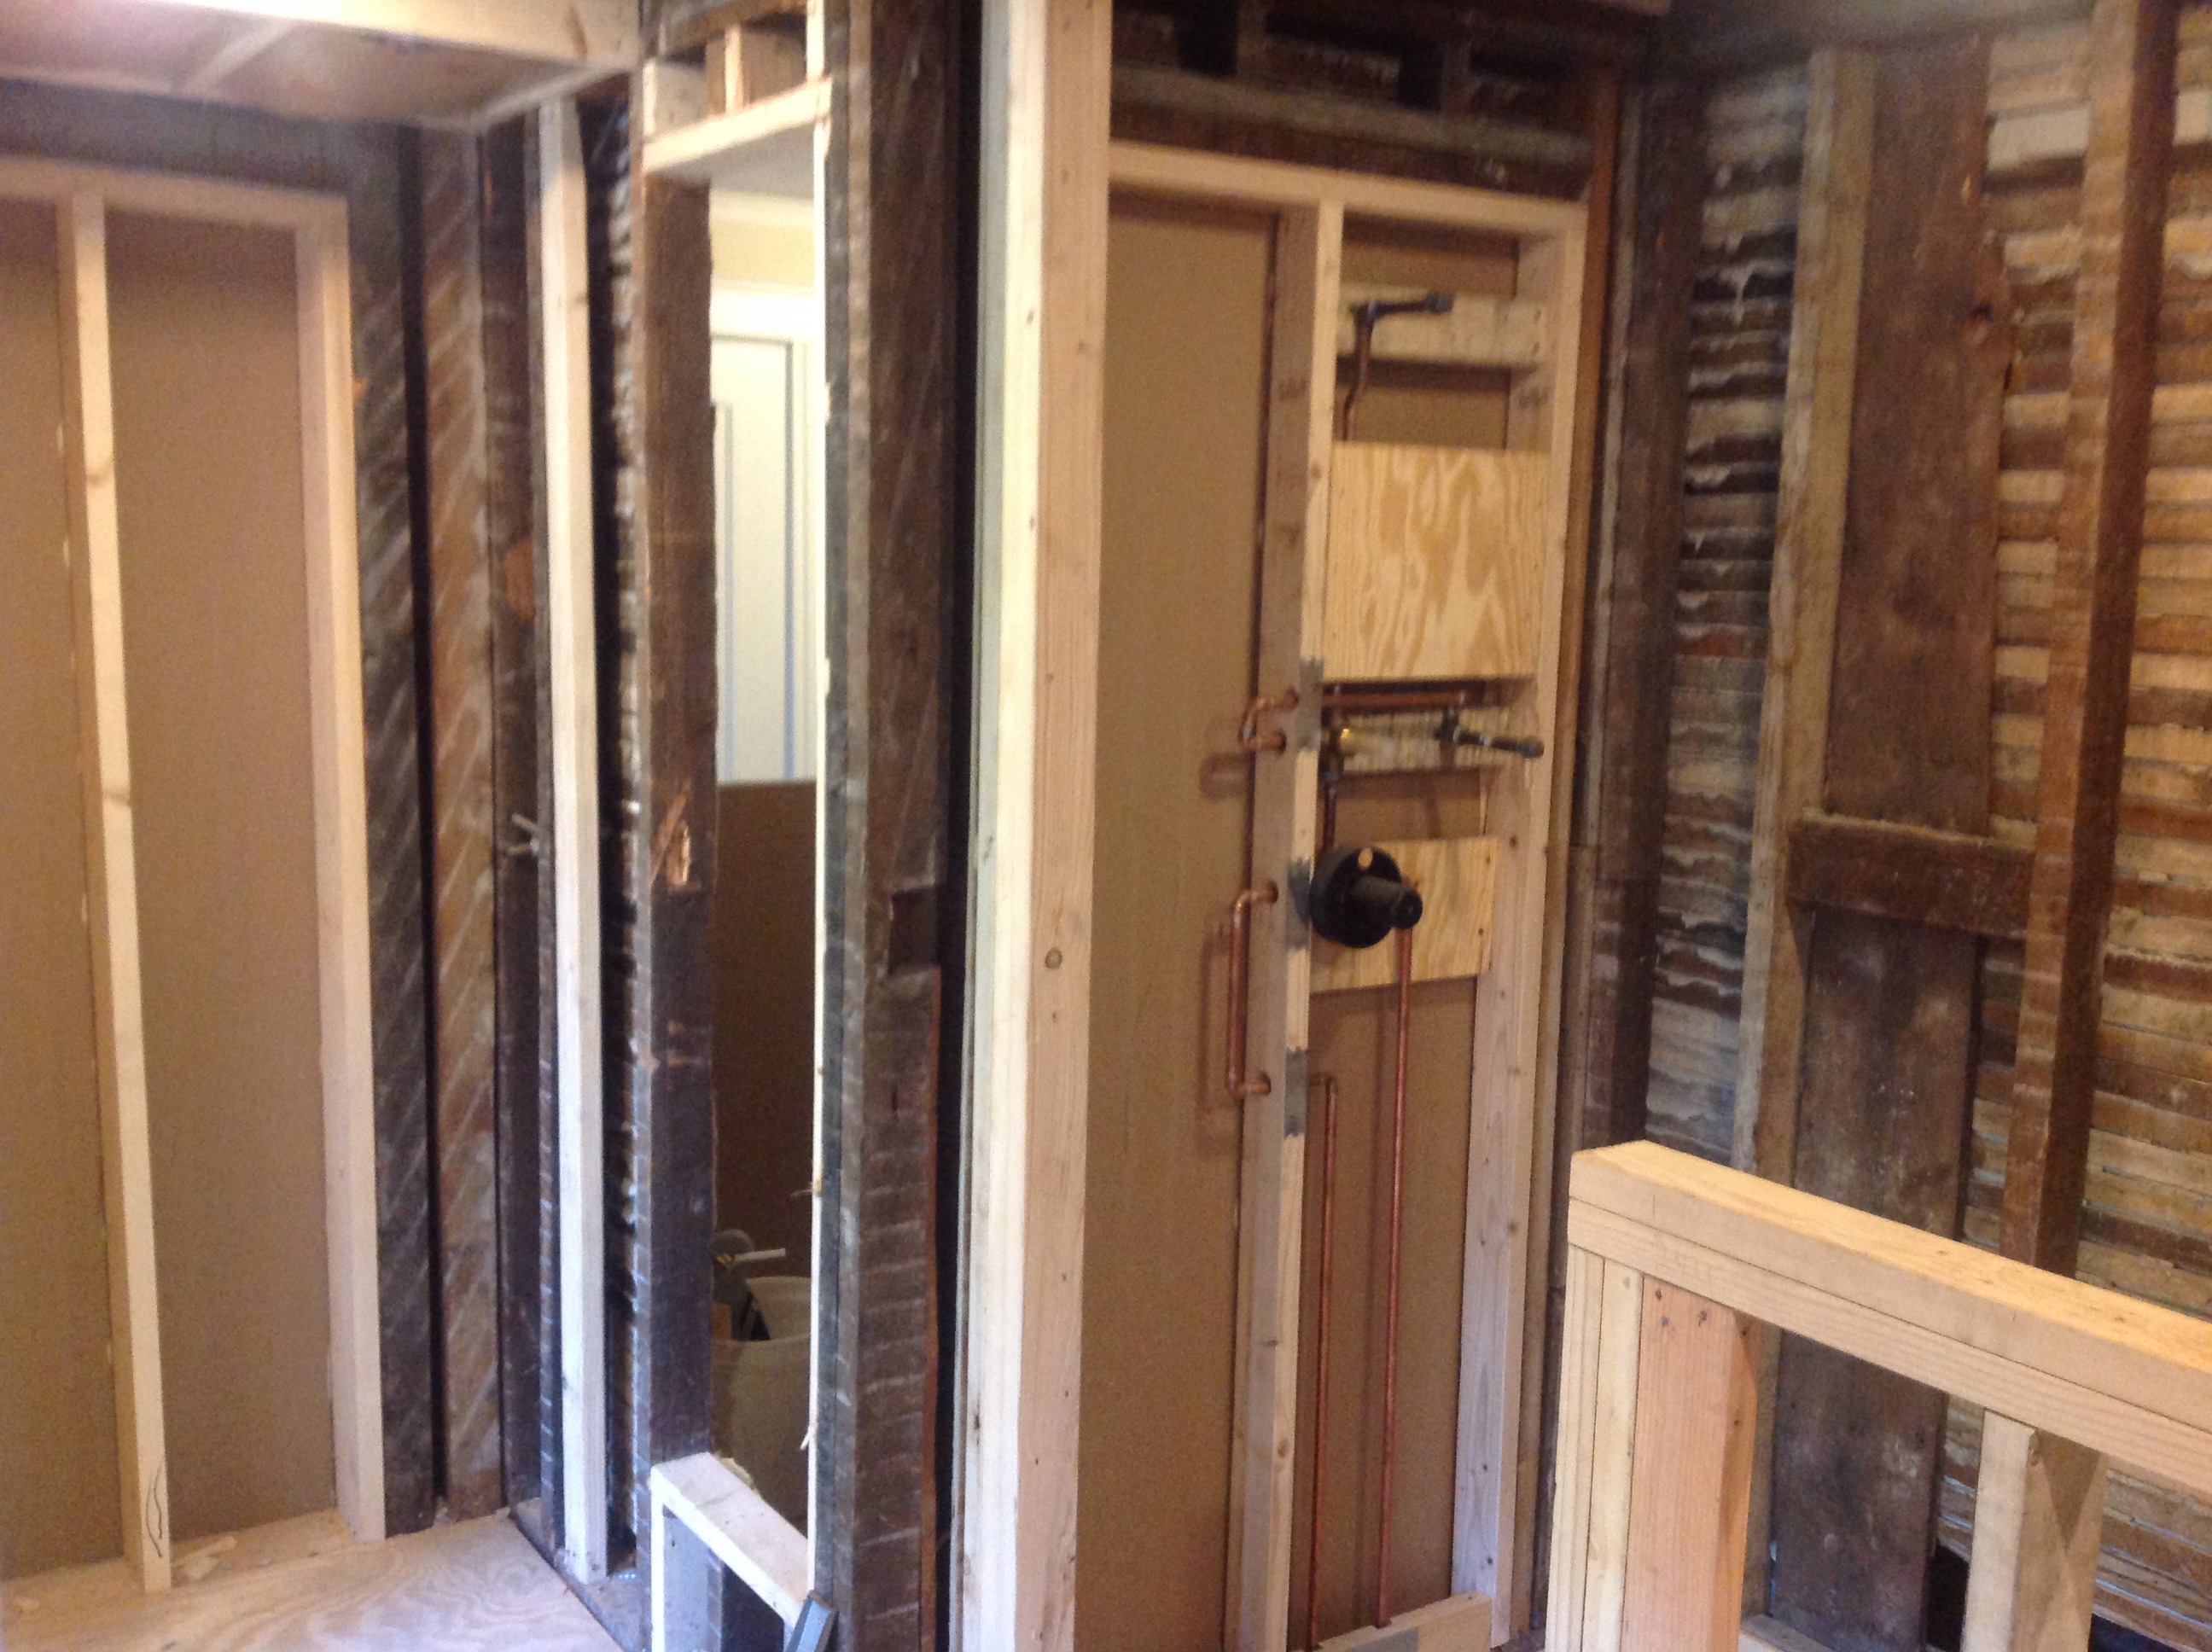
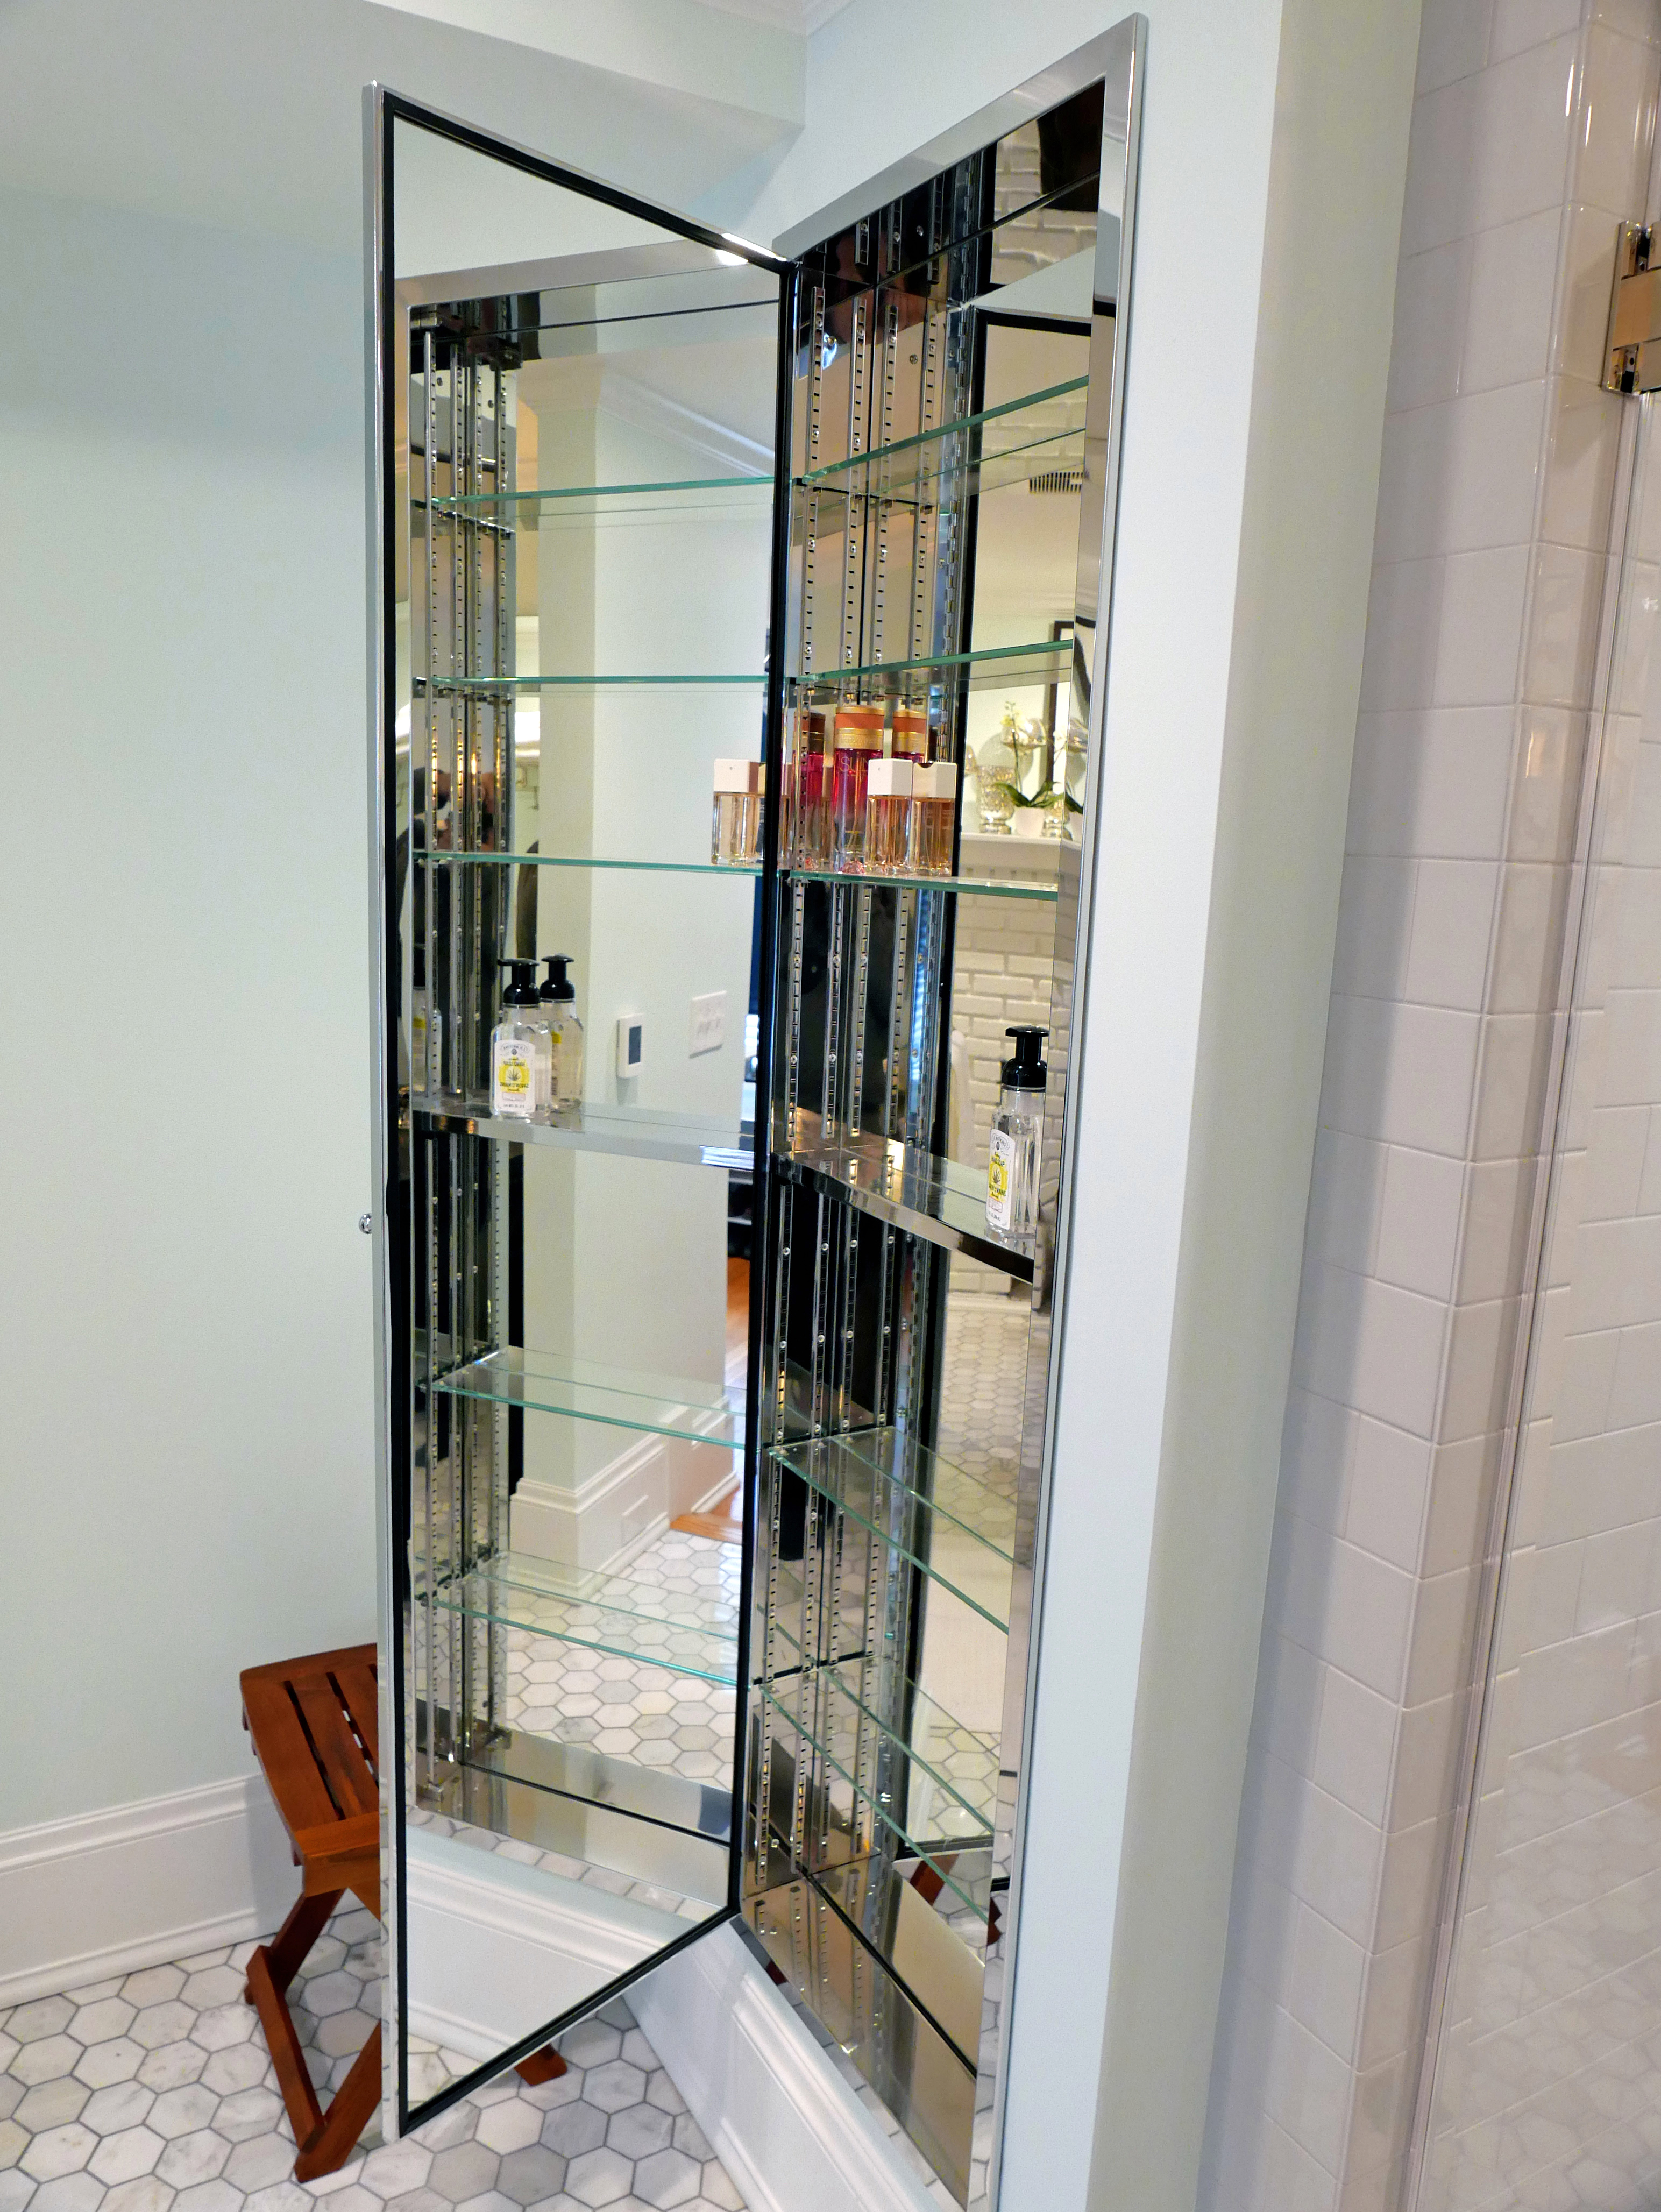
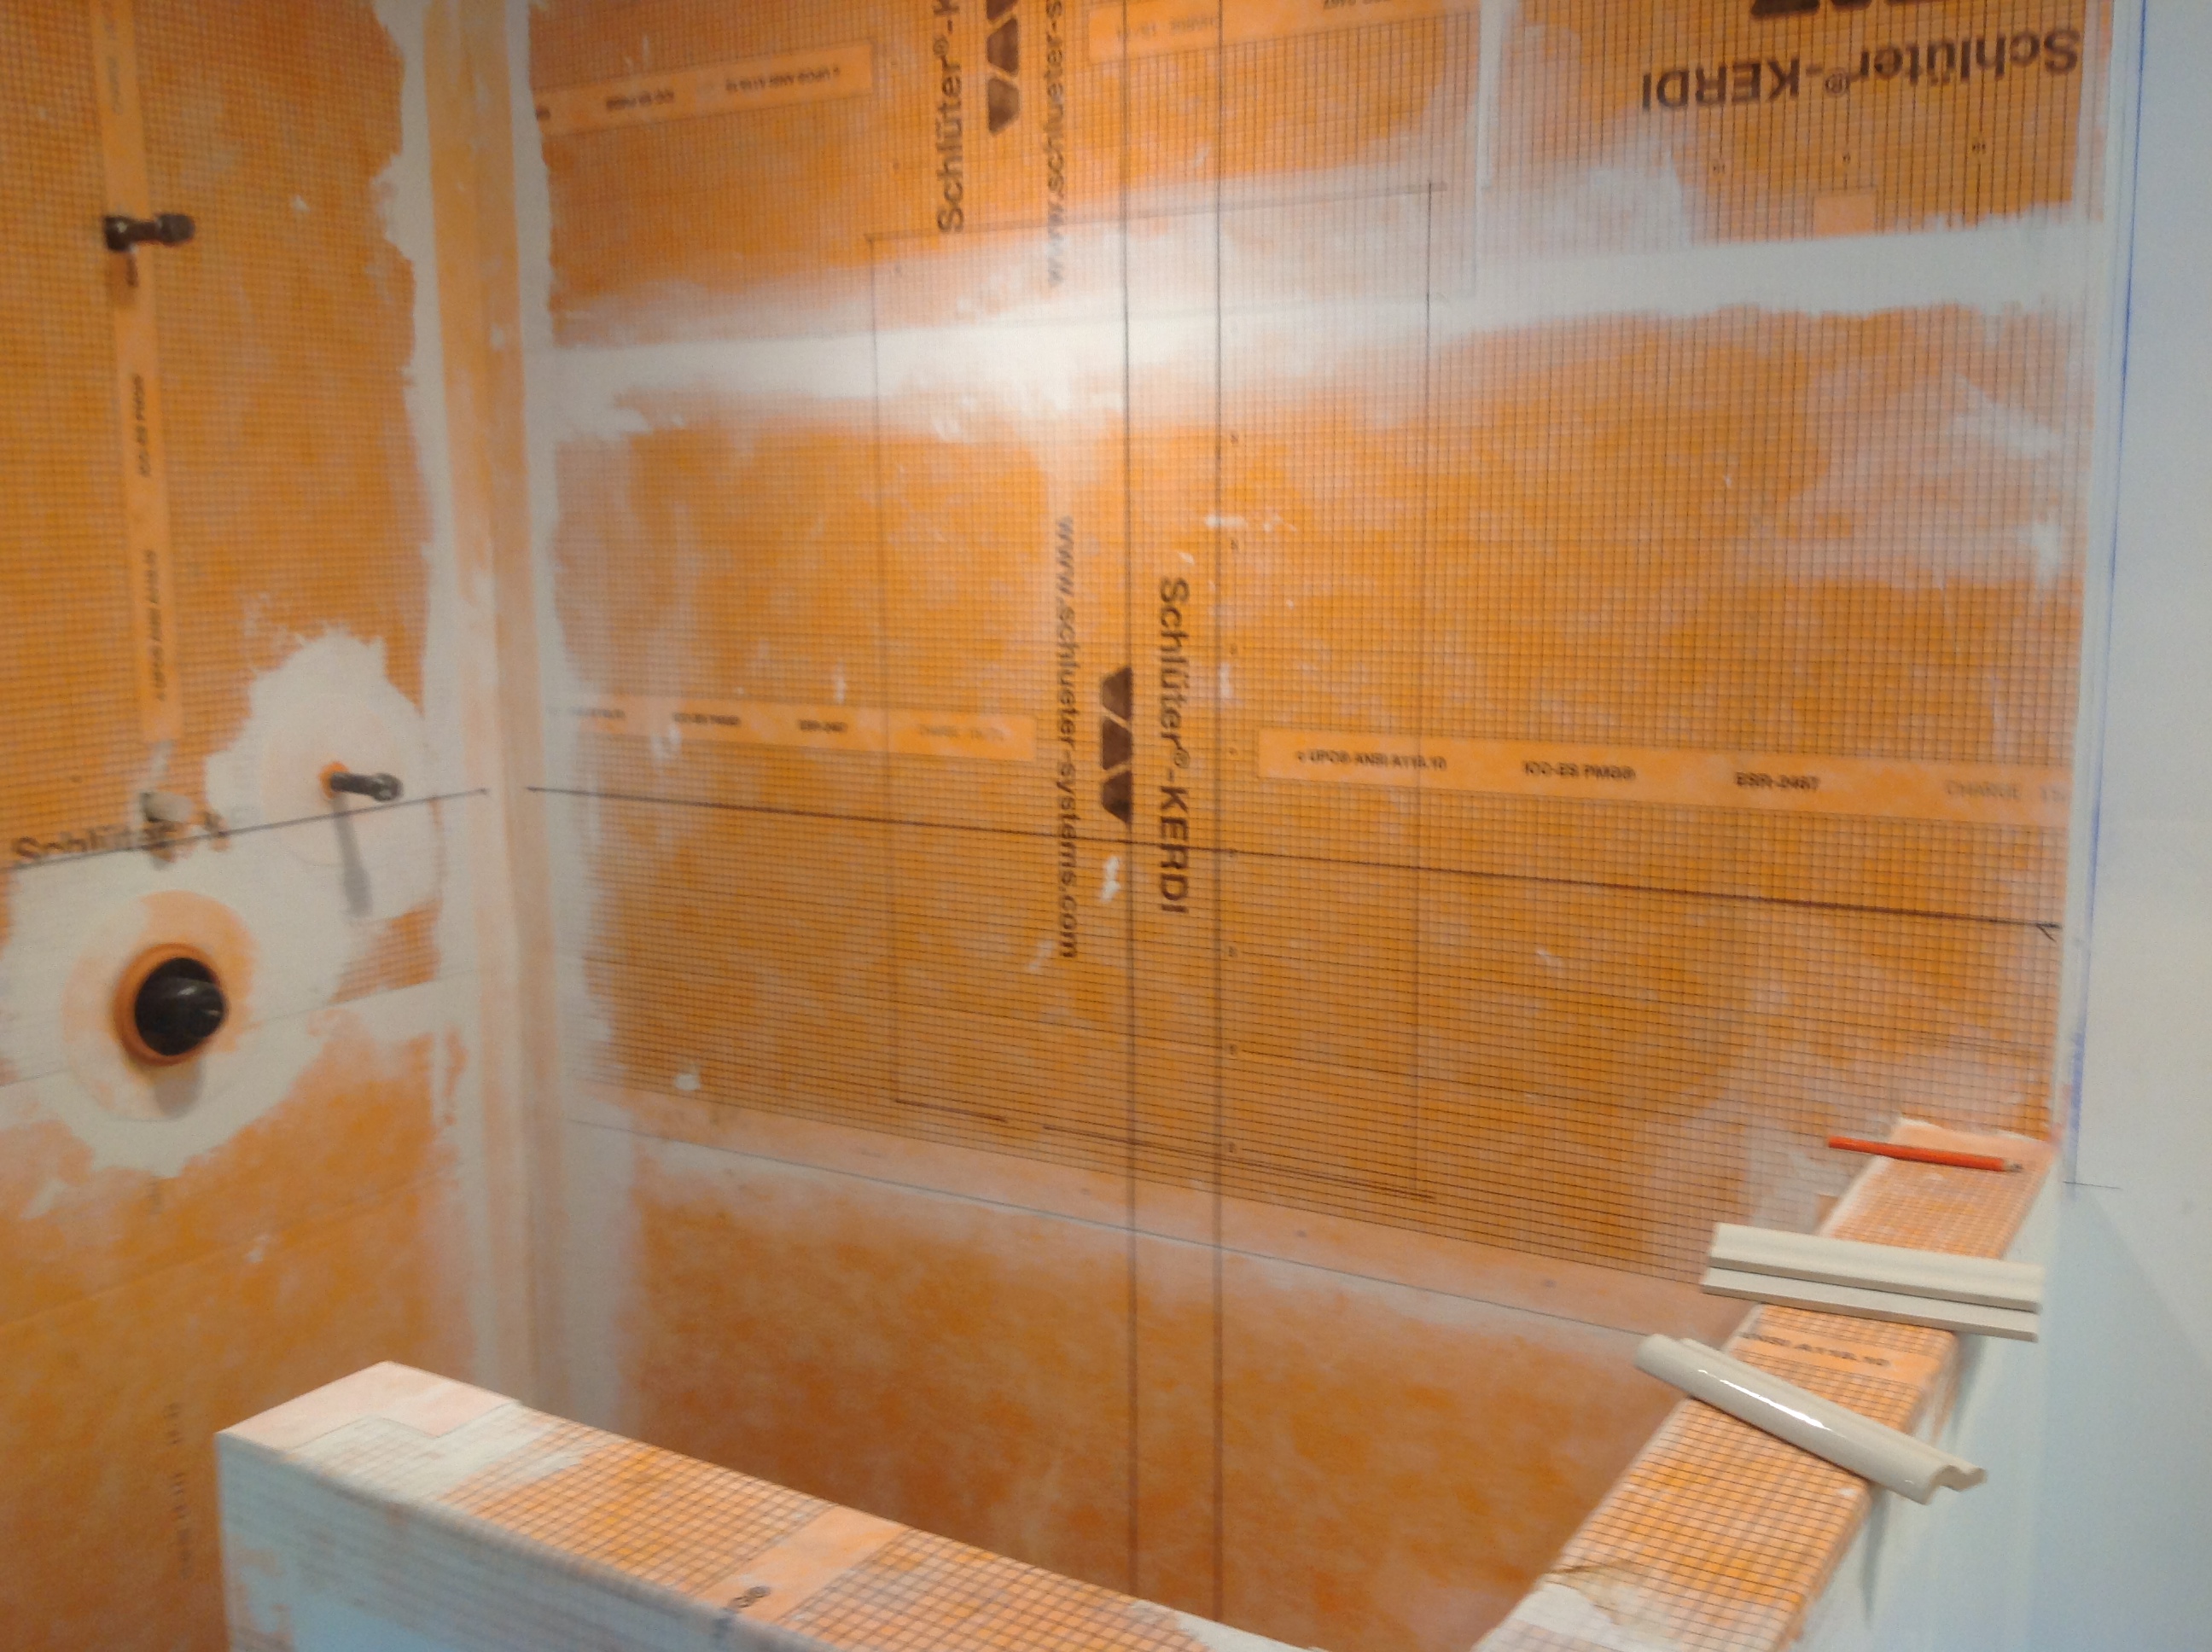
To meet my client’s needs, we divided the sitting room in half. One half was used for the master closet and the other half for the bathroom. We built a large shower stall with a niche bench and multiple shower heads. We added a vanity with his-and-her sinks and mirrors. The bathroom includes a floor to ceiling medicine cabinet. On the other side of the room we built a dressing area with ample closet space. There is an area to sit while dressing. We were able to create this space without changing the exterior appearance of the house. We used materials appropriate for the age of this home.

More about the Project

Before: Sitting room

What existed previously in this sitting was a fireplace and a door, which led to the only bathroom on the second floor of the home. The door will be removed and we will add a toilet and shower in this area. The existing Jack-and-Jill bathroom will remain on the other side of this door. The fireplace will remain but we will remove the hearth. The original floors have been covered to protect them during construction.

During: Sitting room

The blue tape on the floor outline the location of the new shower stall, toilet and the dividing wall of the bathroom. Both doorways will be removed, as well as the brick hearth.

During: Sitting room

The Jack-and-Jill bathroom door has been removed along with the fireplace hearth. We have started framing for the new shower stall.

After: Master Bathroom

This image shows the same corner but transformed from a sitting room into a bathroom. The toilet and shower stall fit perfectly.

Before: Dividing the room

This is a view of the sitting room before dividing the room into a closet and bathroom. The wall with two windows will become part of the walk-in closet. To help you understand this view: the windows look out onto the front lawn and the master bedroom is to the right.

During: Dividing the room

In this construction image, the sitting room has been divided into two spaces: bathroom and closet. This will become the sink wall. The plywood blocks and metal support brackets on the wall will undergird heavy mirrors. We will hang shelving and closet rods on the opposite side of this wall.

After: Dividing the room

Once completed, the new wall for the vanity and mirrors only partially enclosed the bathroom.

For those who may be curious: the vanity, sink and faucets are from Restoration Hardware. The countertop is Belgium Bluestone. The lighting sconces are union filament wire glass.

Before: Closet

We are standing in the master bedroom looking into what will become the new master closet. The closet will include a dressing area and shelving.

The exterior walls are solid masonry. This made it difficult for running mechanicals and attaching shelving.

After: Closet

You are viewing the same space as the previous photo. We have added closet rods, shelving and a bench under the window. The radiator cover and storage cabinet above are new. The floor in this area is original. We protected the floor during construction, and the floors have the same finish as when we started the project.

Before: Radiator

Notice the vertical tubes in this original radiator; it’s well over 100 years old. The radiators in this home were taken from an older structure in Cleveland at the time the house was built. Although no longer used, this was kept and covered.

After: Radiator

The original radiator is overlayed with an ornate cover that we constructed on-site. We used tile from the bathroom floor to finish the tops of the cover. To use the space efficiently, we built open storage cabinet above the radiator.

After: Threshold

This new threshold we had to construct in order to transition from the dressing room to the bathroom. The old floor was two inches out of level from side to side. The new tile floor is level. We could not change the wood floor in the dressing area, so we bridged the spaces with a wood threshold. We had the wood baseboards milled to match the existing wood trim.

During: Challenges

During construction: This image highlights one of several cracked floor joists that had to be repaired and replaced. This original timber beam would have been cut locally and air-dried.

During: Floor challenges

To the untrained eye, it may be hard to see the major joist repairs we made. The left upper corner shows how high we had to lift the floor to level it. Getting plumbing to the bathroom was difficult. The joists did not run in our favor for easy plumbing. There is a bathroom in the next room, but we could not tap into the existing plumbing.

During: Plumbing challenges

In this “during construction” image, you are looking at new plumbing. It sits above the living room ceiling. There are three layers of plaster ceilings that we had to cut through and patch upon completion.

During: Ceiling Challenges

During construction R.B. Schwarz team repaired the sitting room’s ceiling joist. We had the same problem with the ceiling as we did with the floor: the ceiling was two inches out of level.

During: Framing medicine cabinet

The right side of the photo is framing for the shower stall. On the left is the rough opening for the new medicine cabinet. We had remove the plaster in the hall to make the new rough opening for this cabinet.

After: Medicine cabinet

This medicine cabinet it amazing. It is a frame metal, full-length medicine cabinet with mirror from Restoration Hardware.

During: Shower

Quick peek into the construction of the shower. We waterproofed with Schluter Kerdi membrane. The tile floor outside the shower stall is heated with Schluter heat cables.

After: Shower

This completely remodeled shower features subway tiles as well as Ammara faucets and shower head. The mosaic on the back wall is Camilla wall tile with mirror glass and Carrera stone. The floor tile in and outside the shower is Hampton hexagon-shaped Carrera marble.

After: Shower details

Stepping into the shower, you’d see the shower bench with a horizontal niche. The bench is Fantasy Brown Quartzite, which is a natural stone product.

After: Master bathroom fireplace

Who wouldn’t love an original fireplace in their newly remodeled master bathroom? The brick hearth is gone, but the 100-year-old brick fireplace stayed. The R.B. Schwarz, Inc. team installed a marble floor with radiant heat.

Before: Master bedroom

Take a peak into the master bedroom… before construction.

After: Master bedroom

In the master bedroom, we repaired and skim-coated the ceiling, added the chandelier, painted the walls and built a new radiator cover.
Robert and his team completely remodeled our master bedroom for us, turning our empty sitting room into a complete master suite with walk-in closet and bathroom. It was an amazing transformation.

First, Robert is the best contractor I’ve had the privilege of working with. He was always prompt, courteous, and willing to meet with us any time of day, any day of the week. This was huge as my wife and I are working professionals who cannot meet during normal work hours. Many contractors are unwilling to do the same!

Second, he is a man of his word. At every step I was made well aware of any unforeseen charges and was given the complete picture of the project whenever I asked. I was never blindsided or left confused by anything that was happening. All issues were immediately brought to my attention.

Third, he worries so I don’t have to. Frankly, Robert seemed to worry more about my house than I did, which is a good thing! He gives the utmost respect and care to the homes he works on, as if they were his own. It is an extremely comforting thought knowing my house is in good hands.

Fourth, he does not settle for “good enough”. There were two points during my project that caused a major stir (no fault of Robert’s). Without a complaint or a second thought, Robert and his team fixed the issues immediately and left us more than satisfied. It was breathtaking what he did to solve our issues, and the repeated thanks I gave him and his team could not have been enough. It was a marvel. He does not accept “fine”, he only accepts perfection. With any other contractor these issues could have completely halted everything.

Finally, he is a good man. He is kind, understanding, and truly loves what he does. I trusted my house and my home to him for weeks, and at no point did he ever cause me to waiver in my faith of him and his respect for my project. He completely changed how I think about contractors, and I will use him again for every project I have without question. It was an honor working with him, and I hope to do so again.

B. McGuire