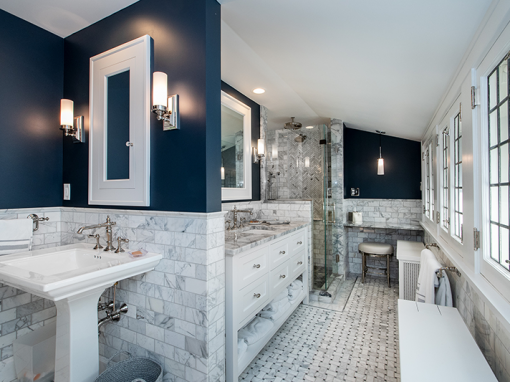
2015 Residential Bathroom

NARI 2015 CotY Award

First Place, Residential Bathroom

My client lives in a historic home built circa 1917. The master bathroom had seen little change since the house was built. The bathroom was a Jack and Jill with one door leading to a large dressing room and the other door leading to the master bedroom. The bathroom is only 7 ft. 4 in. by 9 ft. 11 in. My client wanted to remove the bath tub/shower combo and install a large shower with a frameless glass door. All the plumbing fixtures needed to be relocated. There was a large radiator which would need to be replaced and relocated. The electrical wiring was replaced. We installed a new distribution panel and upgraded the service to the house. The door to the dressing room needed to be relocated to make room for the new vanity.

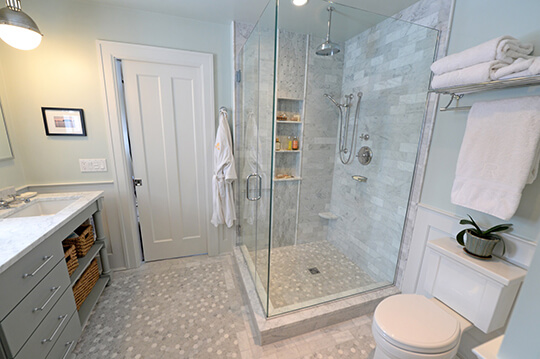
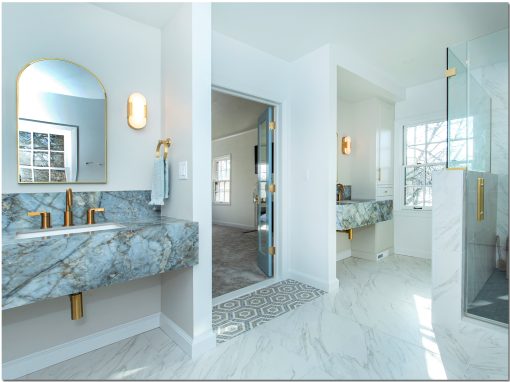
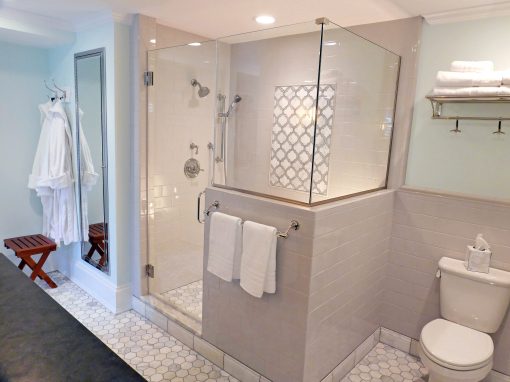
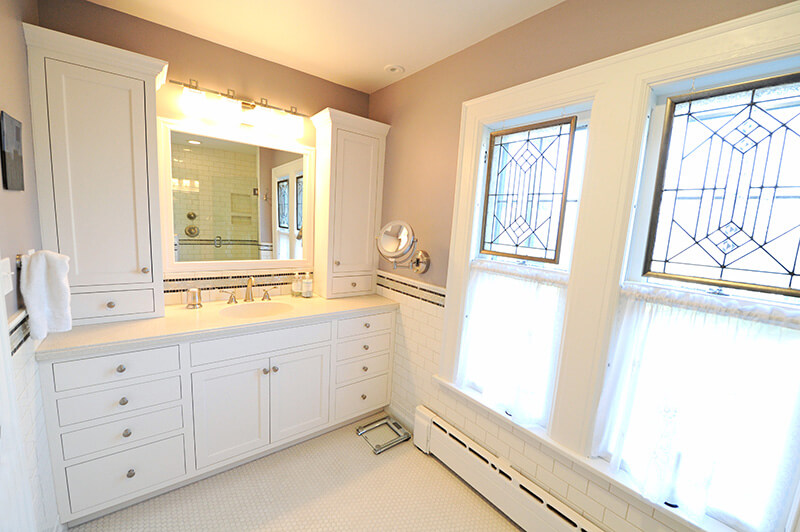
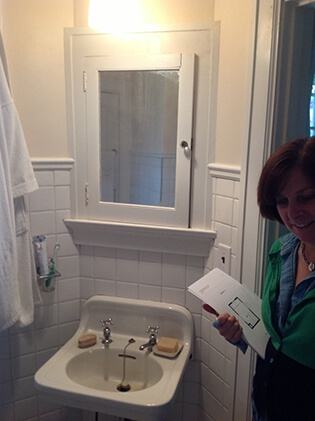
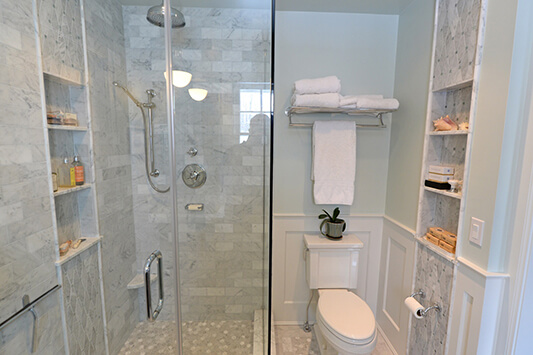
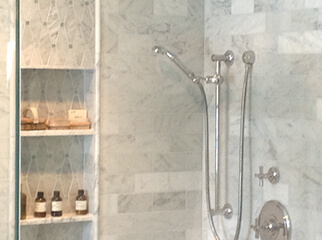
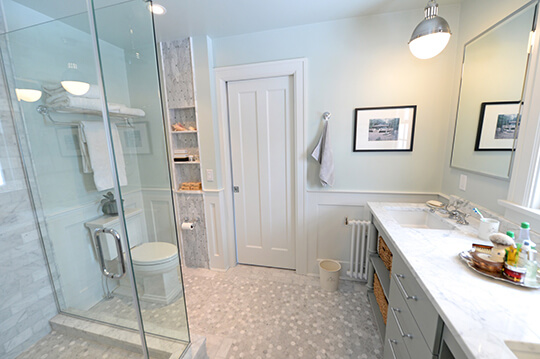
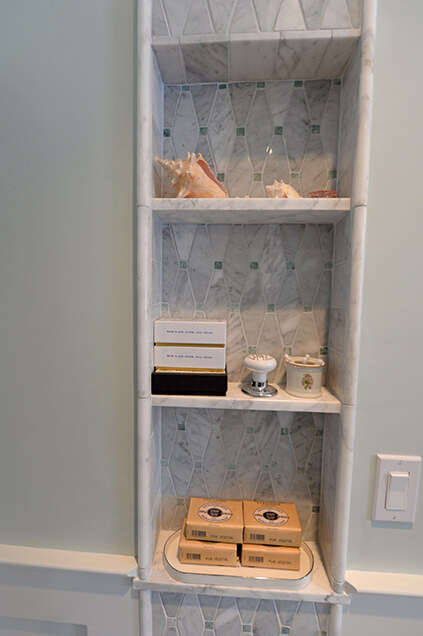
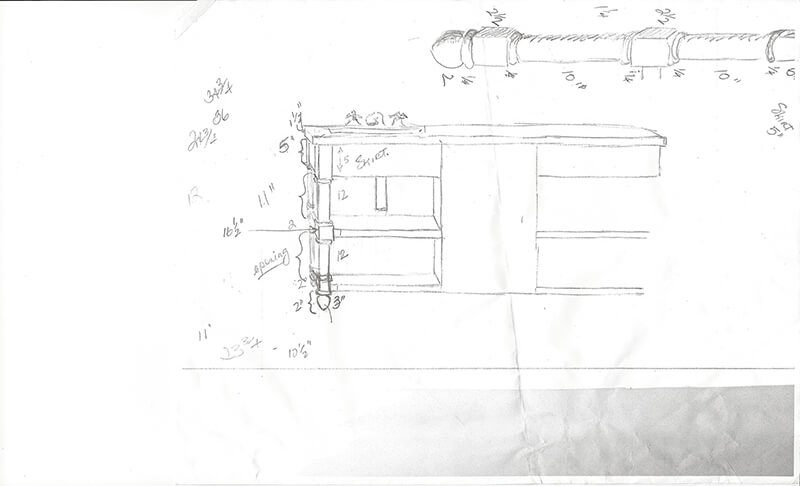
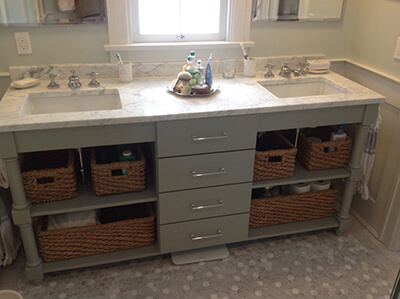
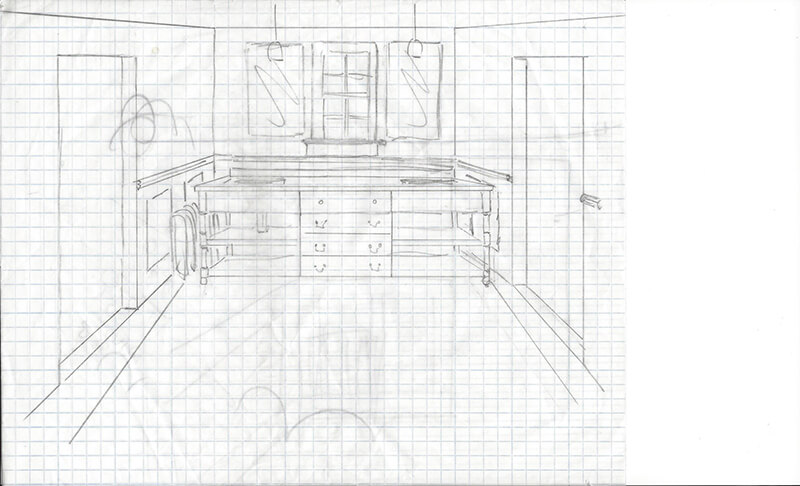
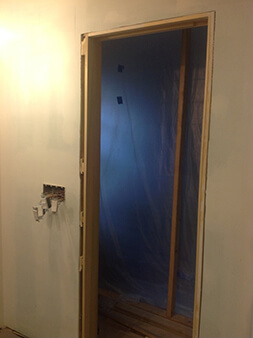
It was very important to my client that we reuse the original doors. But she no longer wanted swinging doors, she wanted the doors installed in pocket door frames. In addition, we needed to replace the original sink with his-and-her sinks. My client requested two 24 inch feature niches, one in the shower and one reflected on the opposite wall.

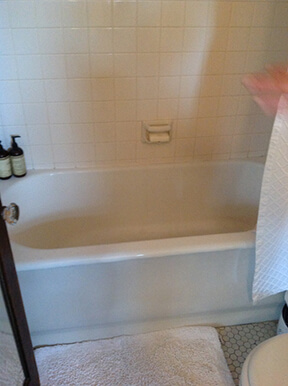
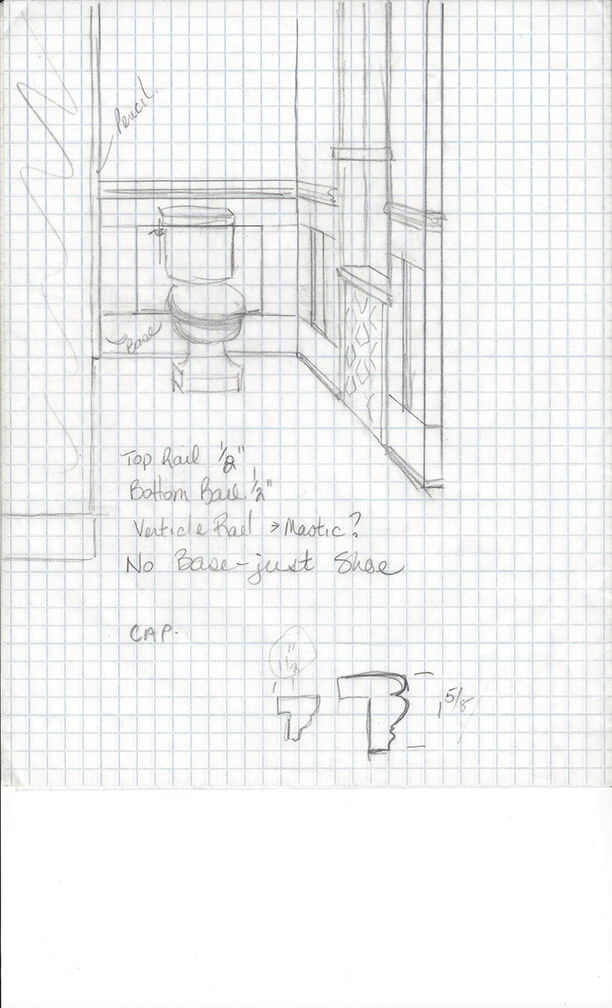
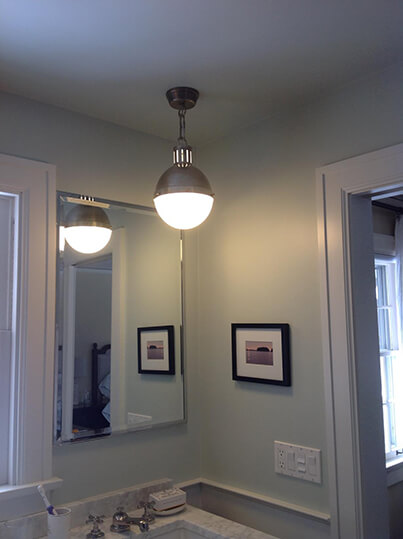
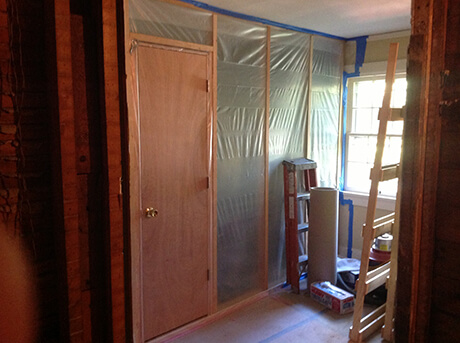
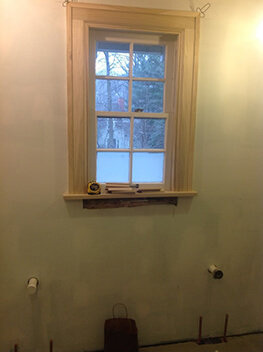
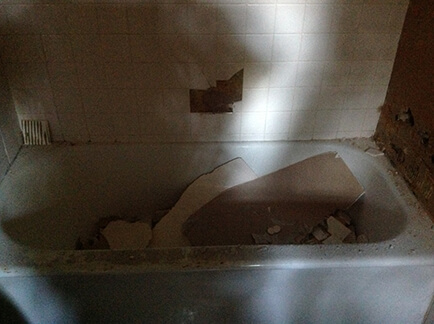
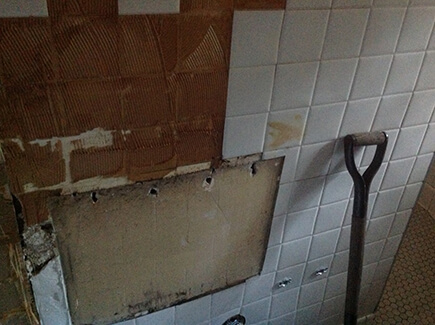
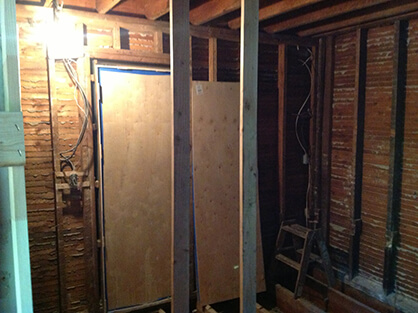
To meet my client’s needs we gutted the bathroom and ripped out all the plumbing down to the basement floor. The walls, floor and ceiling were leveled and squared. We removed a small closet so we could relocate the dressing room door. Both the bathroom doors were installed in pocket door frames. We built a custom vanity so we could get two sinks installed without having to change the bathroom window. We installed a new narrow profile radiator, white Carrera subway tile and a wood wainscot.

Every aspect of this job was custom. It was very challenging and great fun at the same time.

More About The Project

After

New sink run. We have removed the angled wall and the old sink. We have installed two sinks, one on either side of the window. The old radiator has been replaced and relocated. The door to the bedroom has been rehung and installed in a pocket door frame.

Before

The original sink, which was installed on a short-angled wall, with a medicine cabinet above. We removed the sink and cabinet. The water lines and drain lines were relocated so that we could install two sinks on the back wall of the bathroom. A large radiator was centered on the back wall of the bathroom. The radiator needed to be replaced so that we could install the vanity and sinks.

After

The new front wall. The bathtub and a small closet have been removed. In its place a new forty by fifty-four inch shower stall with a frameless glass door. The shower features white Carrera subway tiles on the walls and Carrera hexagon tiles on the floor. Please note, the feature mosaic niche in the shower. The niche is repeated on the opposite wall beside the toilet. The two niches are directly in line with each other and were a very important feature to the homeowner/designer. It was a great deal of work to get these 2 niches aligned properly. Also note the wood wainscot in the corner by the toilet. This was another important design feature to the homeowner.

Before

The original bathtub along the front wall of the bathroom. The tub surround was made of plastic tiles that were installed over the original plaster walls. There was a closet to the right end of the tub that we removed so that we could relocate the toilet and build a new shower stall with a frameless glass door. If you look at the left bottom of the picture you can see the edge of the master bedroom door that opened into the bathroom. This door was relocated and installed in a pocket door frame so that we could build the new shower stall.

After

The new shower plumbing. The old shower heads have been replaced with a rain head in the center of the shower stall. We also added an adjustable hand-held shower head for showering and cleaning the shower stall. Note, the old shower caddy is gone, replaced by the shower niche.

Before

The original shower head. Note the caddy hanging from the shower head.

After

View of the bathroom from the master bedroom. You can see the new radiator at the new location. The door pictured was relocated and rehung in a pocket door frame. Pocket doors were difficult to install because we were using different thicknesses of lumber. The original doors had been cut and planed several times over the years. We had to cut and plane them square in order to make them close properly.

After

The finished wood wainscot. It was a challenge to build and install. We had to be very careful not to drive any nails into our pocket doors.

Drawing

Preliminary design for the wood wainscot. The wainscot was installed around the walls outside the shower.

After

A close up of one of the two niches. The niches feature white Carrera marble shelves. The back of the niches are done with Blanco Carrera elongated octagons with 5/8 inch Ming green dots mixed in.

After

Lighting: the original bathroom was poorly lit. The homeowner/designer selected these beautiful pendant light fixtures to hang over the sinks. The fixtures are designed by Thomas O Brien. We also added can lights in the ceiling and a fan light in the shower to better light the room.

After

The finished cabinet in the cabinet makers shop.

Drawing

My client wanted a vanity that looked like a piece of furniture. This drawing shows the leg detail. The legs needed to be designed so that we could get the shelves the right height for the storage baskets as well as making sure we had enough room for the under mount sinks and plumbing.

After

Finished product.

Drawing

Original design concept.

During

Dust control was a very important on the job. The house is old and we had to protect against dust. This photo shows the bathroom after we removed the entrance door and the closet door. We are standing in the bathroom looking at a temporary wall we built to protect the dressing room. My client had many clothes in this room, too many to move. They needed access to their dressing room on a regular basis. We built this wall complete with a door to keep dust out. We also placed clean mats on the floor to keep from tracking dust. In the far right you can see one of the two pocket door frames that we will later install.

During

This photo shows the pocket door frame installed between the bathroom and master bedroom. The plastic is the second curtain wall we had to build to keep the dust out of the master bedroom.

Before

Photo shows the window and on the back wall of the bathroom.

During

Photo shows the old window with new trim. The radiator has been pulled out and we have installed new plumbing for two sinks.

During

Bathtub on demolition day as we start to remove plaster and tile.

During

The old toilet/closet wall about to be removed. Note the plastic tile that was around the old toilet tank.

During

There was no easy way to get the debris out of the house. The bathroom was in the back of the home and above a garden and an exterior staircase. We built a chute to get the debris out of the house. The chute was almost 24 feet long.

During

There was no easy way to get the debris out of the house. The bathroom was in the back of the home and above a garden and an exterior staircase. We built a chute to get the debris out of the house. The chute was almost 24 feet long.

During

Photo shows the tub wall after demolition.

During

Photo shows the gutted floor. We have installed new floor joists and replaced all the plumbing.

Edmund

Our job supervisor, Edmund the Himalayan Cat. Beloved pet of the homeowner.

Kaber

Assistant to the job supervisor, Kaber the Black Lab. Also pet of the homeowner.
January 6, 2014

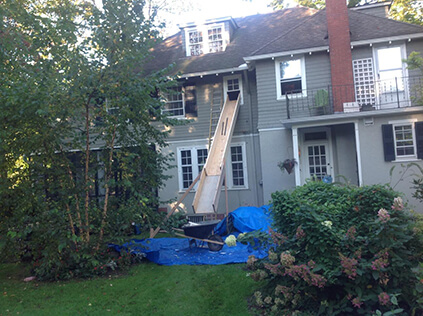
R.B. Schwarz and his crew of professionals completely remodeled our master bath and upgraded the electrical panel and plumbing in our century home.

His work was second to none, his professionalism exemplary. He and his crew were very careful of our home and contents. As a designer I work with professional contractors all the time. I would not hesitate to recommend R.B. Schwarz for any project. He and his crew followed my design almost exactly and even when I wanted difficult modifications he complied. We are thrilled with our new bathroom and plan to have him continue on other projects.

Robin McIntosh